I absolutely love the look of hand-stamped metal and silver jewelry, but the price tag for real silver art clay is a bit steep for a beginner like me who's just testing the clay jewelry waters. I'm also a bit intimidated by the whole “firing with a torch” thing. I decided to try some air-dry homemade clay to start out and see how close I could some to the look I wanted.
This cold porcelain clay is easy to make at home with ingredients you probably already have in your craft cabinet. It isn't real porcelain, mind you, but has a similar look when it dries – and you can easily brush it with metallic acrylic paint to get that stamped silver clay jewelry look.
Cold Porcelain Clay Recipe
1 cup Elmer's Glue
1 cup cornstarch
1 Tbsp baby oil or mineral oil
1 Tbsp lemon juice
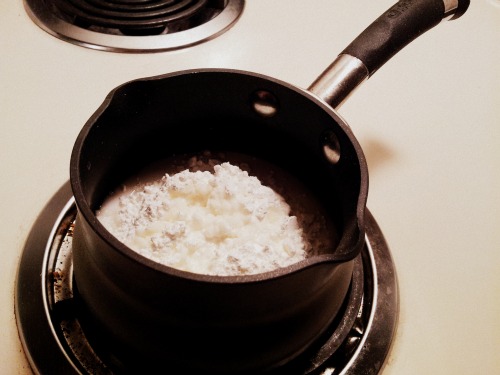
Mix the ingredients together in a non-stick pot and cook over low for about 10 minutes, stirring constantly, until the clay mixture starts pulling away from the sides.
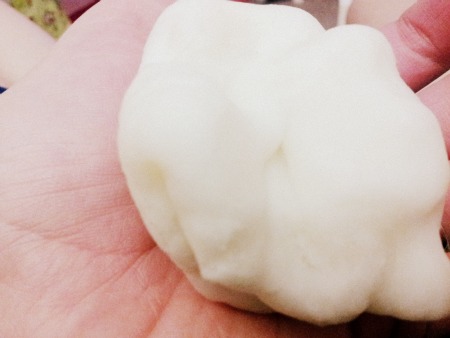
Immediately remove from heat and let cool until you can handle it. Knead briefly into a clay consistency and wrap tightly with plastic wrap to keep it fresh until you're ready to use the cold porcelain clay. If the clay is too moist and isn't coming to the right consistency as you knead it, simply heat it for about ten seconds at a time in the microwave until it loses some of the liquid. If it's too crumbly, add some baby oil to moisten it.
When you're ready to make your jewelry (or ornament, hang tag, etc.), simply remove a bit from the plastic wrap and close the rest back up tightly. Flatten out your clay with a rolling pin and cut out shapes with small cookie cutters, or mold it by hand. You can add a little acrylic paint to tint the cold porcelain clay any color you'd like. If you want a real porcelain look, add a couple of drops of white paint – otherwise, it will dry slightly translucent.
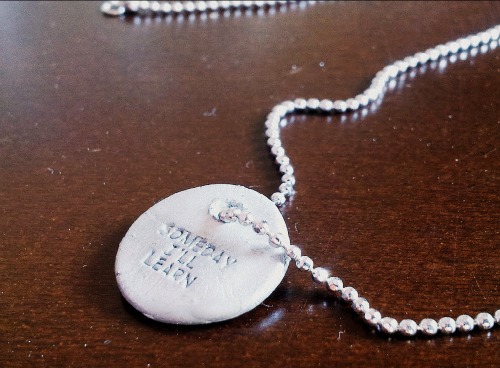
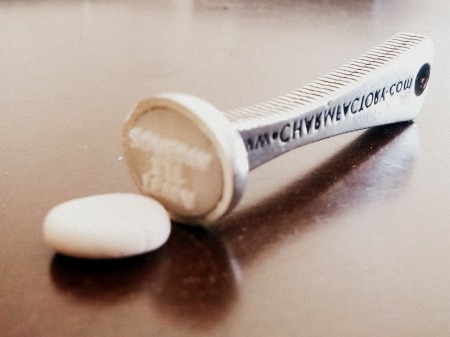
I rolled my cold porcelain clay into a disc with a small hole for a chain and stamped it with a signature stamp that Charm Factory sent over with the blog logo on it. How cool is that? You can send in any logo, text or graphic image to have made into a durable plastic stamp for jewelry or seals. I like that it is so precise, and has held up after I've used it repeatedly for several different applications.
A quick coat with metallic acrylic paint and a little clear lacquer to protect it from the elements, and we're good to go. It shrinks up about 20%, so keep that in mind if you decide to give this cold porcelain clay recipe a try at home.


My daughter would loe this! I’m gonna double check we have all the ingredients so she can make holiday gifts for her friends
I’ll have to try this with my kids. Right now I teach art class for 1st and 4th graders at our homeschool co-op. This will come in handy. Thanks!
Yay, I just added this to my children’s homemade gift list for us to do this week! Would you mind if I link this post to a post I am going to do over at Denschool when we are done?
Glad you like it…I’m sure you guys will have fun making your homemade gifts. Feel free to link away!
Hey there Disqus how was your Christmas? My New Years Resolution is to make 6 figures in 2012! you’ll be able to get a new car in no time https://t.co/kvSe9QWt
Hi did you have a good Christmas? I am going to get rich this year! honestly i knew you were right for this https://t.co/n2pKjL5c
Does it need to bake? Or air dry? And for how long?
Hi Claudia! Air-dry it…depending on the size of the piece, it’s fully dry within a day or two.