Got a chip in your tub? Get your DIY bathtub repair on with this quick and easy fix!
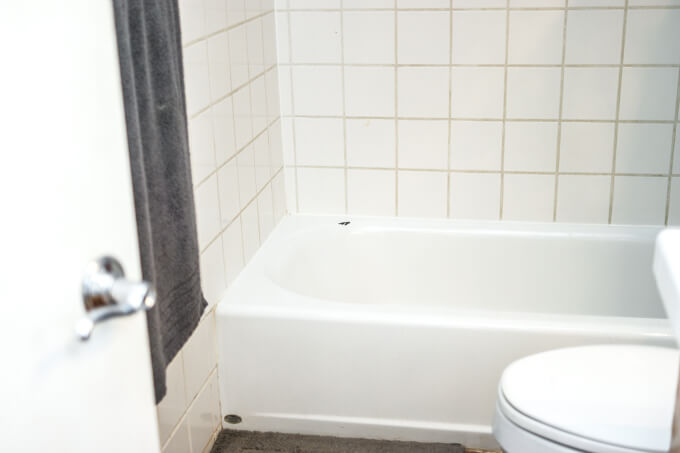
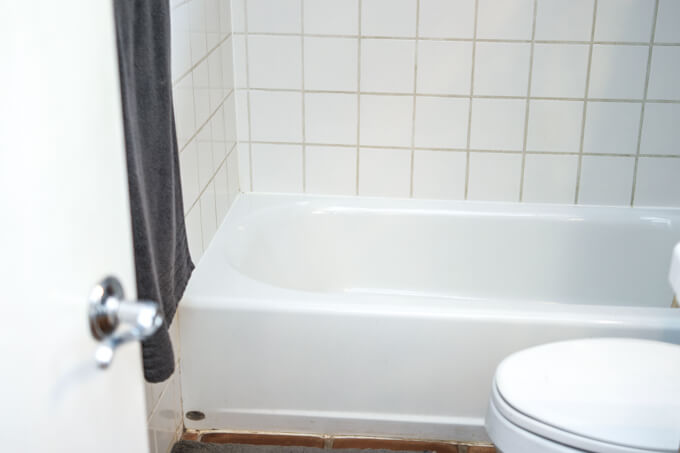
When you look at this picture, what do you see?
Chelsea sees this. Nothing but this. In our whole bathroom, this bathtub repair need is what her eye focuses on. Like a deranged perfectionist hawk. The previous owners chipped it.
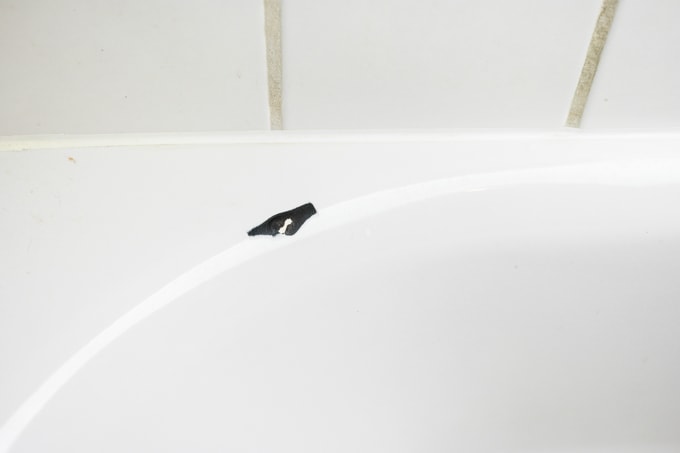
No big deal to me, but I have a Y chromosome so what do I know?
I'm tired of hearing about it…so…bathtub repair time. Here we go.
Overnight Bathtub Repair
You'll need:
Tub cleaner
Masking tape
White superfine two-part Milliput self-hardening putty
Razor blade or putty knife
Wet/dry sandpaper in a variety of 600 to 1500 grit
Sheffield Porcelain touch-up paint
Tints-All (optional)
The tub needs to be immaculately clean for this project. Yes, immaculate. As in the conception of Jesus. Chelsea has me do the tub cleaning because she says I'm “stronger” and can get all the grime off better. Really, I just use better products than she does.
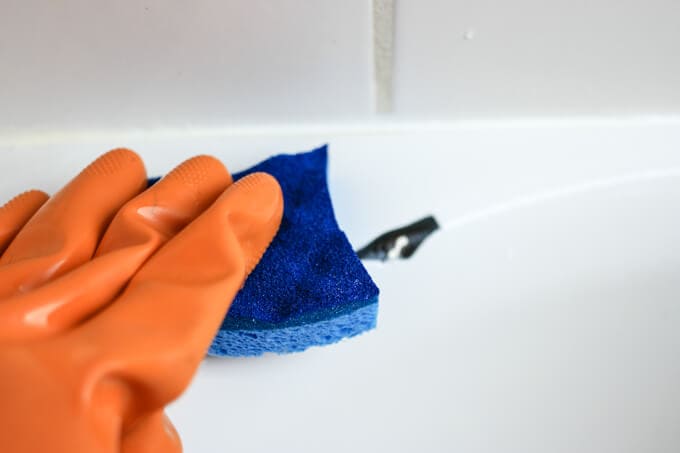
It sits there a couple minutes to dissolve soap scum, calcium deposits and lime and then I wipe it away. No need to bust out the big guns. My muscles, that is.
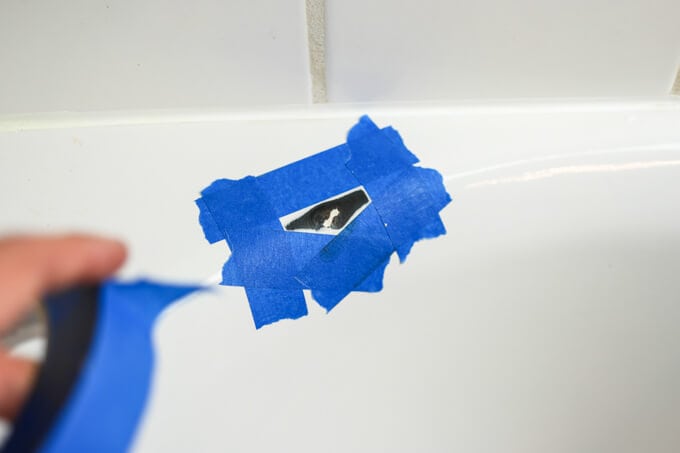
Tape off the bathtub repair area with masking tape.
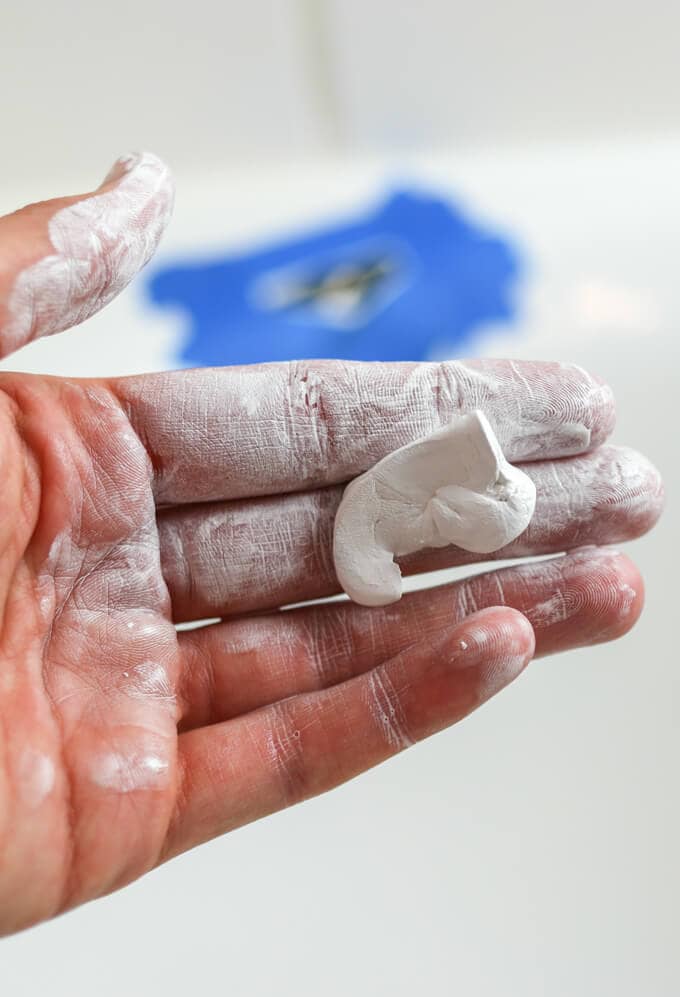
Mix up some white superfine two-part Milliput self-hardening putty. I had Chelsea do this because I didn't want to get my hands dirty she's taken pottery classes and is better at detail work.

To make your bathtub repair, slather the putty over the chipped area and then use a razor blade or small putty knife to shape it into the crevices and remove the excess putty.
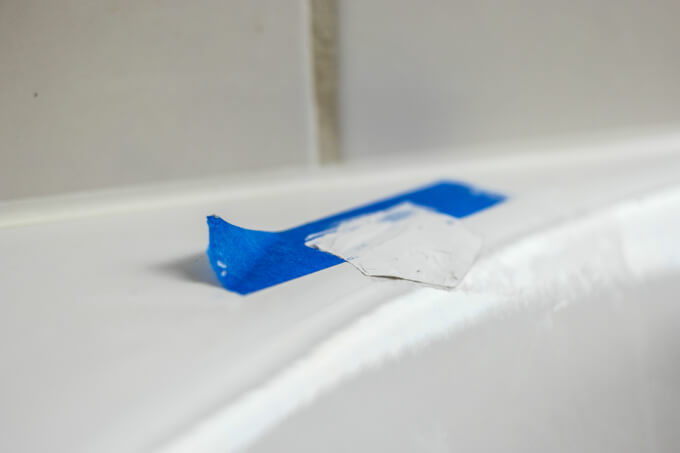
Gently pull away the masking tape.
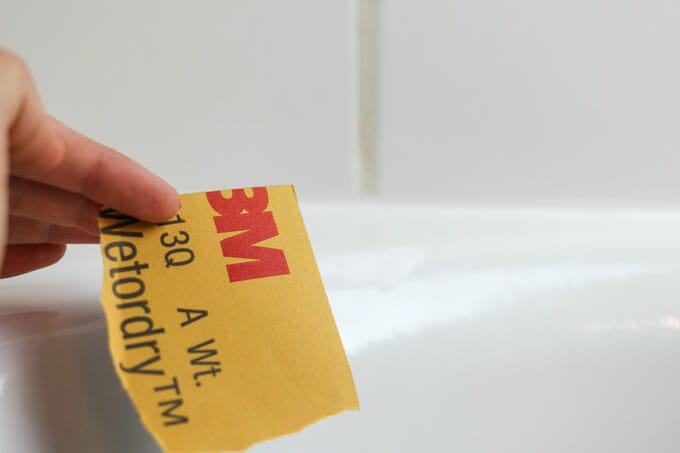
Sand the area, starting with 600 grit sandpaper that is slightly wet. Gradually increase the grit, wetting each time, until you are smoothing it with a 1500 grit sandpaper piece.
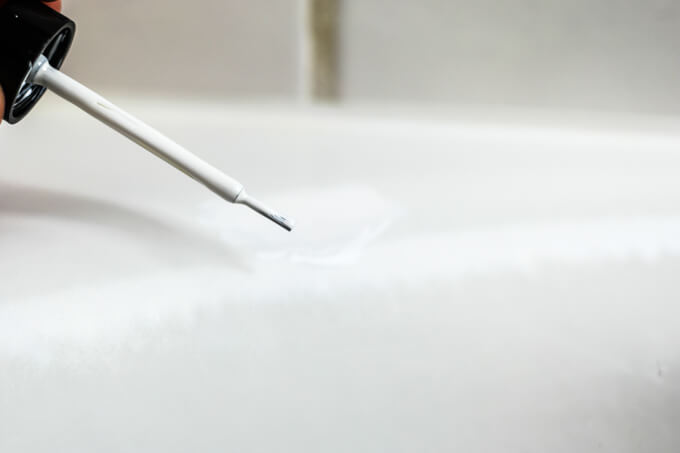
Paint over the area with the porcelain paint and let dry overnight before sanding a final time with a wet 1000 or 1500-grit sandpaper piece to polish it.
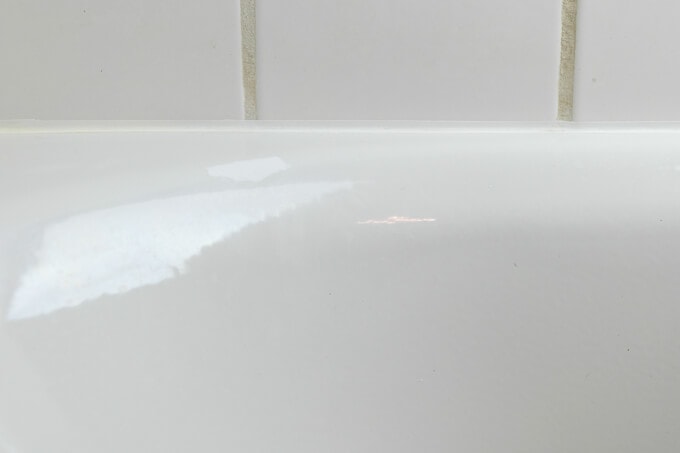
You can see that ours doesn't match exactly, but it's extremely close. I should have gotten a more grey color or used Tints-All to dye the porcelain paint. I'll probably get some and follow up with a second coat. Who am I kidding? No I won't.
Chelsea says it's good enough, and that's all that really matters. After our bathtub repair, I know her eye isn't immediately drawn to that crack anymore.
Now it's more focused on the ugly Spanish tile that she's been begging me to rip up.