Keeping chickens safe is surprisingly straightforward, if you have the right tools! I built this easy DIY chicken coop to raise a flock of chickens at home. Now we can have a quick breakfast every day with fresh laid eggs.
Yeah, tools. That's it. That's the real secret. I'm giving it up, right here at the beginning. See, having done this several times now – I know that it's all about getting your beams in deep enough, your screws and bolts in tight enough, and your wire pulled as taut as possible. There IS more to the story, though. Read on!
Upgrading and Improving from Backyard Chickens
You may recall that we're in the midst of a series of life changes. We left California a little over a year ago to make a better life for ourselves. Part of this included buying property for our forever home and – in an emergency – also buying a Boise house to live in while we build our dream.
In the midst of all that, we bought a simple chicken coop for the backyard in the city. With the hen house kept in our fenced backyard, we basically lost all our grass to their free-ranging feeding sessions.
Gathering eggs was easy, as the hen house was prefabricated and had nice nesting boxes built in. It was a small chicken coop, but doable as long as they also got to eat our entire lawn. The boys were left basically playing in dirt after the snow thawed, and we knew this was not a good long term solution.
Bigger Coop and Runs
With so much free space at our property, I set out to build a bigger easy DIY chicken coop over there to accommodate 15-25 chickens. You can get free chicken coop plans online if you want to build your own chicken coop, but I decided to do it all myself and customize for my property.
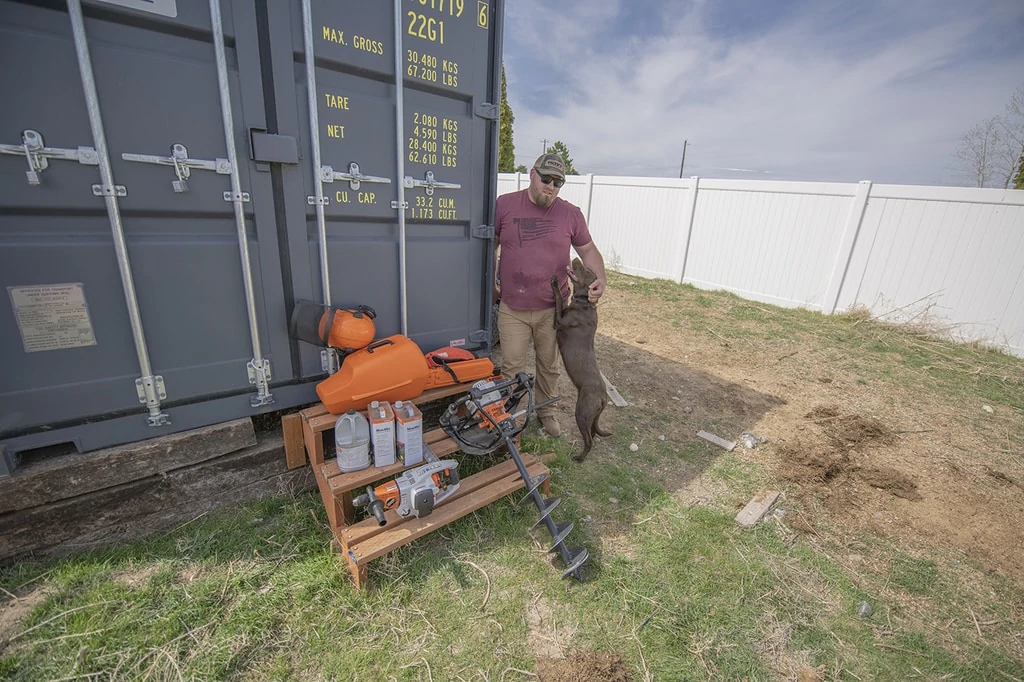
We're still working with our partner STIHL, and I've loved using my STIHL Auger on my other farm projects. I really wanted to put my new BT 45 Wood Boring auger to use on this easy DIY chicken coop.
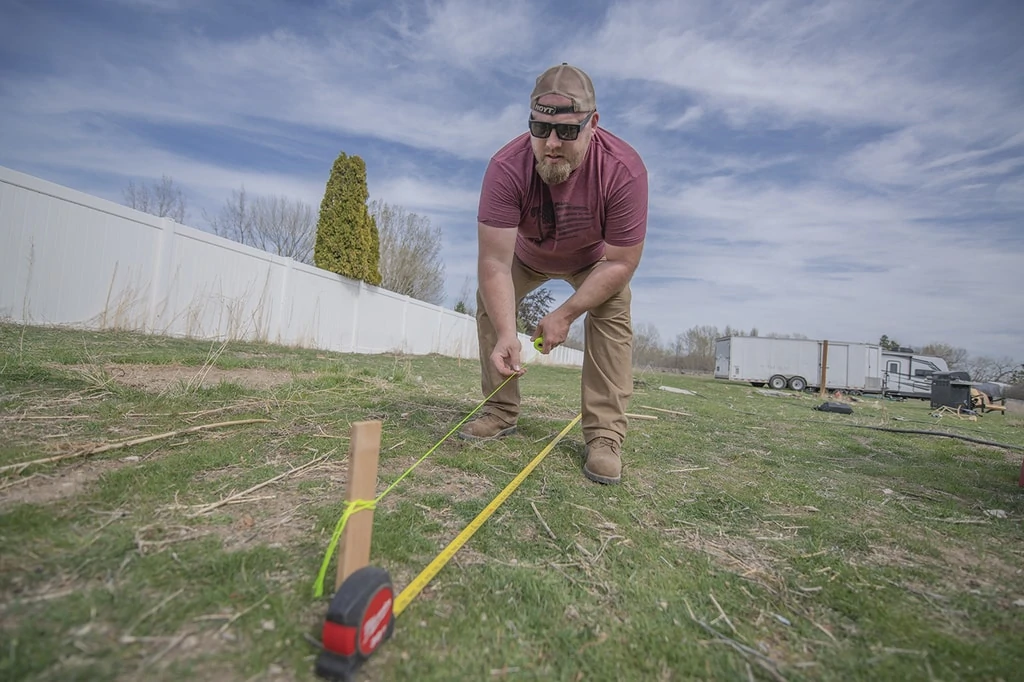
To be clear, this is not just a chicken house. This is a large enclosure meant for raising chickens with plenty of square footage for them to play, scratch, and take dust baths without destroying everything on the property. It also functions as a way to keep them safer from the elements and predators. I measured out my space and drew up my easy DIY chicken coop plan.
Basic Chicken Coop Plan and Supplies
Your specific plan will depend on the size you are working with. That said, overall, you'll want vertical posts roughly every eight feet apart. Lateral support boards will span between those, with rafters spanning up top and roofing set on those. Add an extra post to frame the outside of the door. That's it!
Supplies needed:
- Treated 4x4s
- Treated 2x4s for lower/exposed framing
- Standard 2x4s for rafter supports
- Corrugated Metal roofing (they come in different lengths and colors)
- #9 3″ Star Pattern Screws
- Carriage Bolts
- 1″ Chicken wire (I used a 4′ roll)
- Primary Tools: Earth Auger, Impact Driver, Wood Boring Drill
- Safety Tools
Boring is Never Boring with STIHL
I wanted my easy DIY chicken coop to be… well… easy! Most of the supplies on my materials list were readily accessible, available at any Home Depot or Lowe's type store. With the exception of the chicken wire – which I usually pick up at a feed shop – that's the kind of store where I get all my supplies. I didn't draw up step by step instructions per se, but I did draw out my plans ahead of time which were easy to follow or modify if needed.
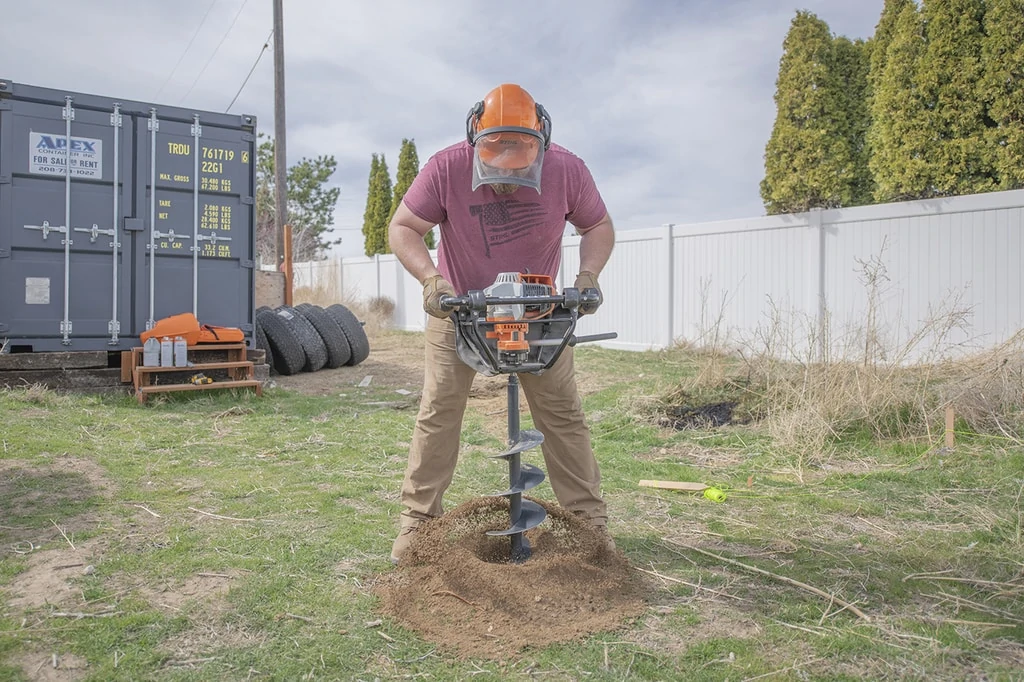
Post Holes as a firm foundation
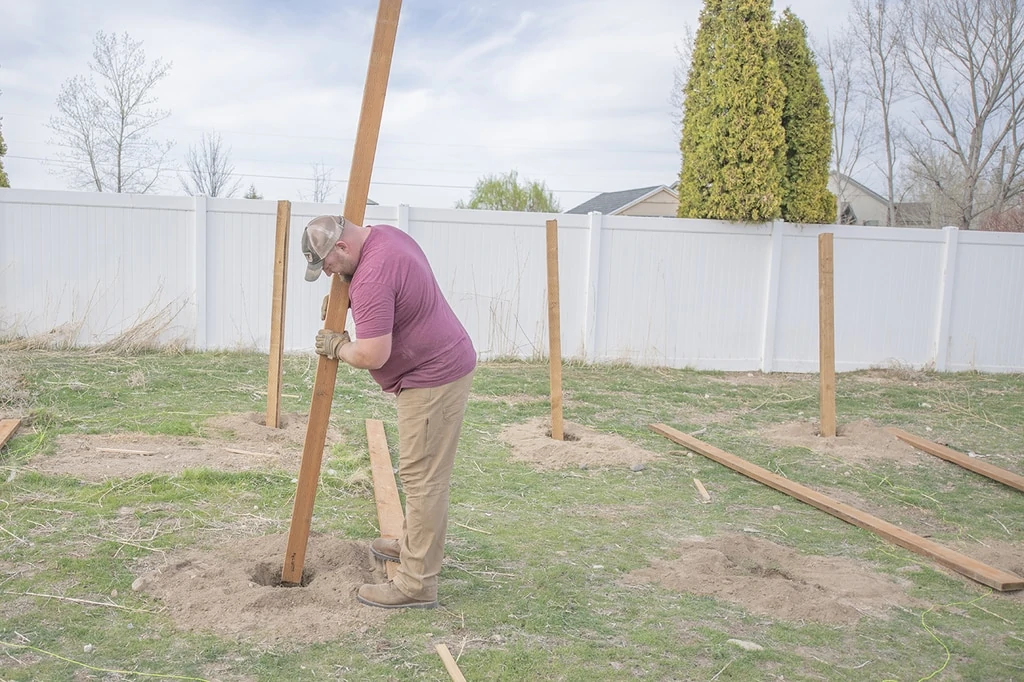
I used my STIHL BT 131 to dig nine holes down to 2 feet deep. The four post holes in the rear were for the 8-foot posts. The five holes in the front were for four 10-foot posts, plus an additional 10-foot door post.
This would allow me to walk around inside the coop standing tall for the most part (I'm 6'4″) and allow rain to easily pour off the back of the metal roof. A totally pragmatic start to an easy DIY chicken coop!
Chicken Coop Design is About Strength
The next thing I did was measure four feet up on the two posts to the uphill side, fastening a lateral support board. This was to set the standard height of the 4-foot chicken wire to later be used to enclose the coop. Using a construction grade string and a level, I fastened a matching board to the opposite side at the same height as the far end (which was a bit higher from the ground on that side overall).
It was important that the boards were parallel to each other and not measured from the ground on both sides, as that would cause the chicken wire to get tacked in at an angle. This also allowed me to set the height of the front and back runners (mid height boards for tacking in the chicken wire) to match the same height.
Flushing up the Facia
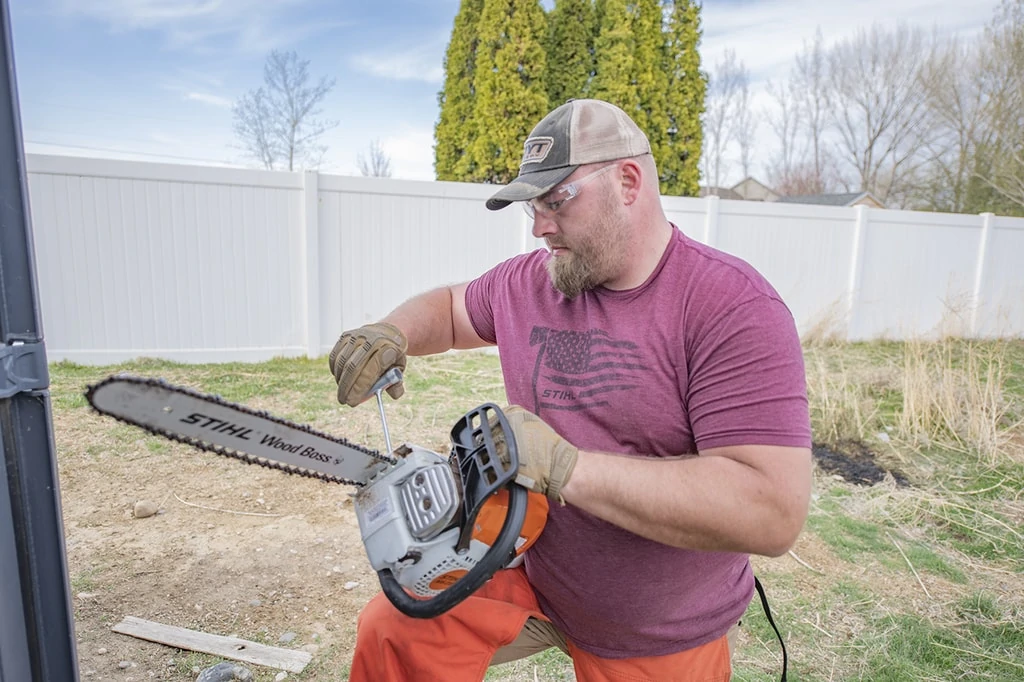
Because this isn't rocket science, I knew some boards might not align quite so perfectly. That's why I brought my STIHL MS 251 Wood Boss along to trim up any excess. I also brought along my standard safety gear like eye protection, hearing protection, gloves, and chaps, as well as my helmet with attached face shield.
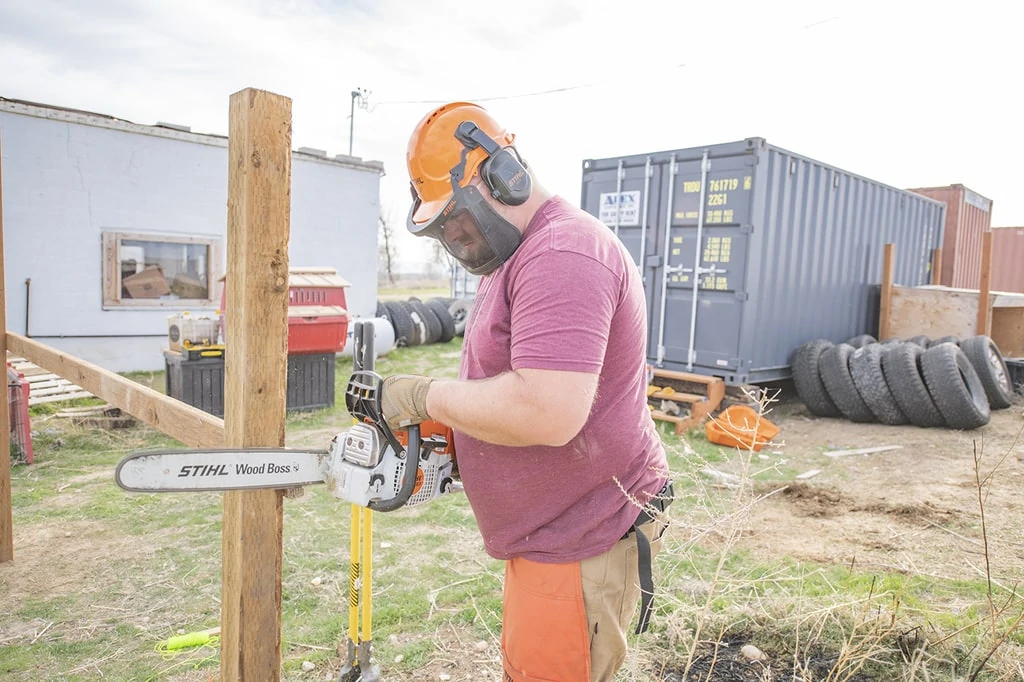
One great thing about using a chainsaw to build an easy DIY chicken coop is that I don't need to plug a tool in to get the job done. I also love the sound and power. Something about these American made saws makes me downright giddy!
More Boring Power
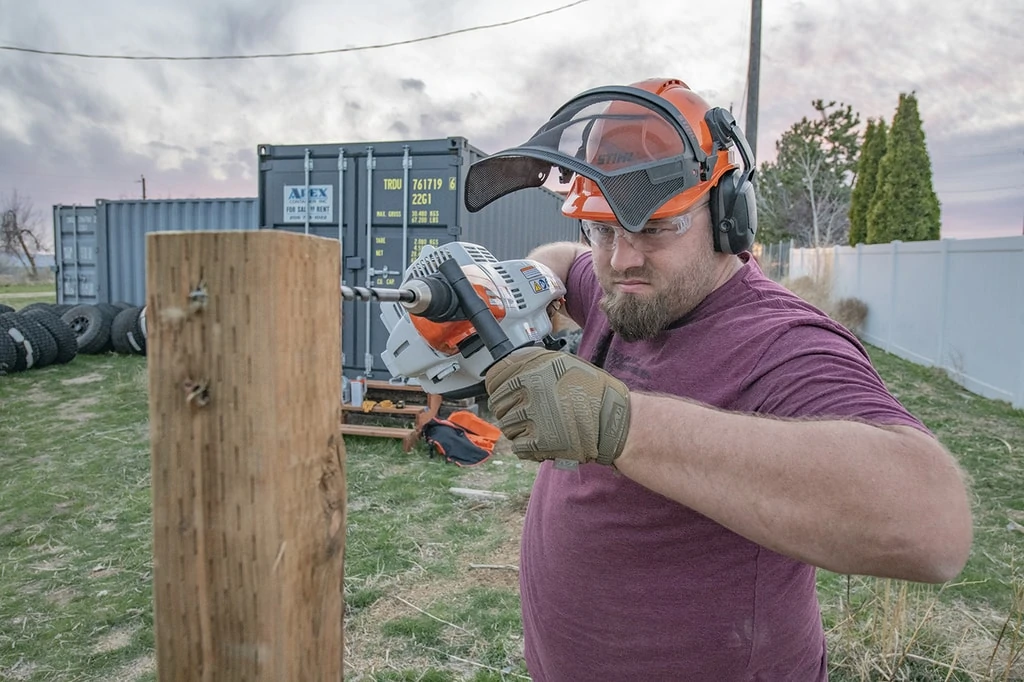
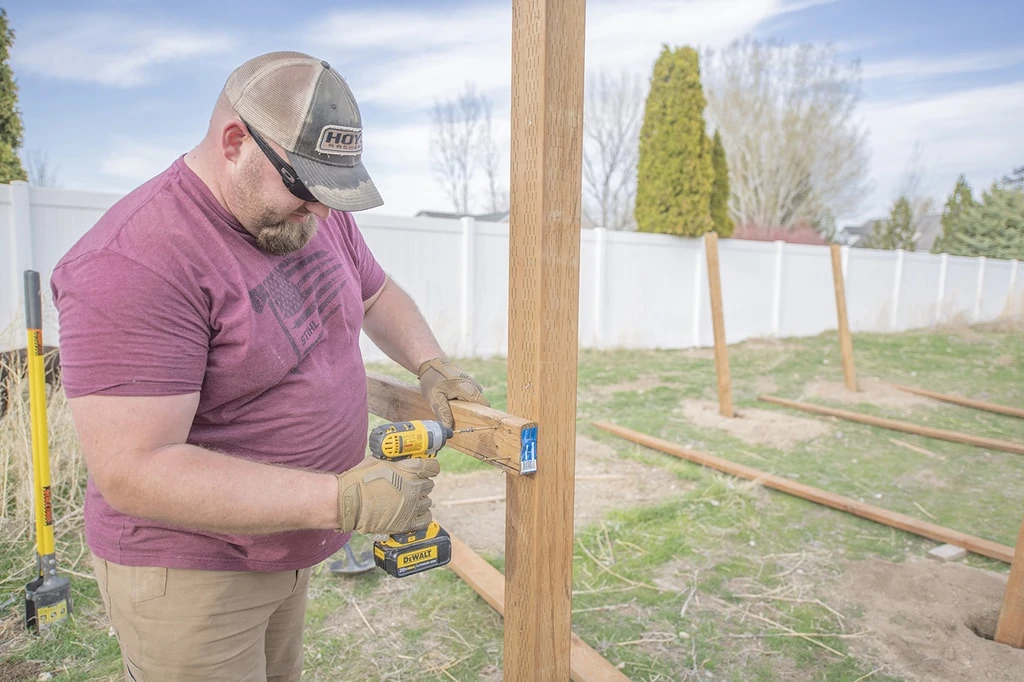
After the front, back, and side support boards were all set in place, it was time to get serious. I picked up my STIHL BT 45 Wood Boring Drill and got to work boring pilot holes for the carriage bolts that would hold up the large 2×6 rafter boards spanning the roof. This STIHL drill made light work of a board that was typically a bit of a chore for my smaller electric/battery drills.
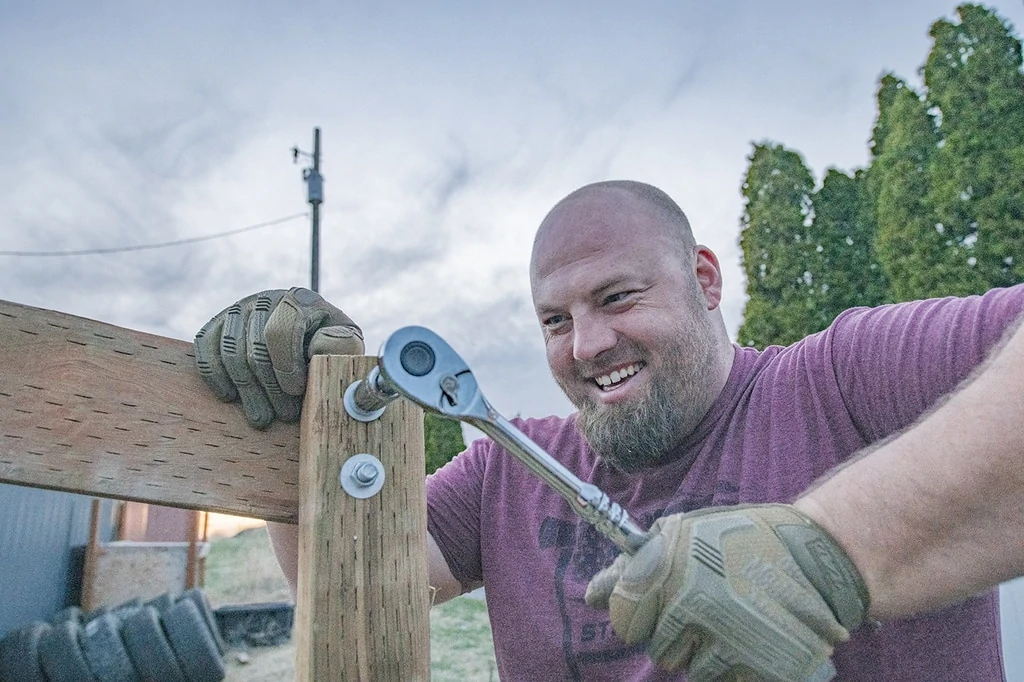
In no time, I was ready to run my carriage bolts through the 4×4 and 2×6 to fasten them together. With high winds in my area, the large carriage bolts offer better structural support for the rafter frame as opposed to smaller screws. All I had to do now was use a ratchet to snug them all into place.
The Joys of Joists
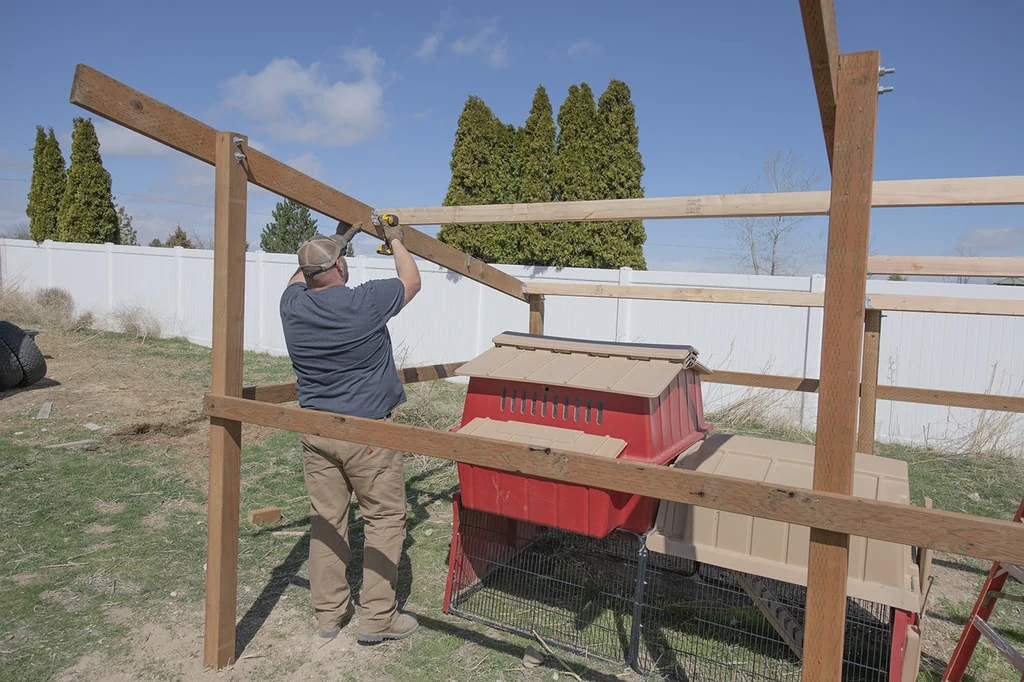
To support the metal sheet roof panels, I mounted 2×4 joists using screws and brackets every three feet between the rafter boards. This would allow for higher snow load capacities and better security against winds. Finally, the metal roof sheets got screwed down along these joists.
Happy Helpers
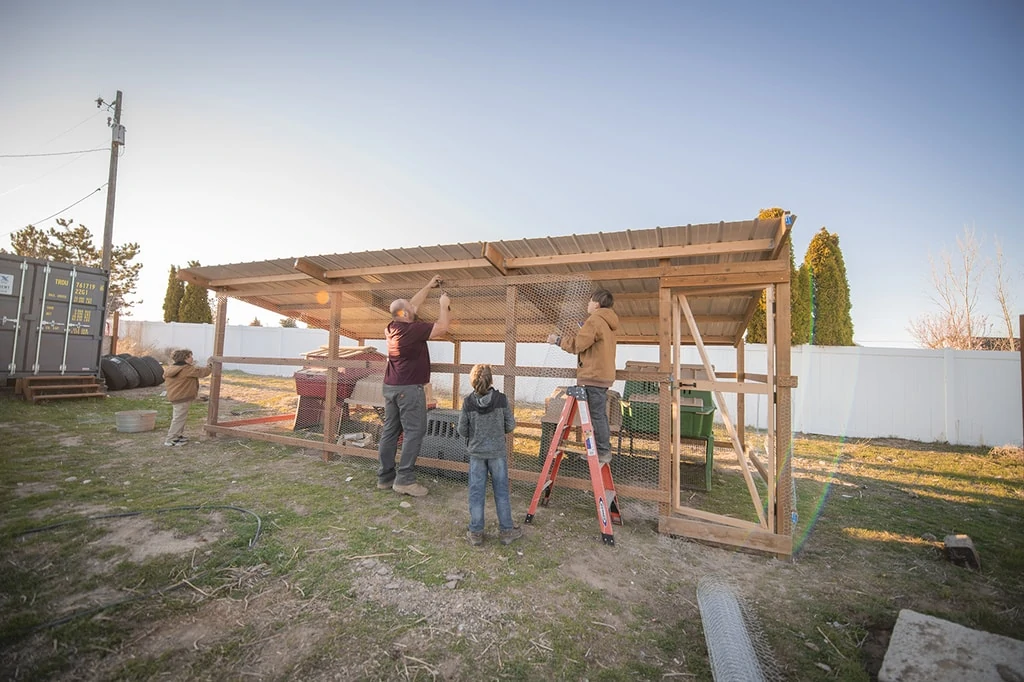
There's no way around it so I'll just say it: chicken wire is a pain! That's why I had my sons help hold the wobbly mesh in place as I tacked it in with a hammer. For my easy DIY chicken coop, I did one wrap of mesh on the bottom four feet, and another around the top with some overlap. I framed out a simple door to fit within the space we'd earmarked, and screened it separately.
Keep the Good In and the Bad Out
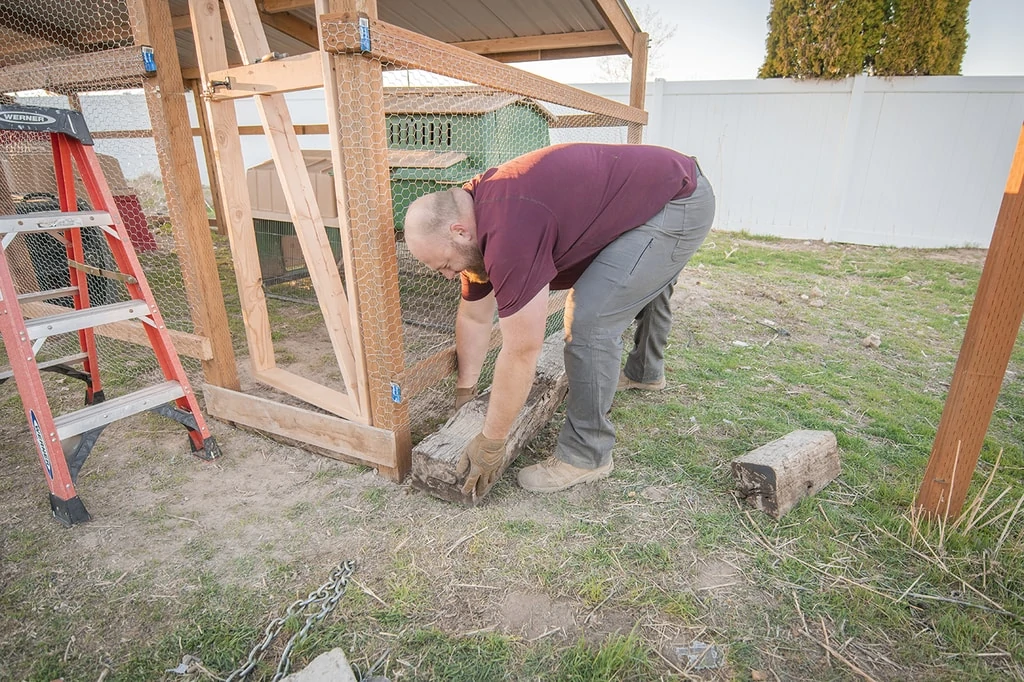
Because my build area has a slight slope and I kept the angle of the coop level, I wound up with some slightly exposed areas along the bottom. Fortunately, I had railroad ties to keep my easy DIY chicken coop all sealed up. I placed the railroad ties along the outside bottom of the coop to act as a heavy backer for the chicken wire.
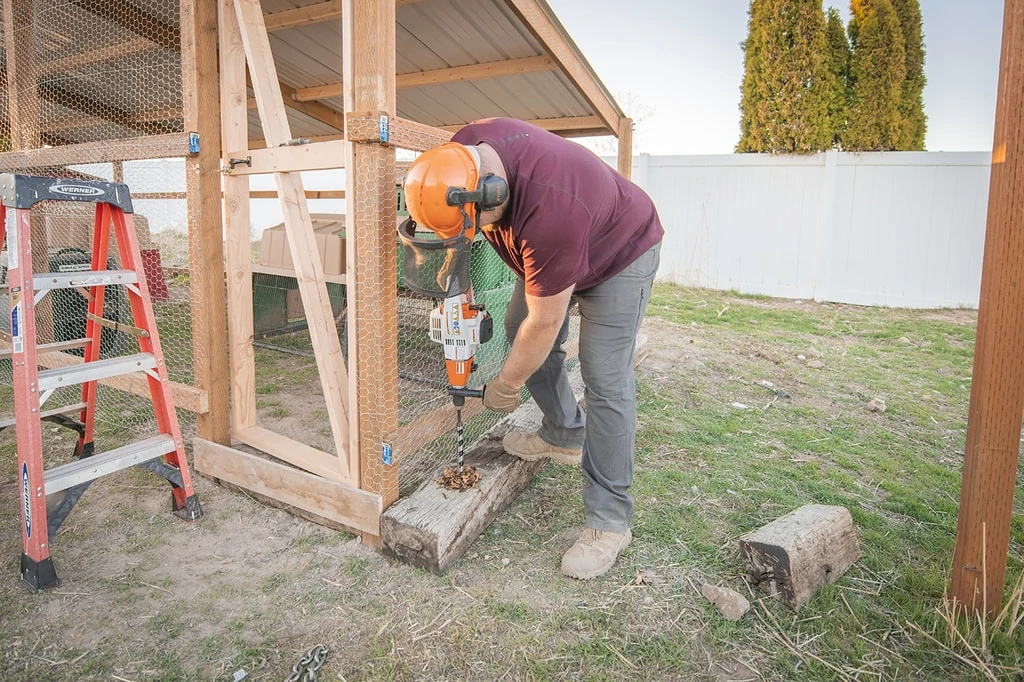
Finally, I used the powerful BT 45 to bore a 1-inch hole into both ends of the railroad tie to allow me to stake it down using a 2 foot piece of steel rebar. This ensured that nothing could push it in or out. Back when I built my well house, I tried drilling into a railroad tie using a standard hand drill. It didn't have the power or bit length to get the job done.
This was a cakewalk for the BT 45, as it took less than 8 seconds to bore right through this thick wood. Once I pounded the rebar through the bored holes, I hammered the tips over to lock them in place and help prevent any accidents.
An Easy DIY Chicken Coop to be Proud of
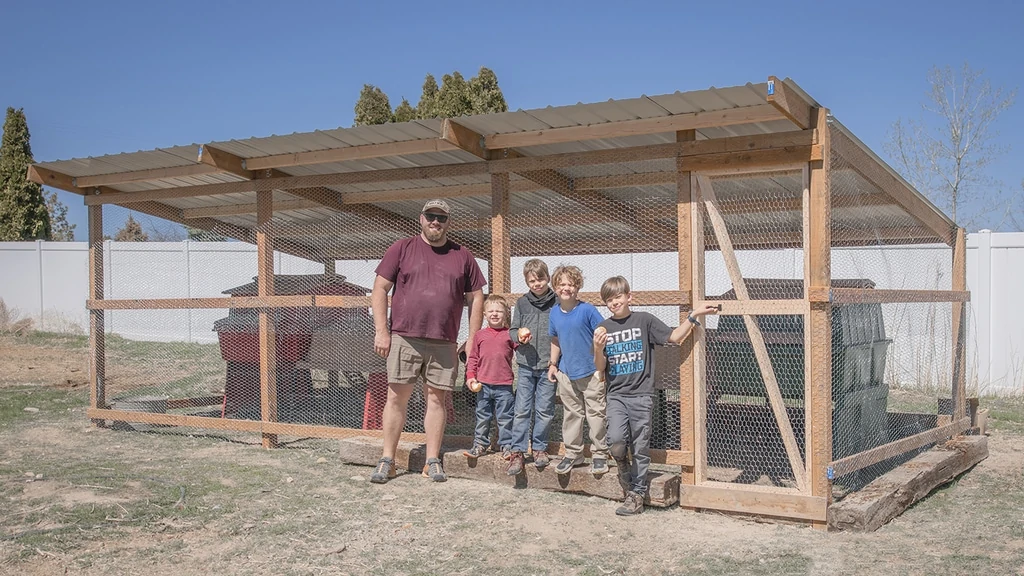
I placed our matching chicken houses inside the new coop/run, and set the birds free in their new home. The boys and I enjoyed working together on a fun family farm project, and I was able to put three of my favorite STIHL tools to good use!
Now, I am ready to upgrade my chicken count from 9 egg layers to 20 or 25 – and we have space to keep broody hens and roosters separate, if need be. God knows that raising 4 growing boys means I am going to need a good steady supply of health organic protein! As of right now, we already go through about 20 eggs in the morning.
Would you ever put up an easy DIY chicken coop at your home?