After buying a plot of land in Idaho to escape California, I turned to STIHL, like always, to maintain and improve my land. This is how I used my new STIHL auger to complete four essential projects for our new homestead.
A STIHL Auger for the Summer BORE
Okay, sue me! I'm a dad and wanted to lead off with a dad joke. “BORE.” Like to dig a hole. Get it!? Like one done with a STIHL auger! Ahahaha. Hah. Ahoo.
We arrived at our new Idaho property in the middle of summer. We were honestly surprised that the temperature held in the mid 90's and occasionally landed in the triple digits! Through the heat, we began to explore our new plot of land and quickly discovered that no one, not even the post man, knew where we were. It had been uninhabited for so long that there was no sign of anyone residing there.
I set out to rectify the situation POST HASTE!
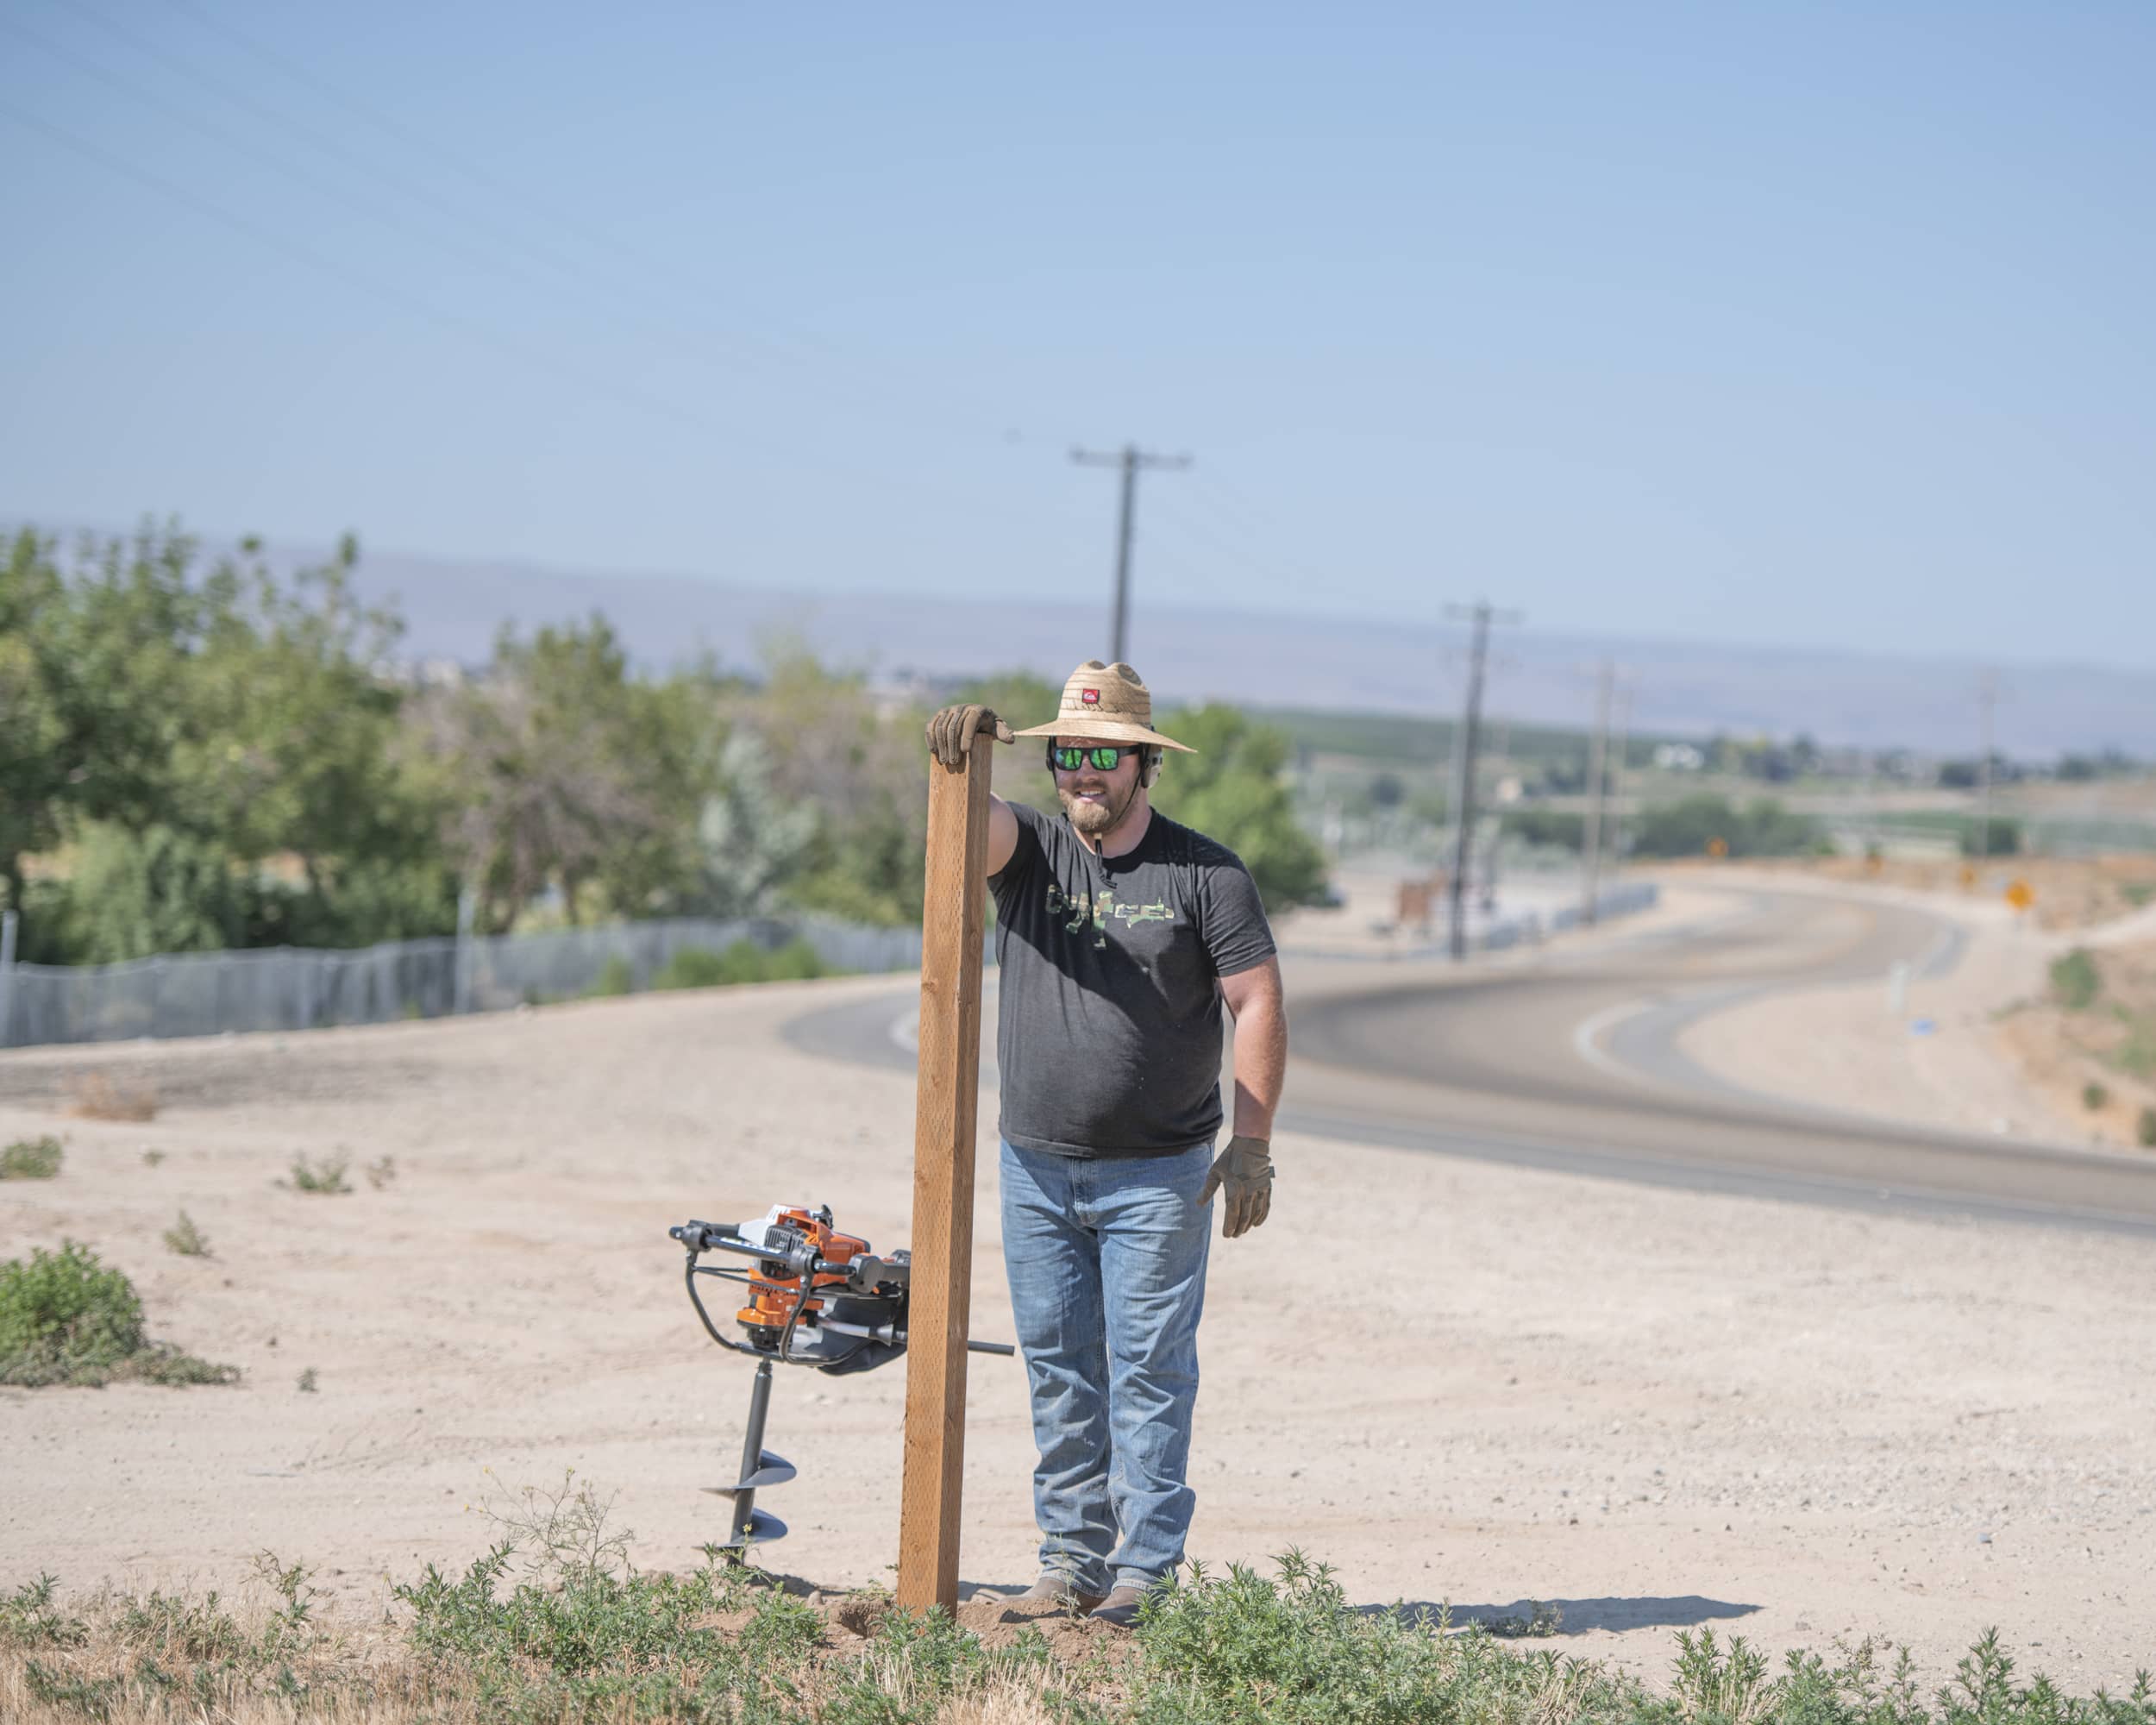
I immediately set out to install an address post at the roadside of our property. In all seriousness, out in rural areas, this is sometimes the only way a delivery man (or woman!) can find your home. A lot of people out here opt for post office boxes for general mail. This freestanding monolith acts as sort of a beacon. It can be ornate or – in my fashion – simple and pragmatic. I found my planned fence line and, using my STIHL auger, dug the hole to plant the sign of our family's existence in the dirt.
What's Dug is Dug
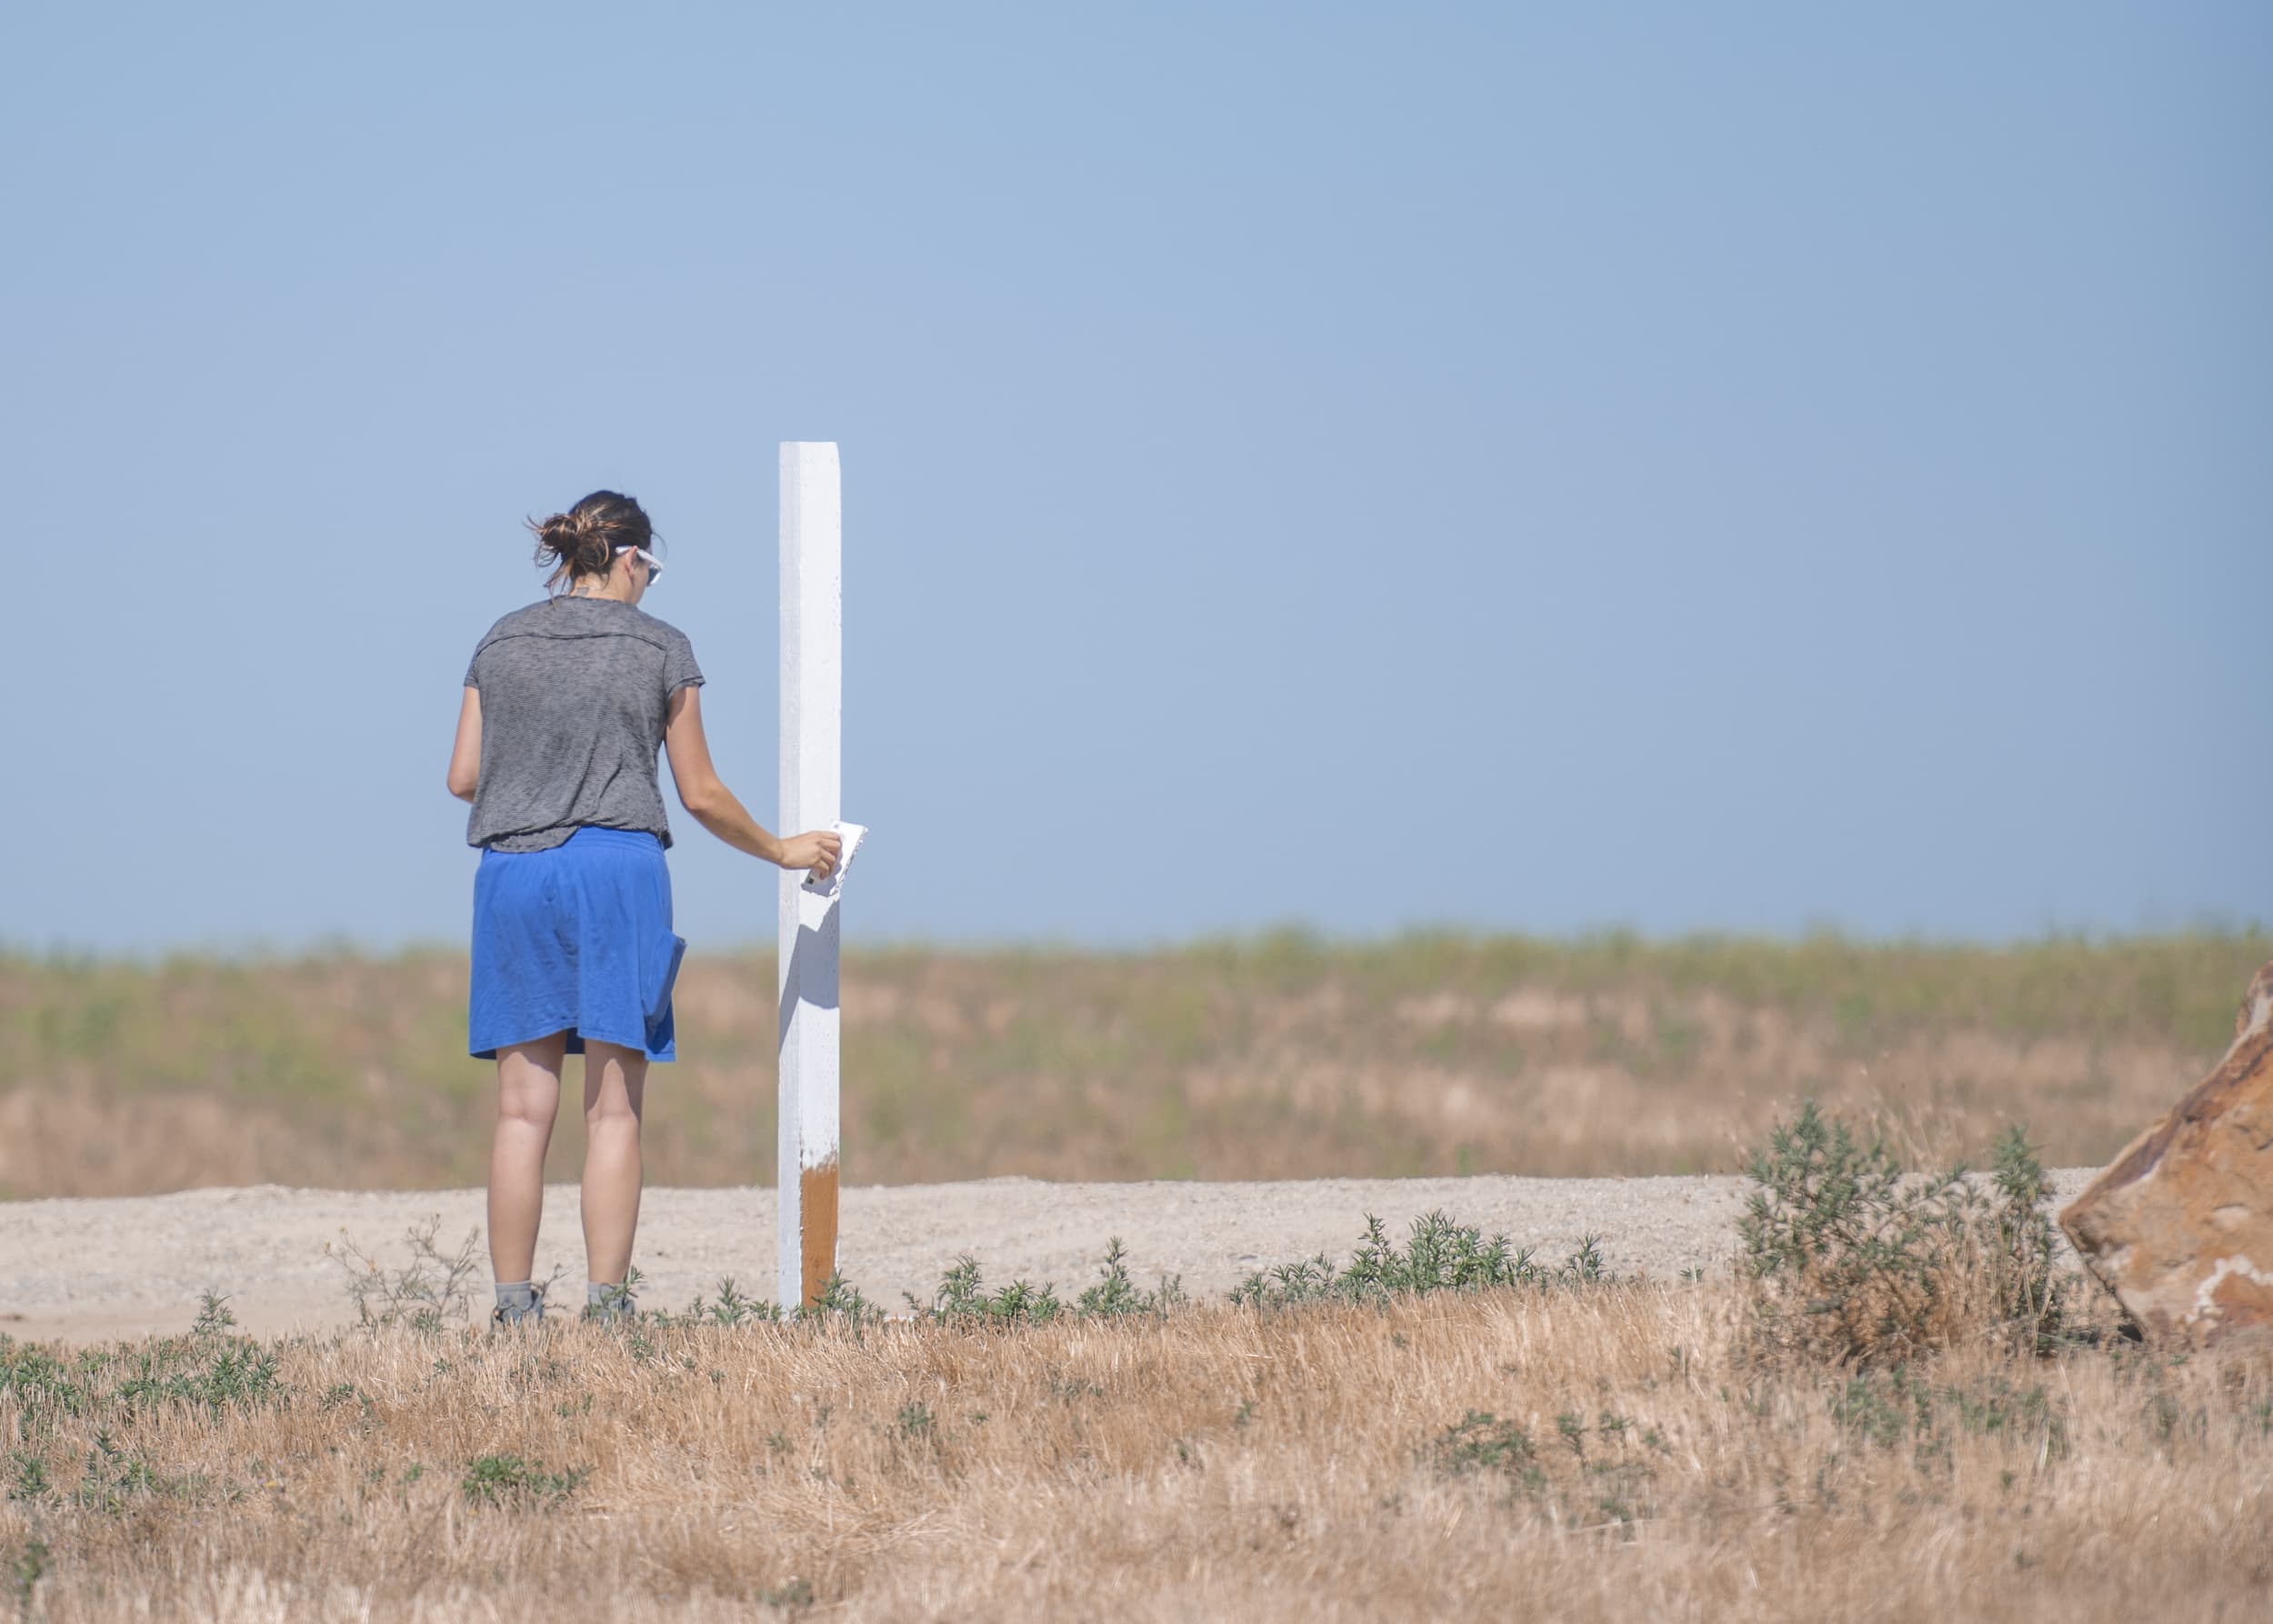
A STIHL Auger makes digging a post hole light work. Obviously I didn't tell Chelsea that, as I'd lose points for the greatness of my project. After I dug the hole and planted the post, she set to work making our post more attractive and official by adding a coat of white paint. The summer heat helped dry the paint quickly and I was able to apply our address numerics the next day. And, with that, all the mail and packages flowed in!
Getting a Step Up by Digging Down
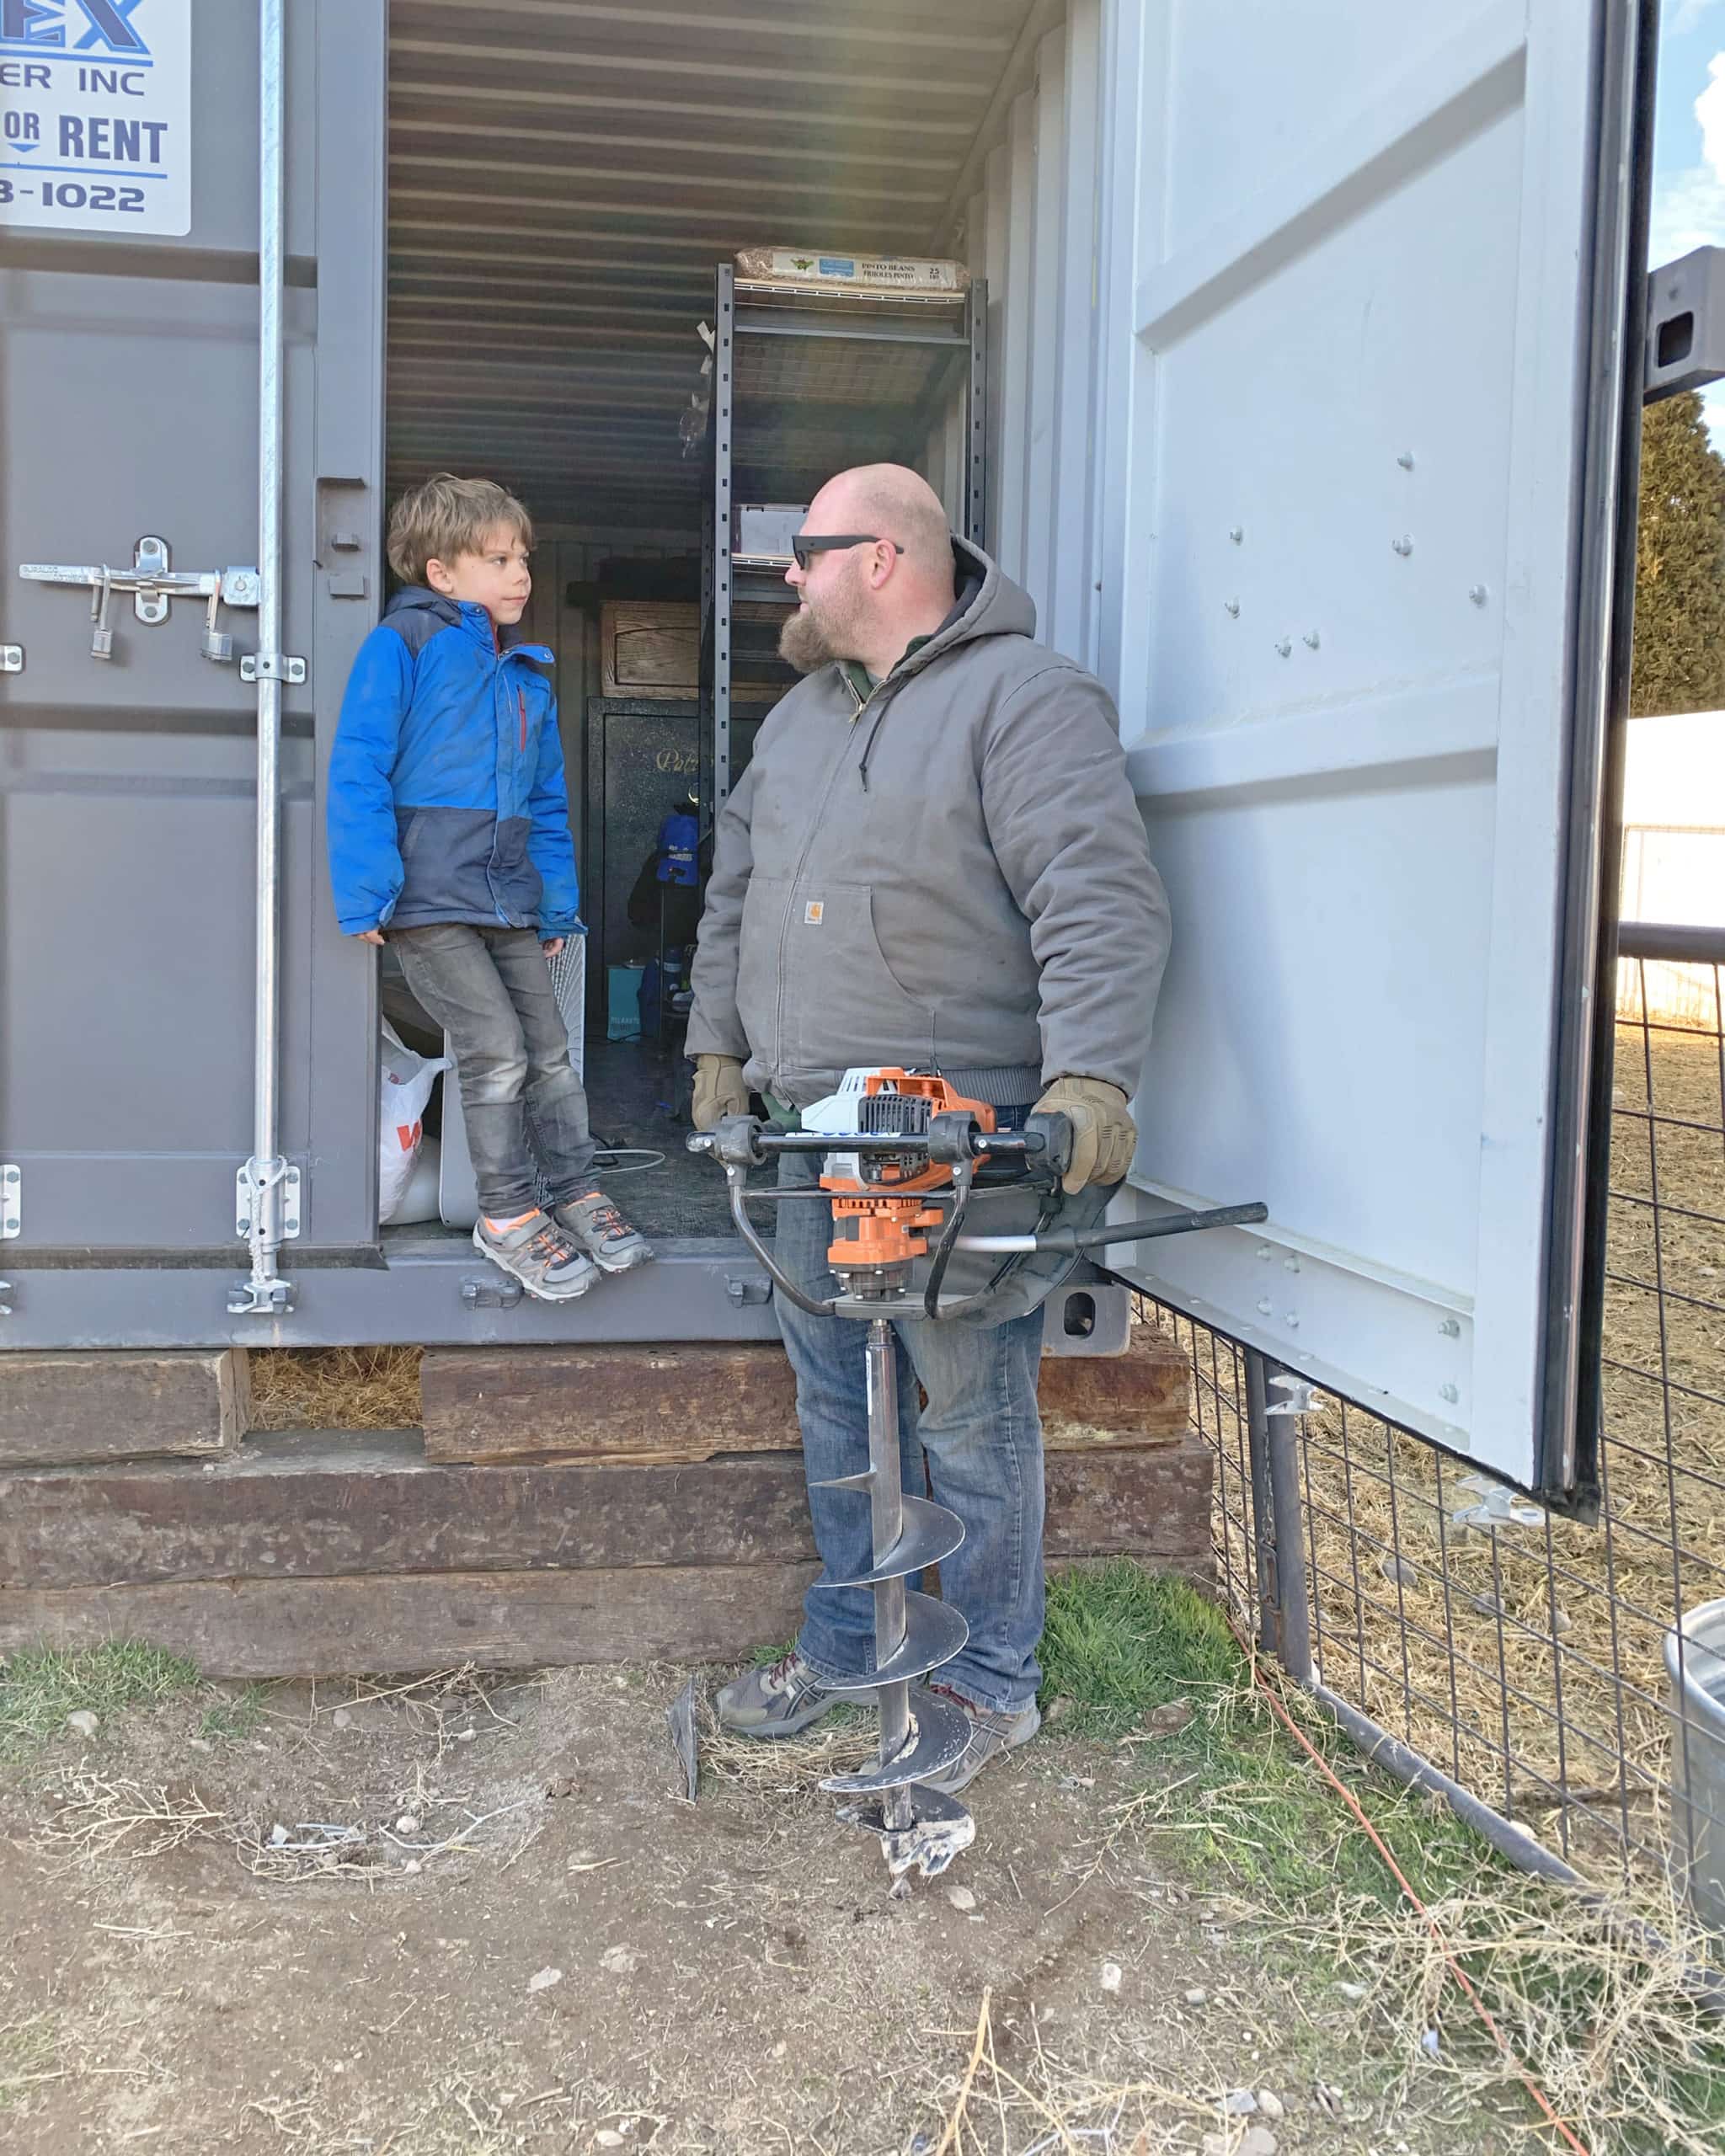
I hadn't realized that our STIHL auger would be essential in helping us get a leg up. Chelsea and I definitely made a unique decision when it came to moving our lives up to the northwest. We opted to load up two 40′ steel shipping containers and had them shipped ahead of of us. After they were set in place, I made quick work of leveling them so they would be easier to use as interim garages and on-site storage units.
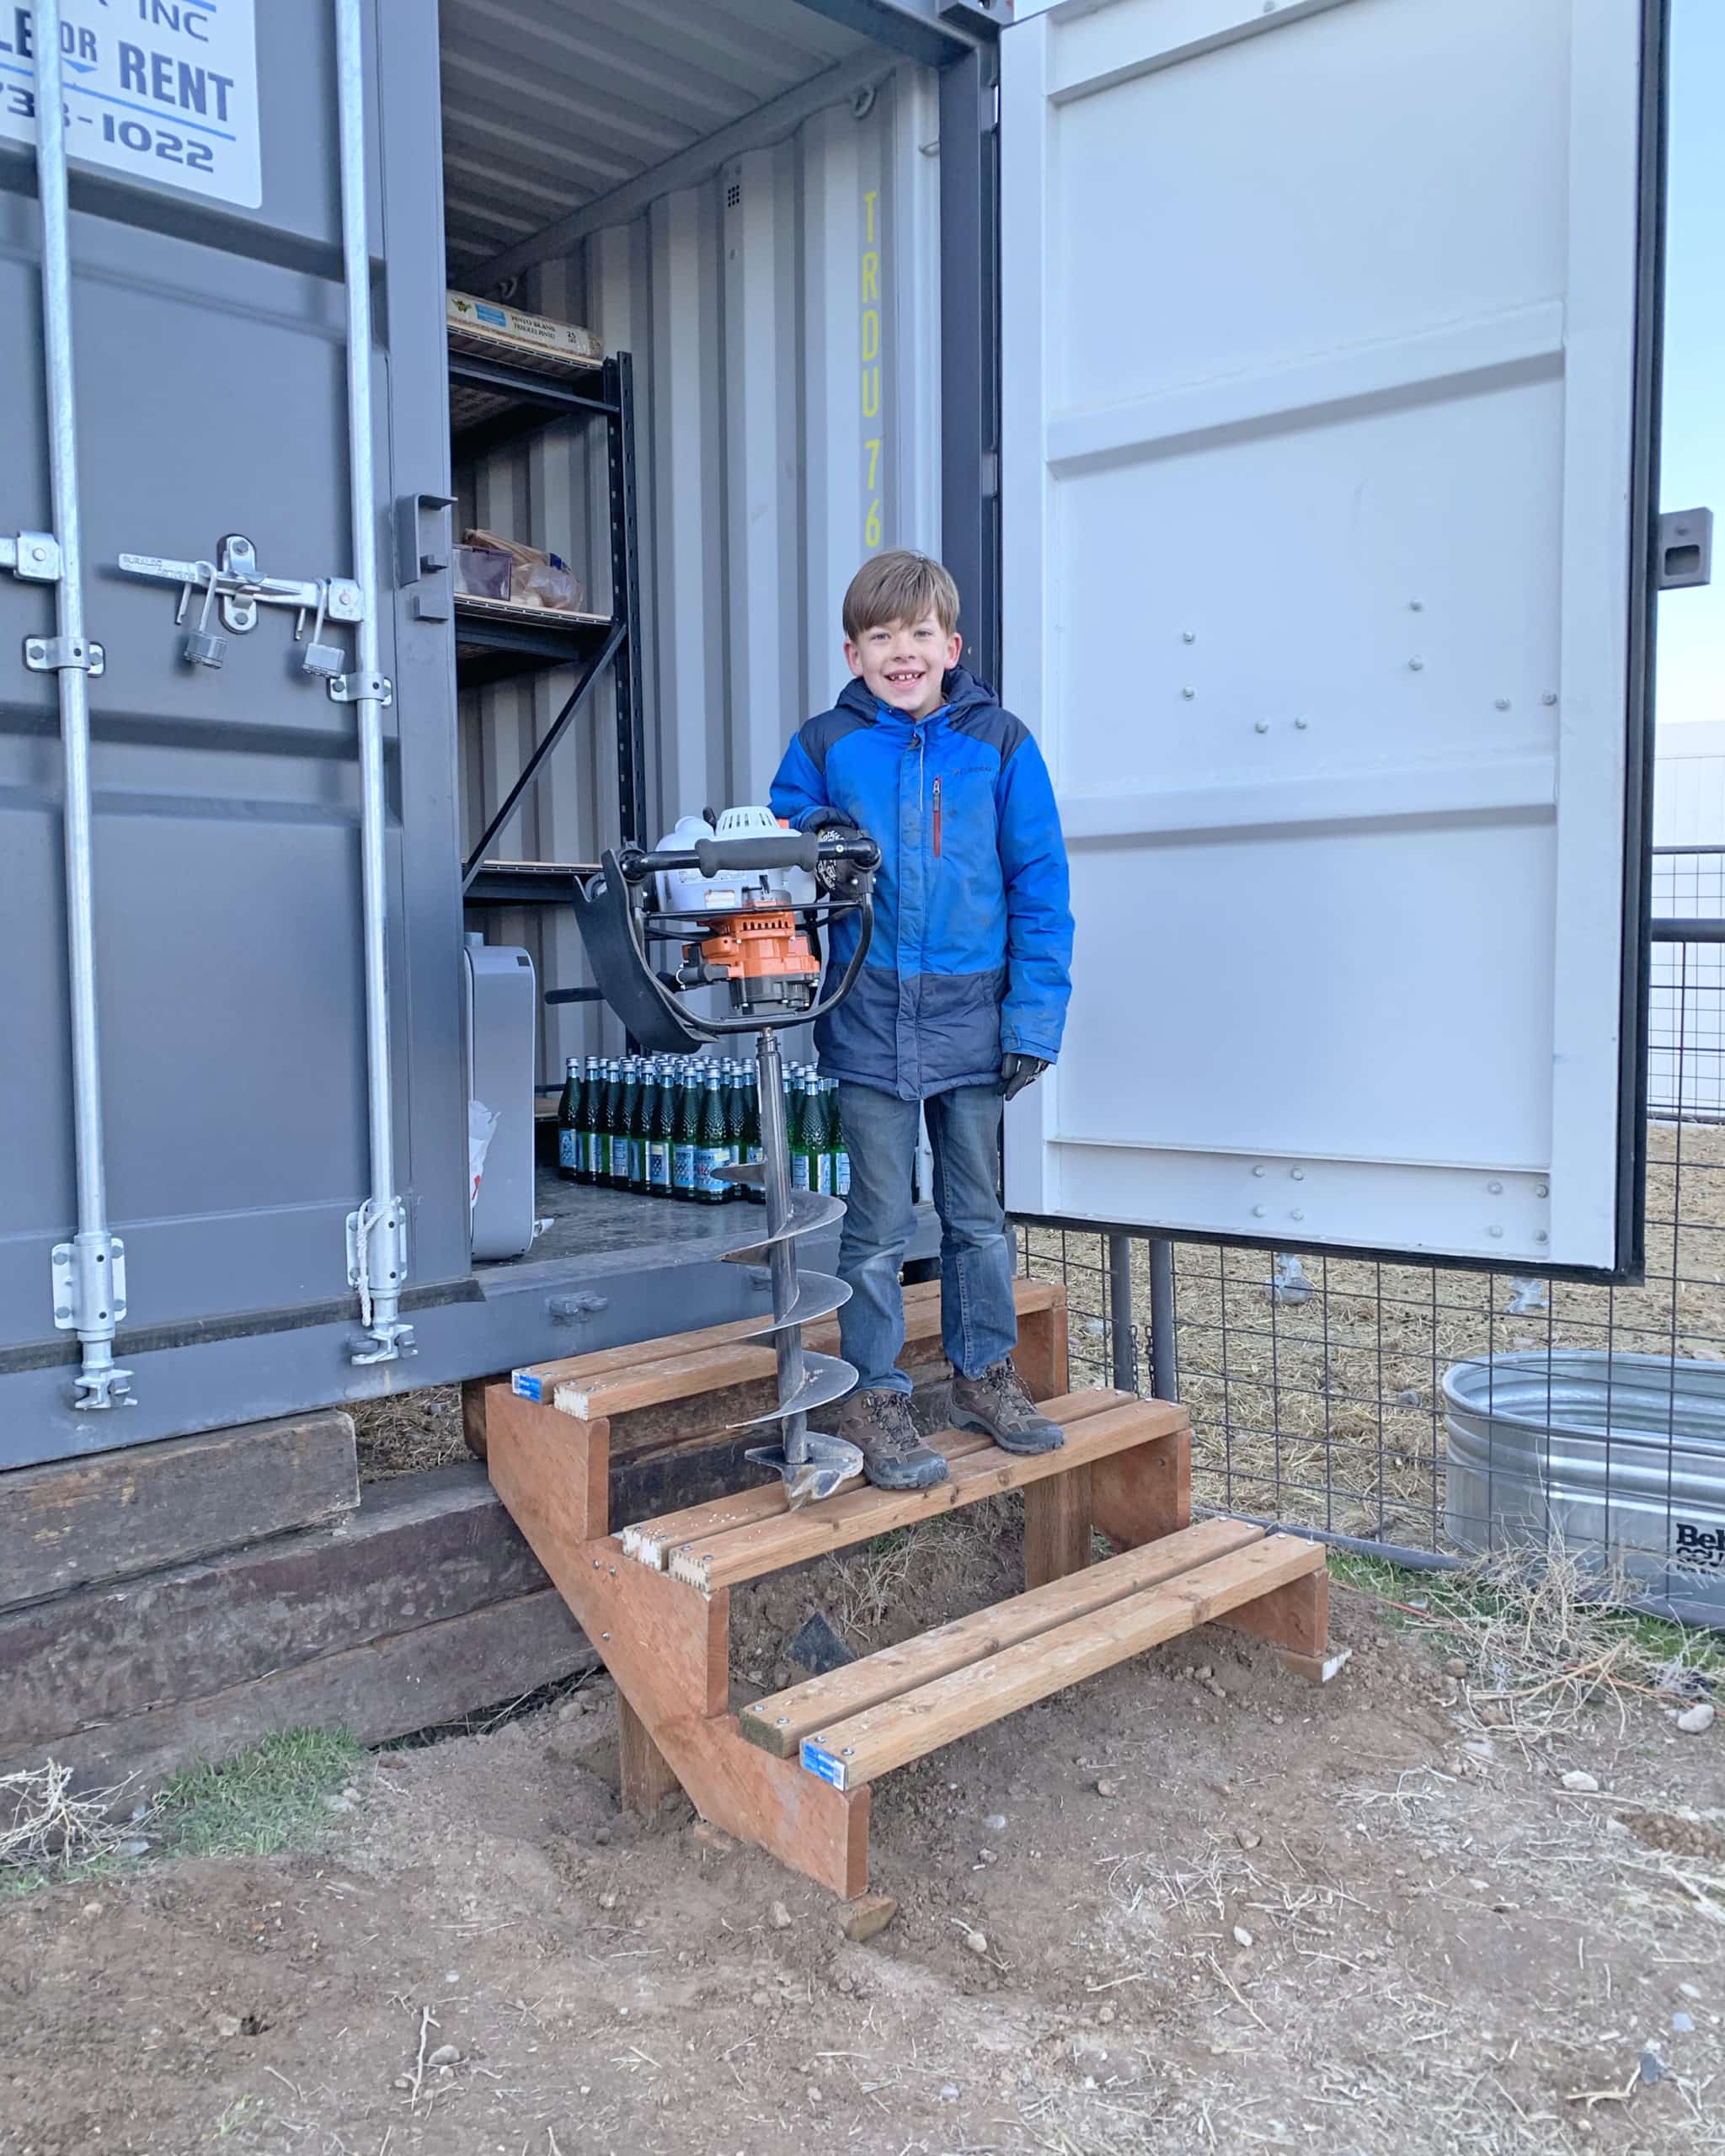
What I was NOT prepared for was the height of the elevated entrance. For this, I needed to make a quick set of steps so Chelsea and the boys could enter with ease.
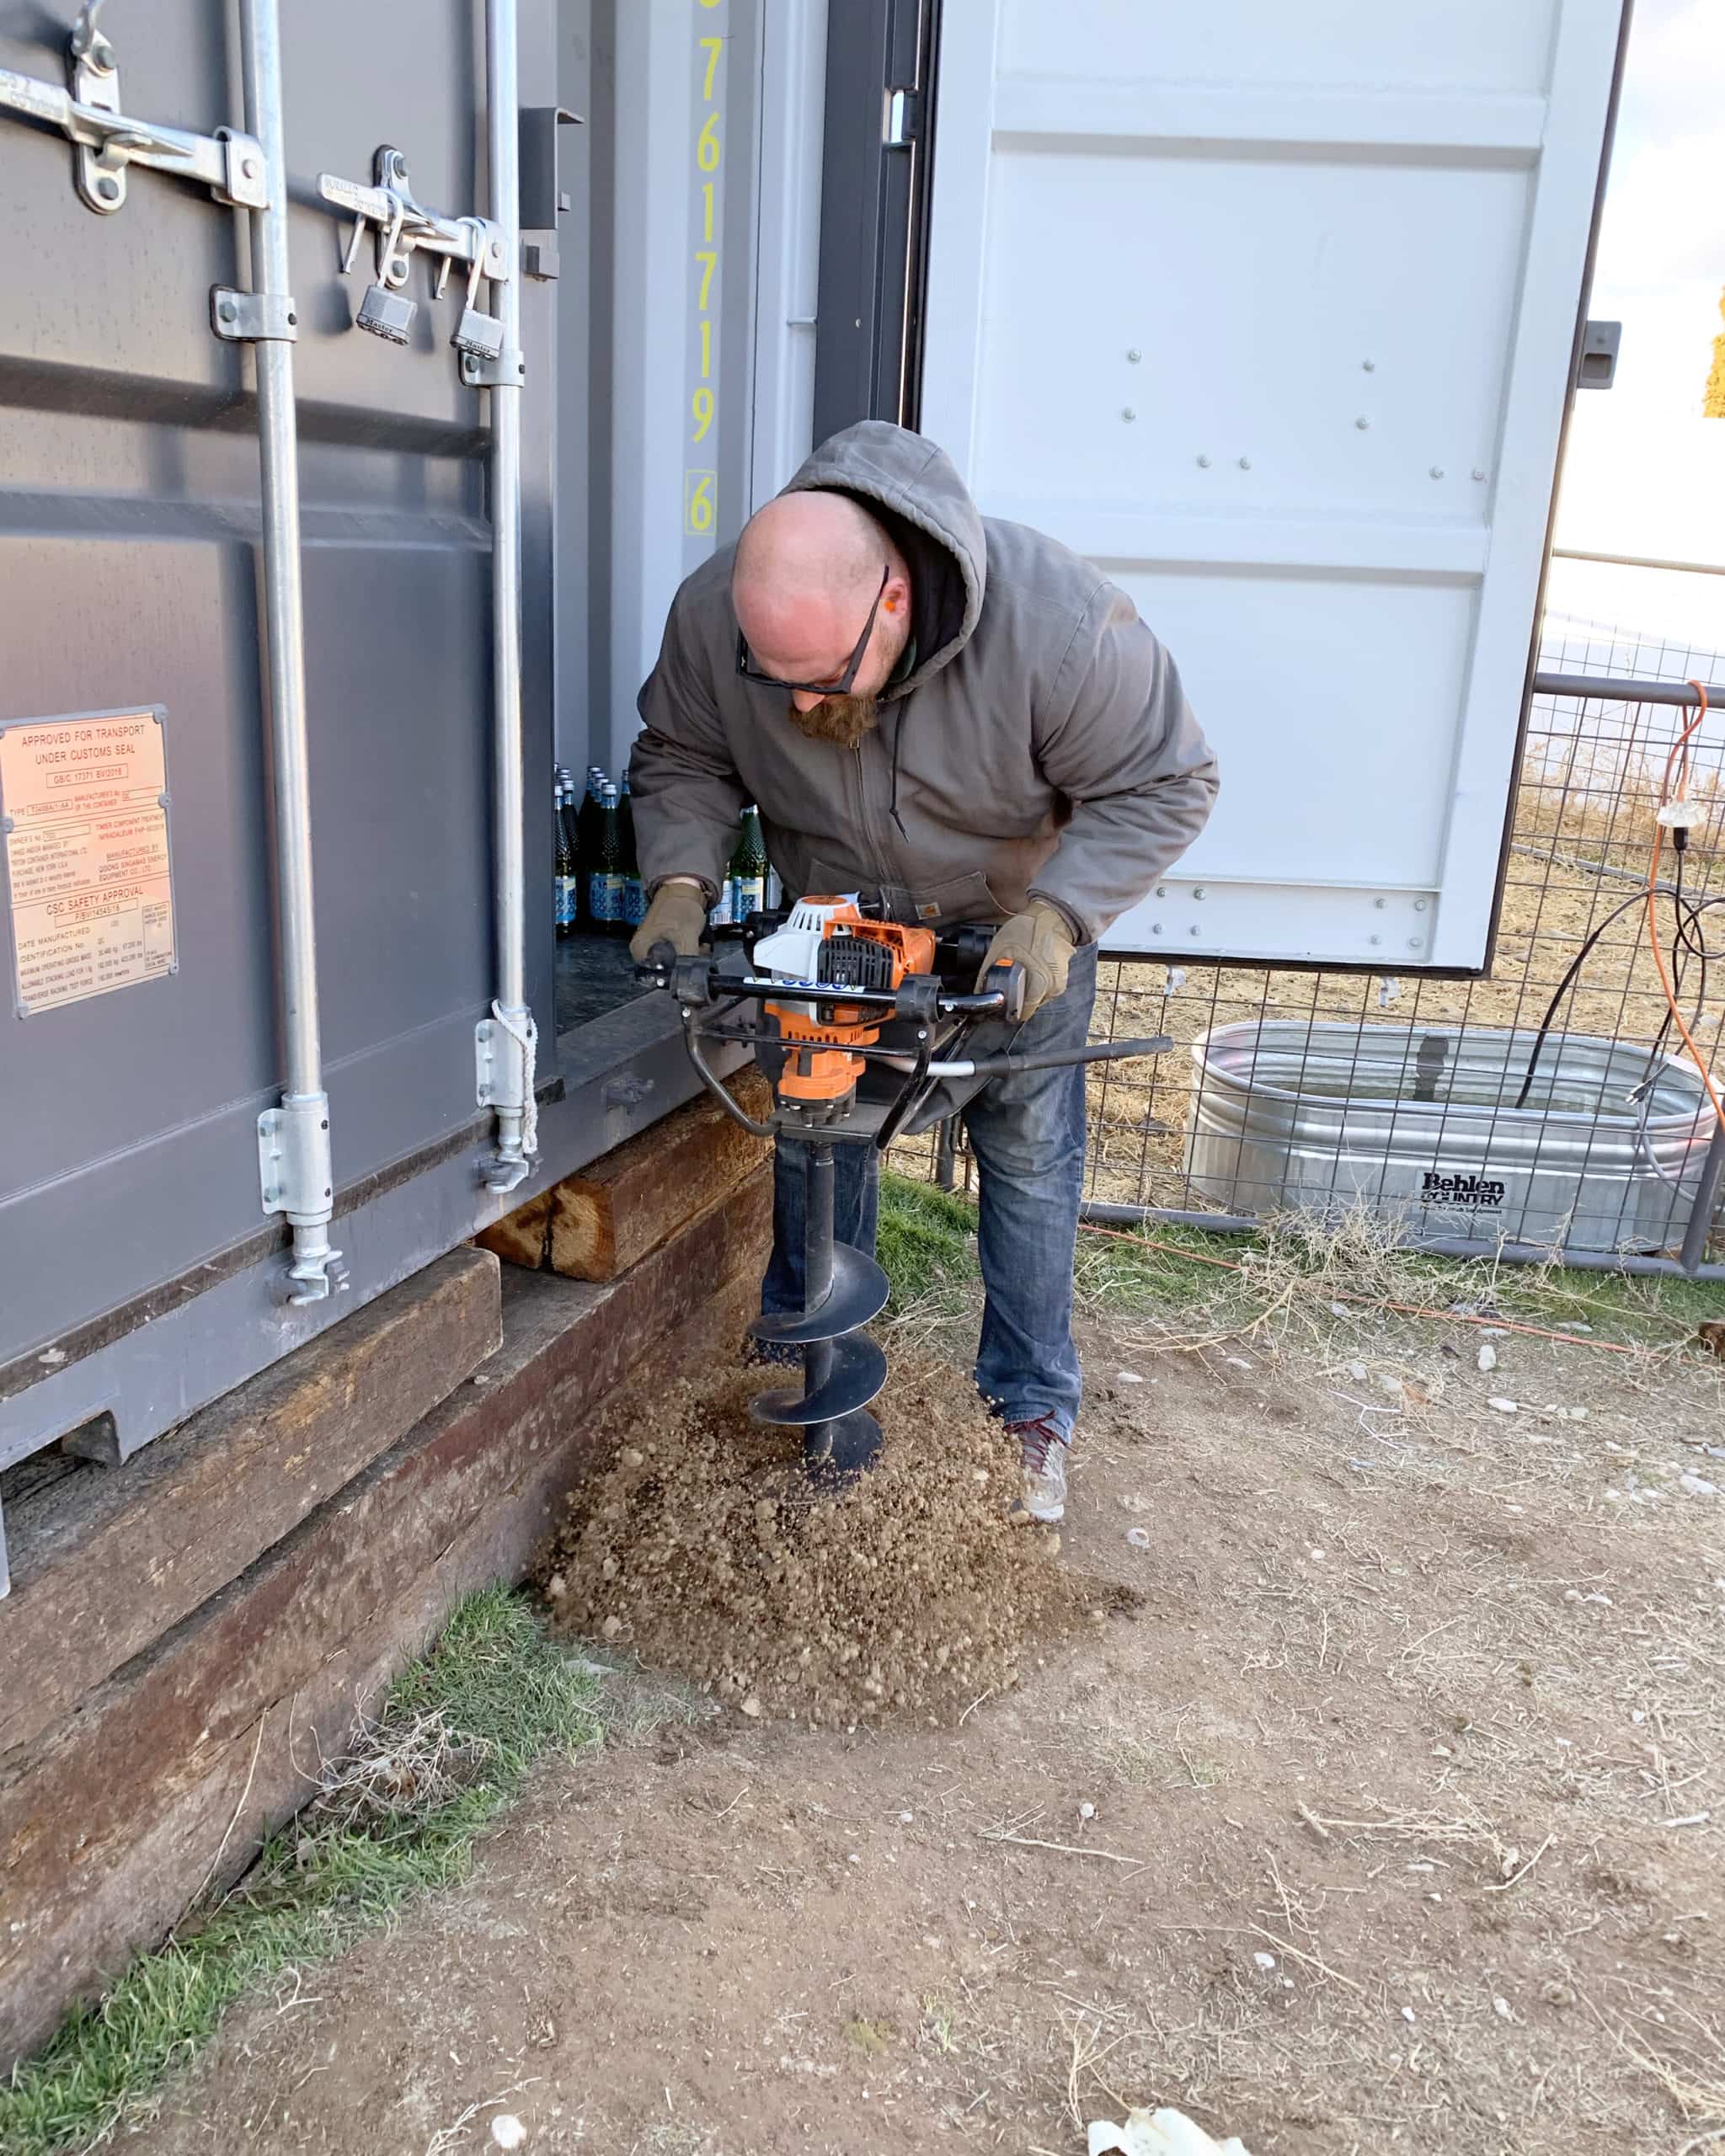
A Solid STIHL Auger Foundation
This project is actually really simple. A set of stair frames can be picked up at most hardware stores with a lumber yard. After I cut them down to fit, it was a matter of choosing the width of the stairs. This, in turn, let me know where my 4×4 treated support posts would be placed. Get it? In turn! Like an auger that turns! Ahahahaha.
For these posts, I only bored down about a foot and a half.
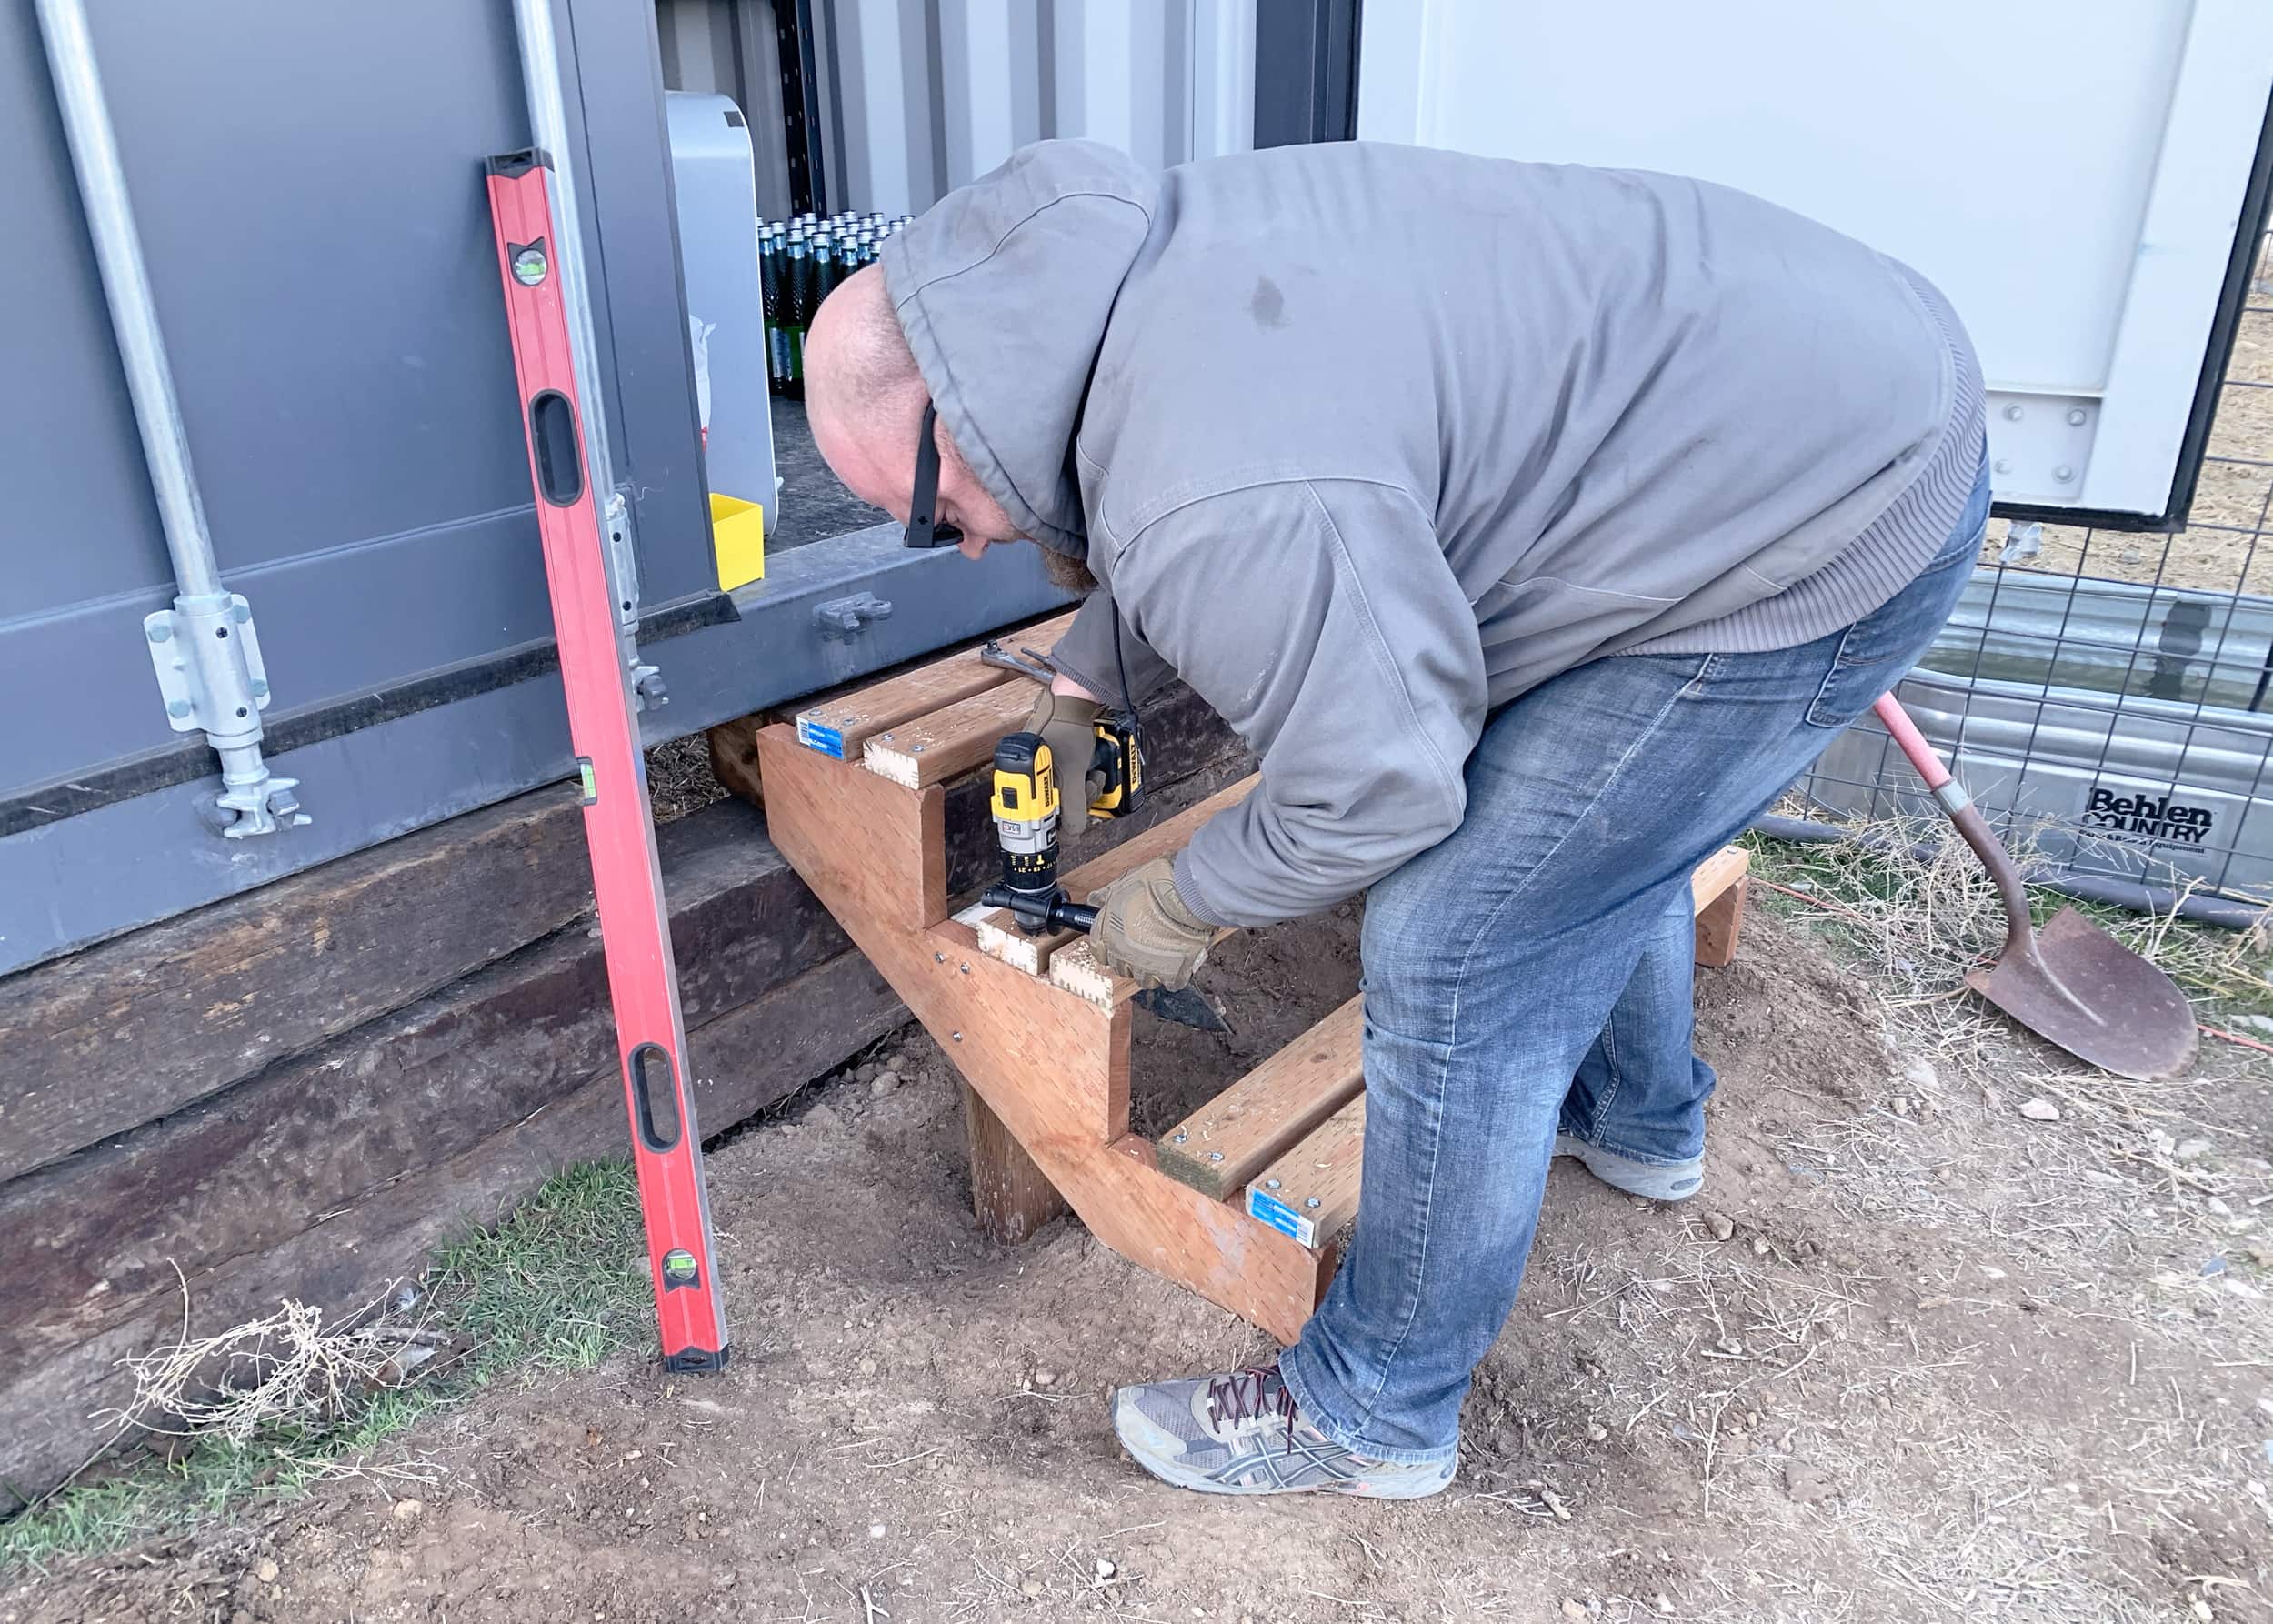
The MOST CRITICAL PART of this is making sure the legs/posts are square to the container (or whatever they're for) and using a level to make sure the legs/posts are perfectly vertical. After that, I threw on the stair frames and used more treated 2x4s to make the actual steps. This is such a simple project that you could pretty much eyeball the whole thing. I did!
Making Safe Clean Power with a STIHL Auger
Okay, so we bought the property in the middle of summer. We're not complete buffoons, though, and we knew that winters get pretty cold and snowy here. What I had NOT thought of was how that would affect my RV's power and internet cables, which were temporarily placed before we built the house.
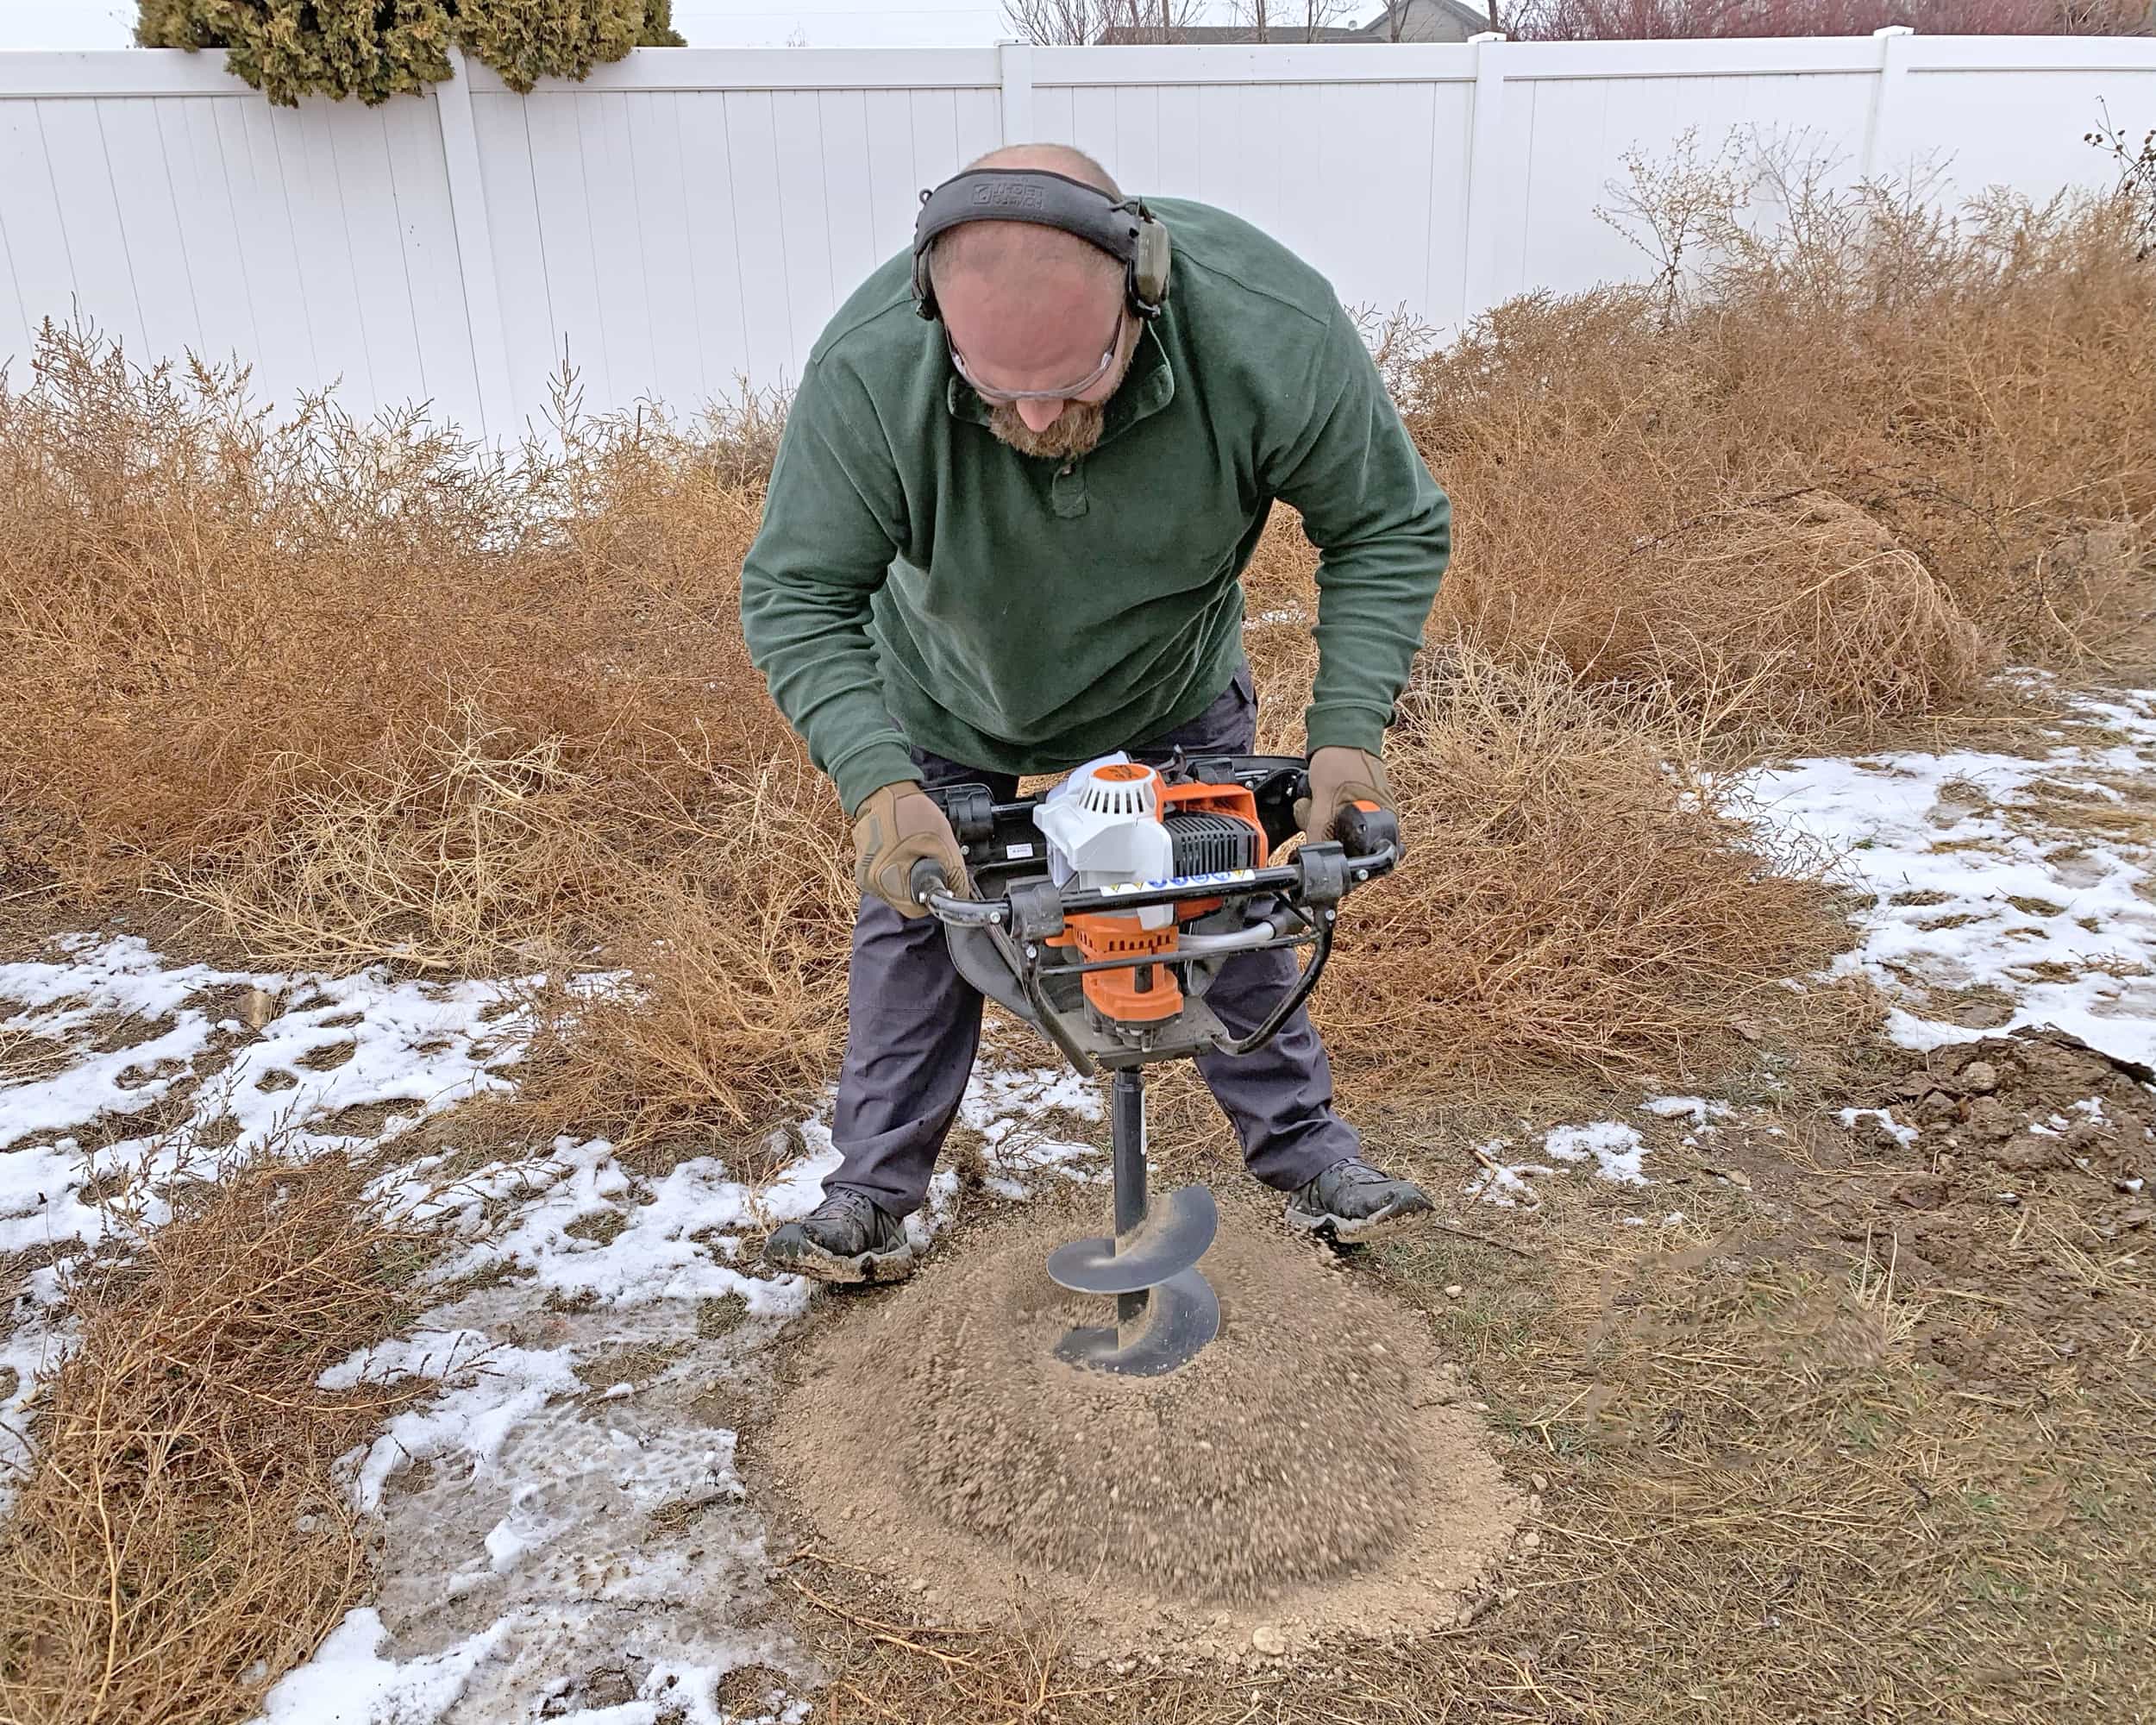
I didn't feel great about a 50 amp power junction box laying on the ground while the snow falls and children play. Yet another simple fix with the STIHL auger!
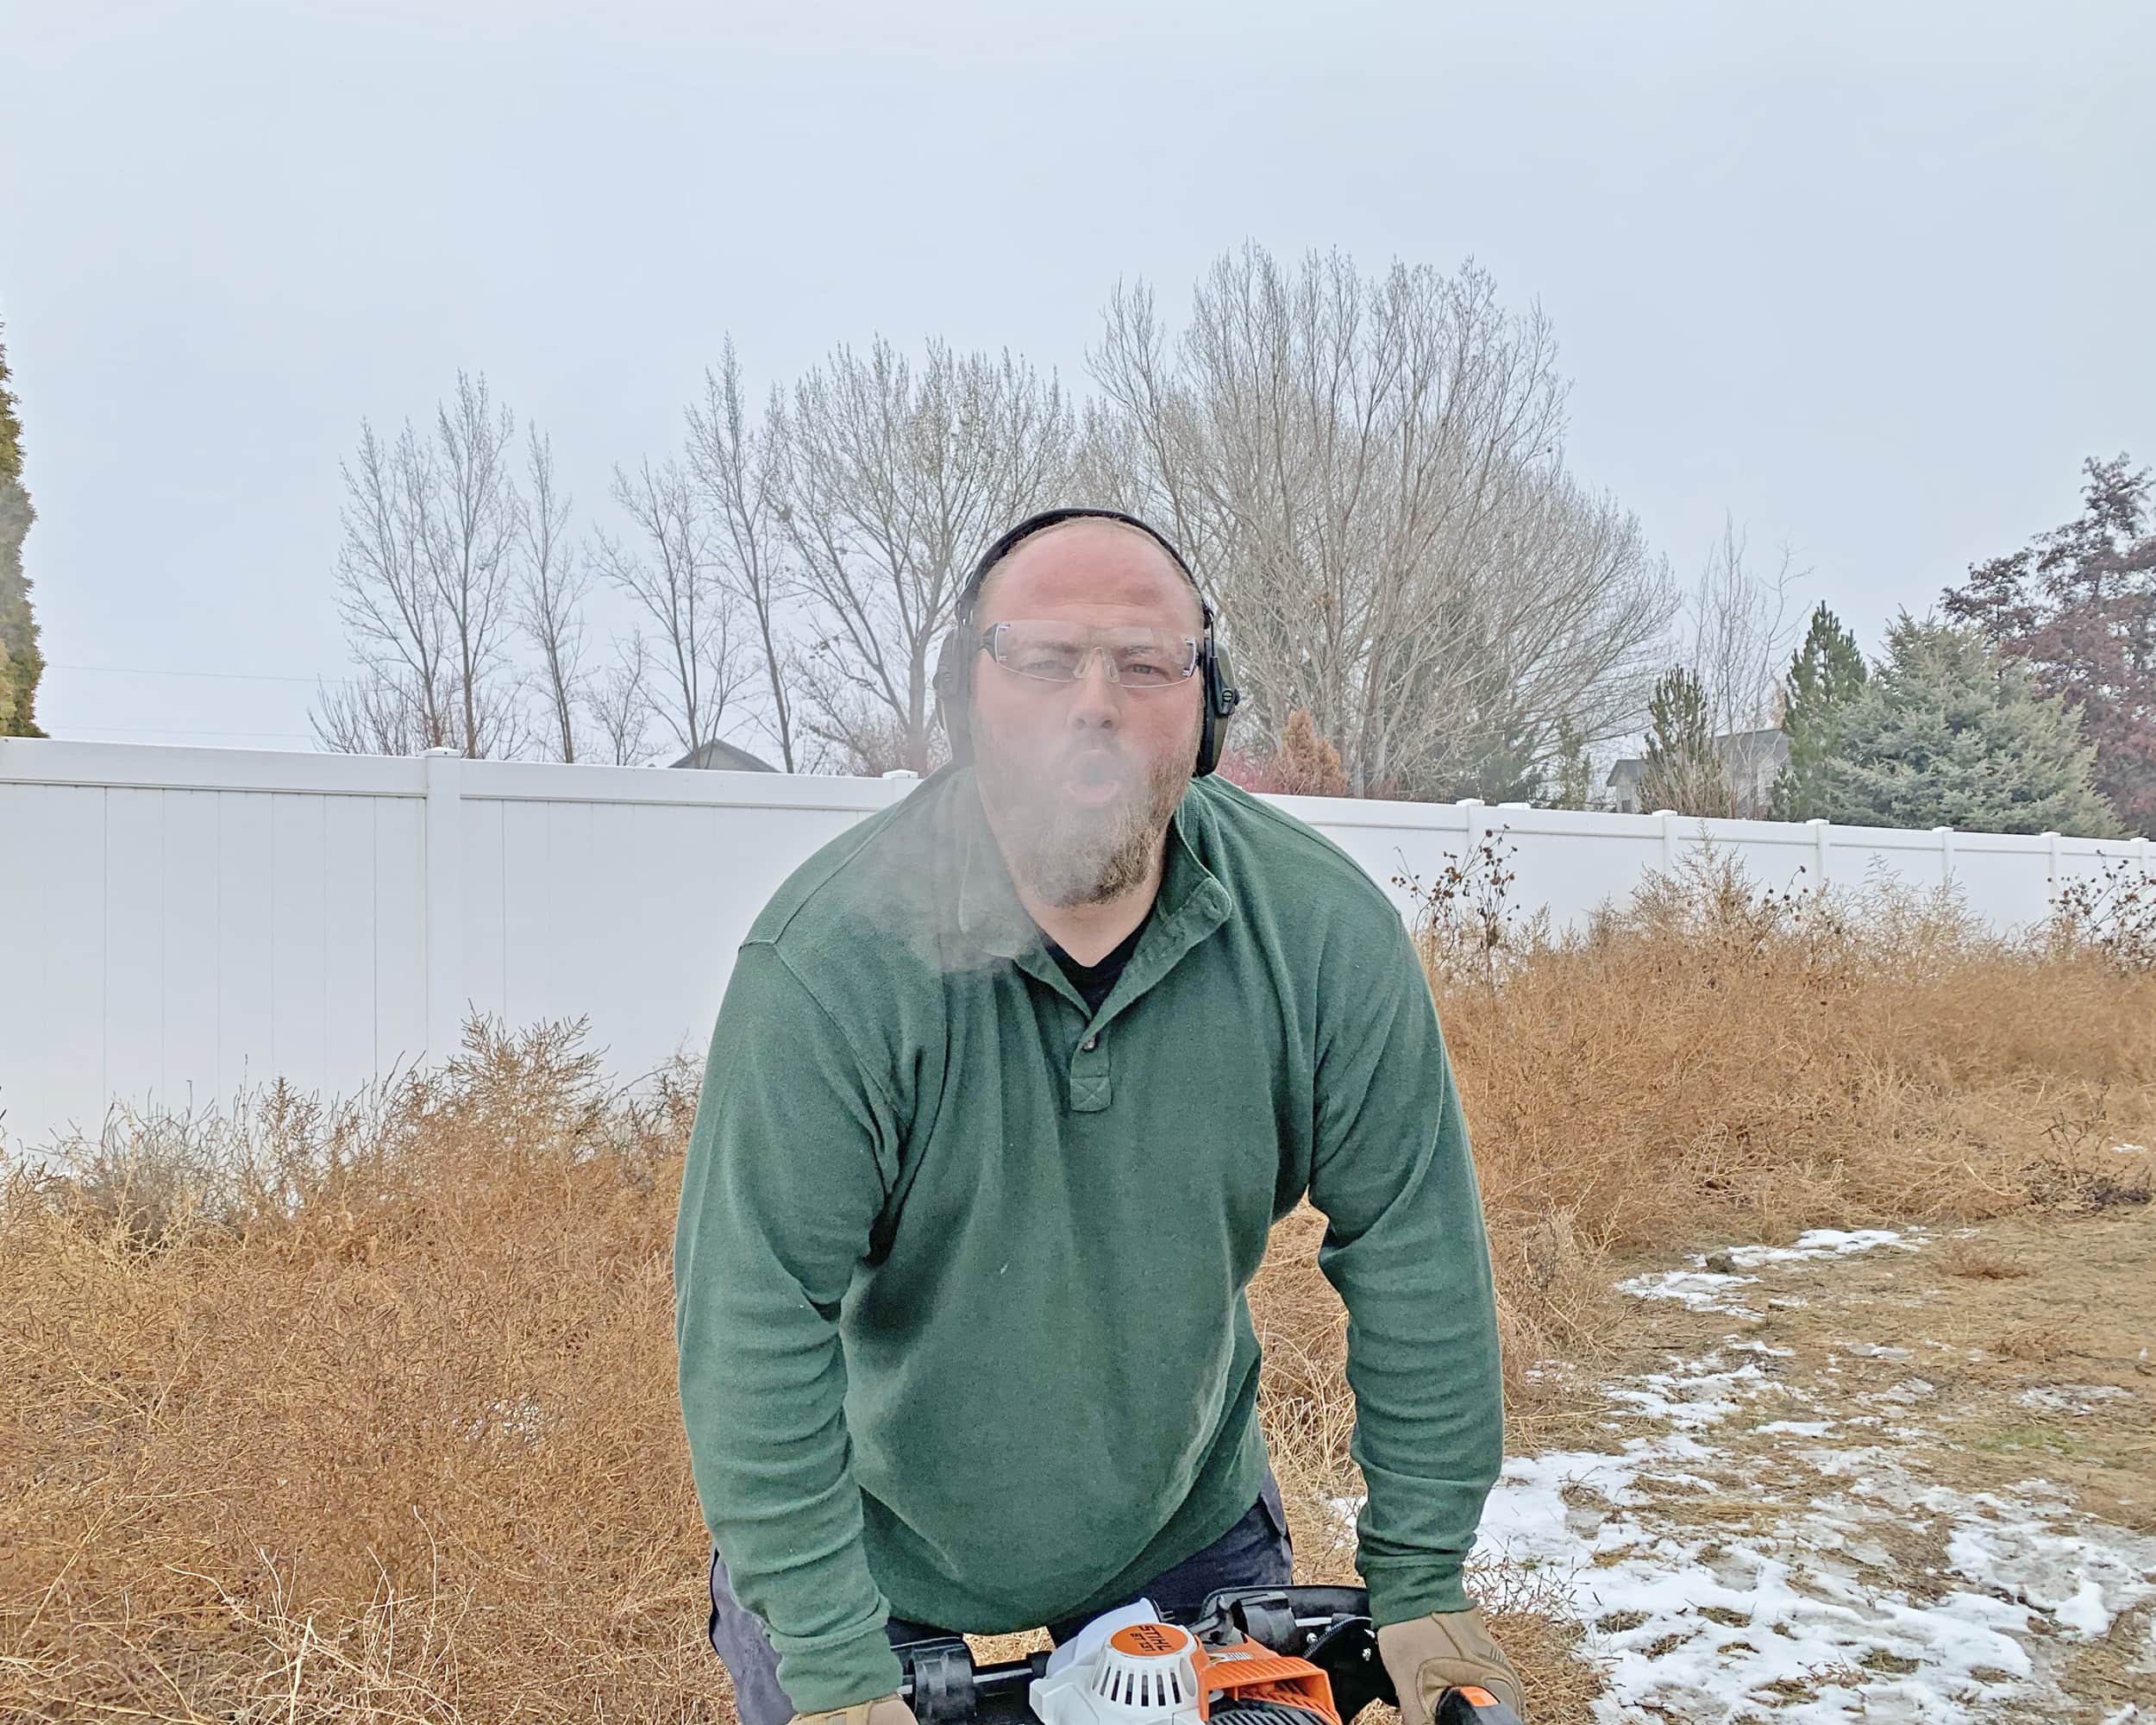
It was cold out, but using this STIHL auger (the STIHL BT 131) made the work easy. Dare I say, it was FUN! I honestly love this little guy. I found myself running around just making little holes in my field because it was fun.
Don't worry, I filled them back in so Chelsea wouldn't fall in and get mad.
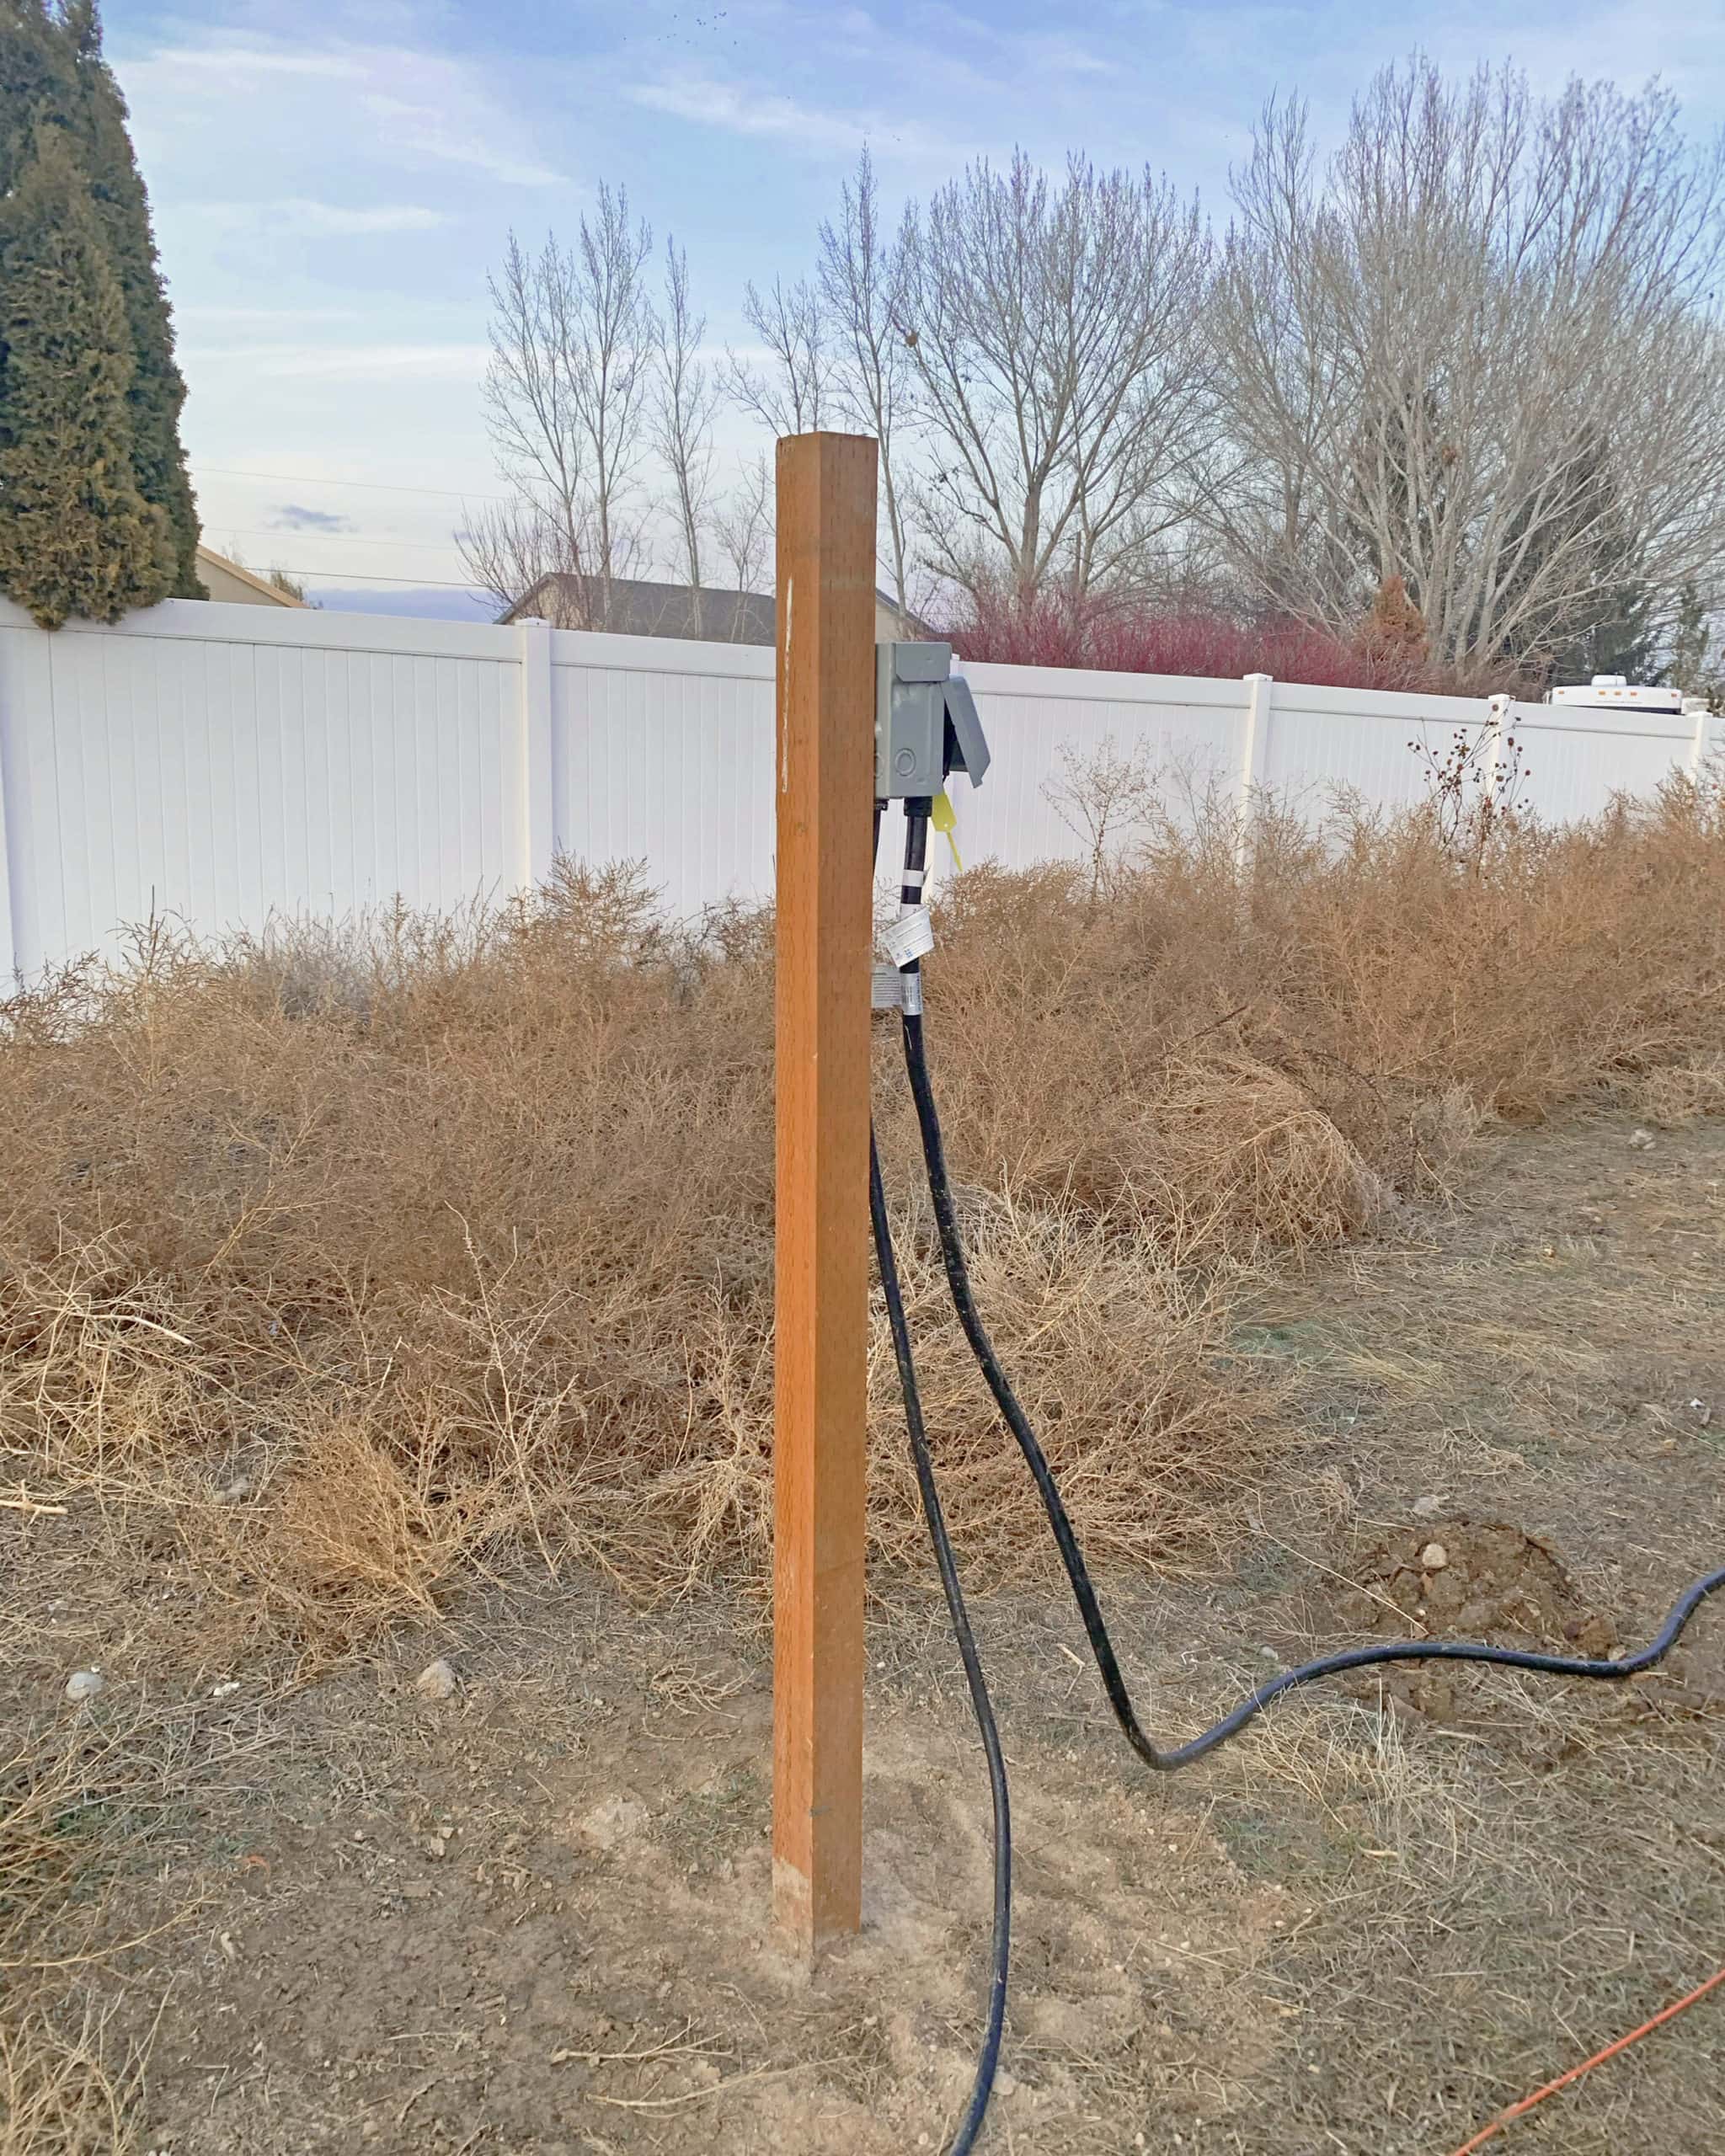
And, just like that, we were happily left high and dry. In a good way.
This STIHL Auger is the G.O.A.T.
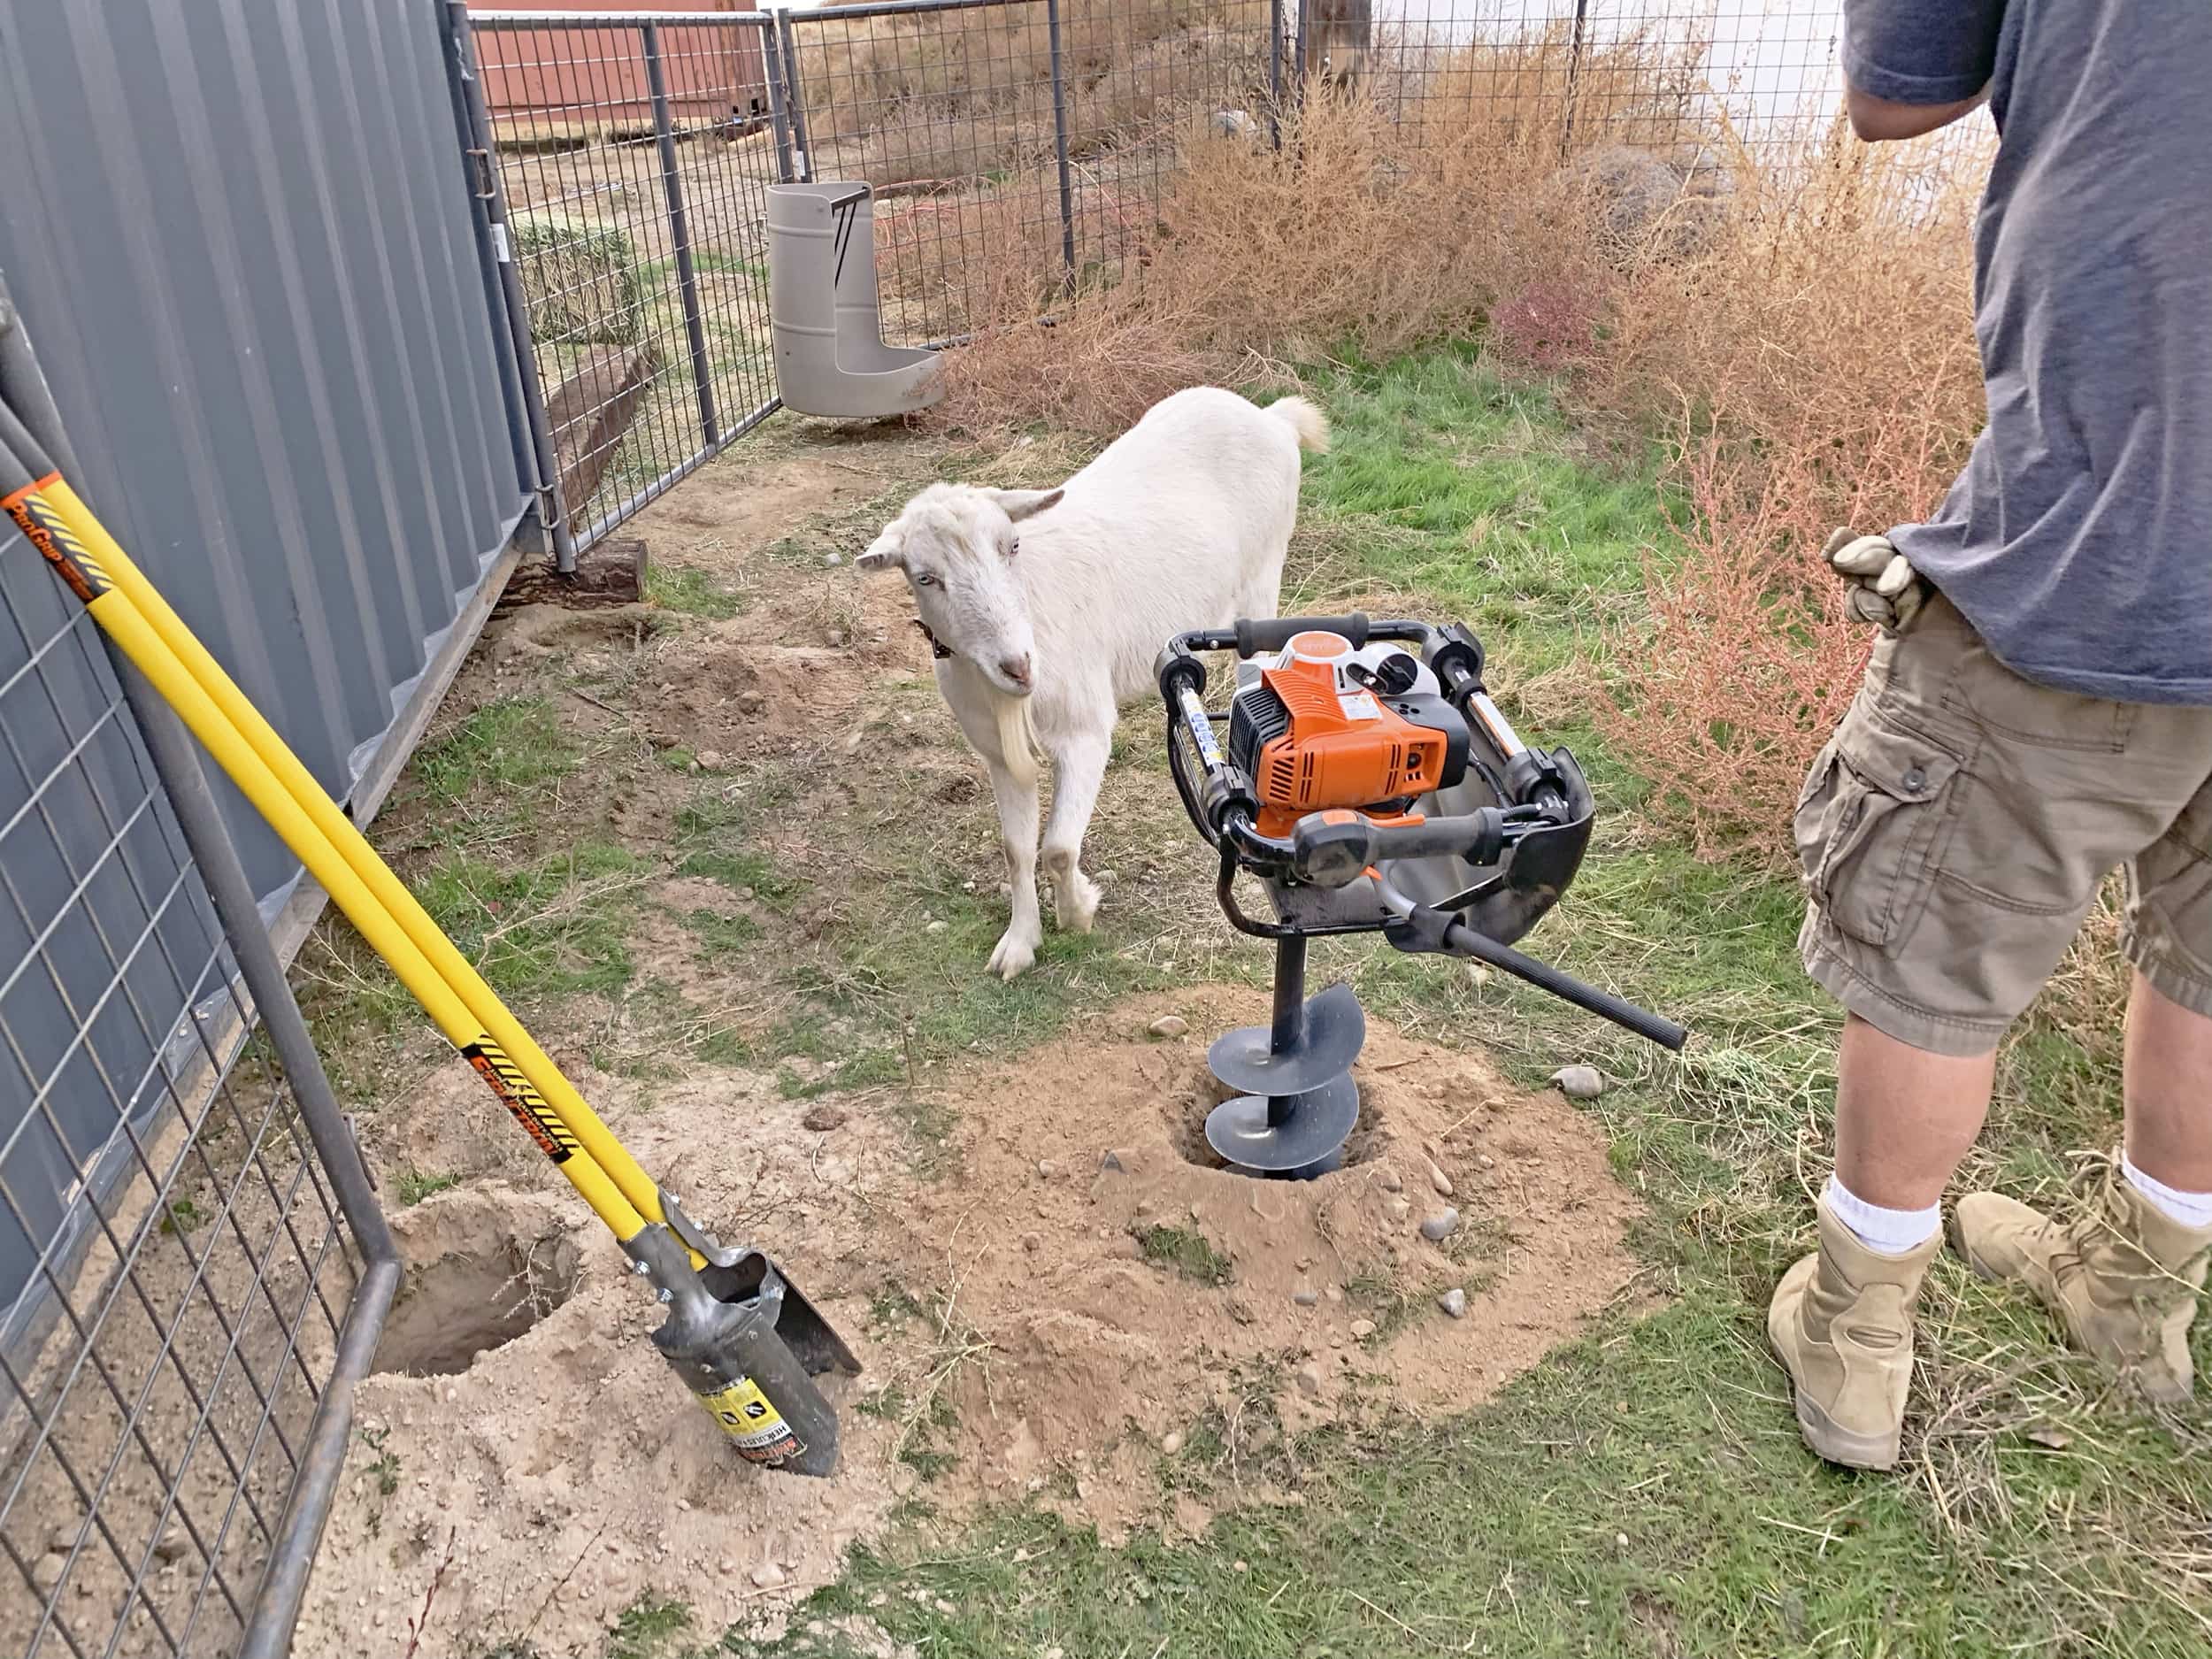
The winter was not just on our minds. It was definitely a concern of our previously San Diego-based Saanen goat. He's well versed in our use of STIHL to improve and maintain our farms. With my father's help, I set to work in providing him some basic shelter for when the weather turns.
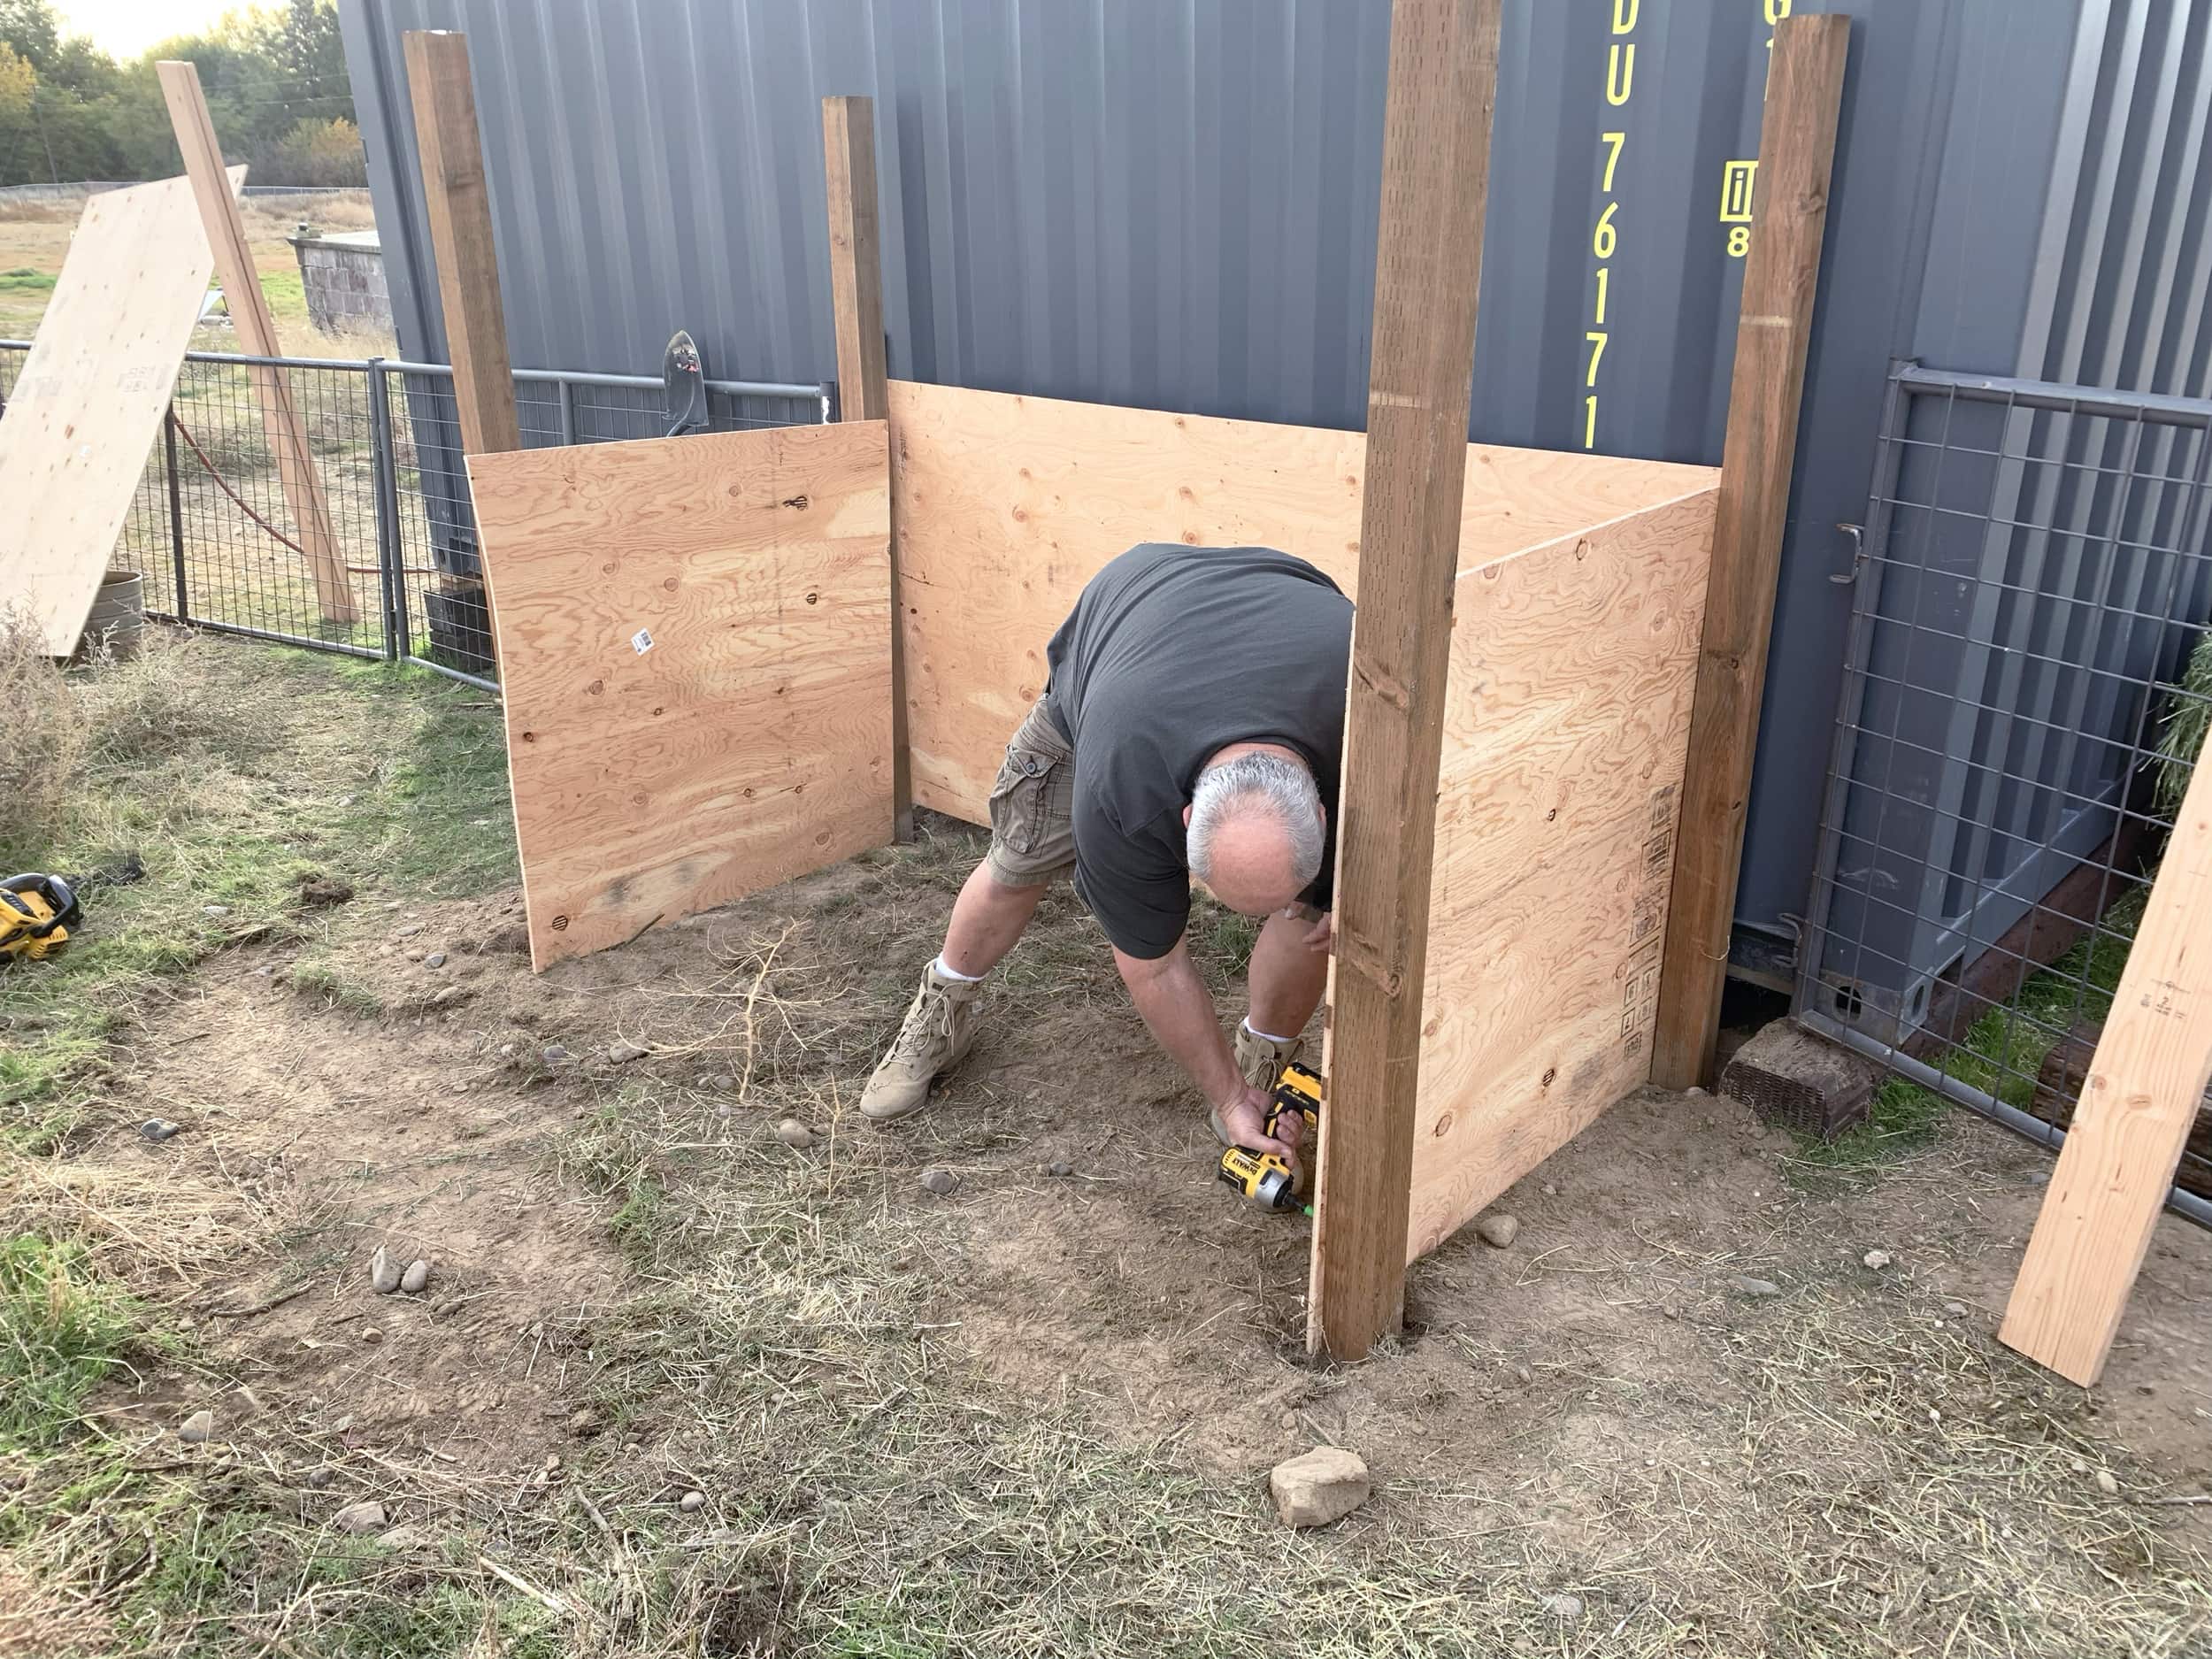
Like the steps, this project is primarily dependent on keeping the posts square and vertical. Using the STIHL auger, I made quick work of setting in the four posts. Then, with my dad's help, we made a wind barrier with half inch sections of plywood. In total, this project required 4 treated 4x4s and three sheets of half inch plywood. We placed the plywood on three sides as well as one top for a roof.
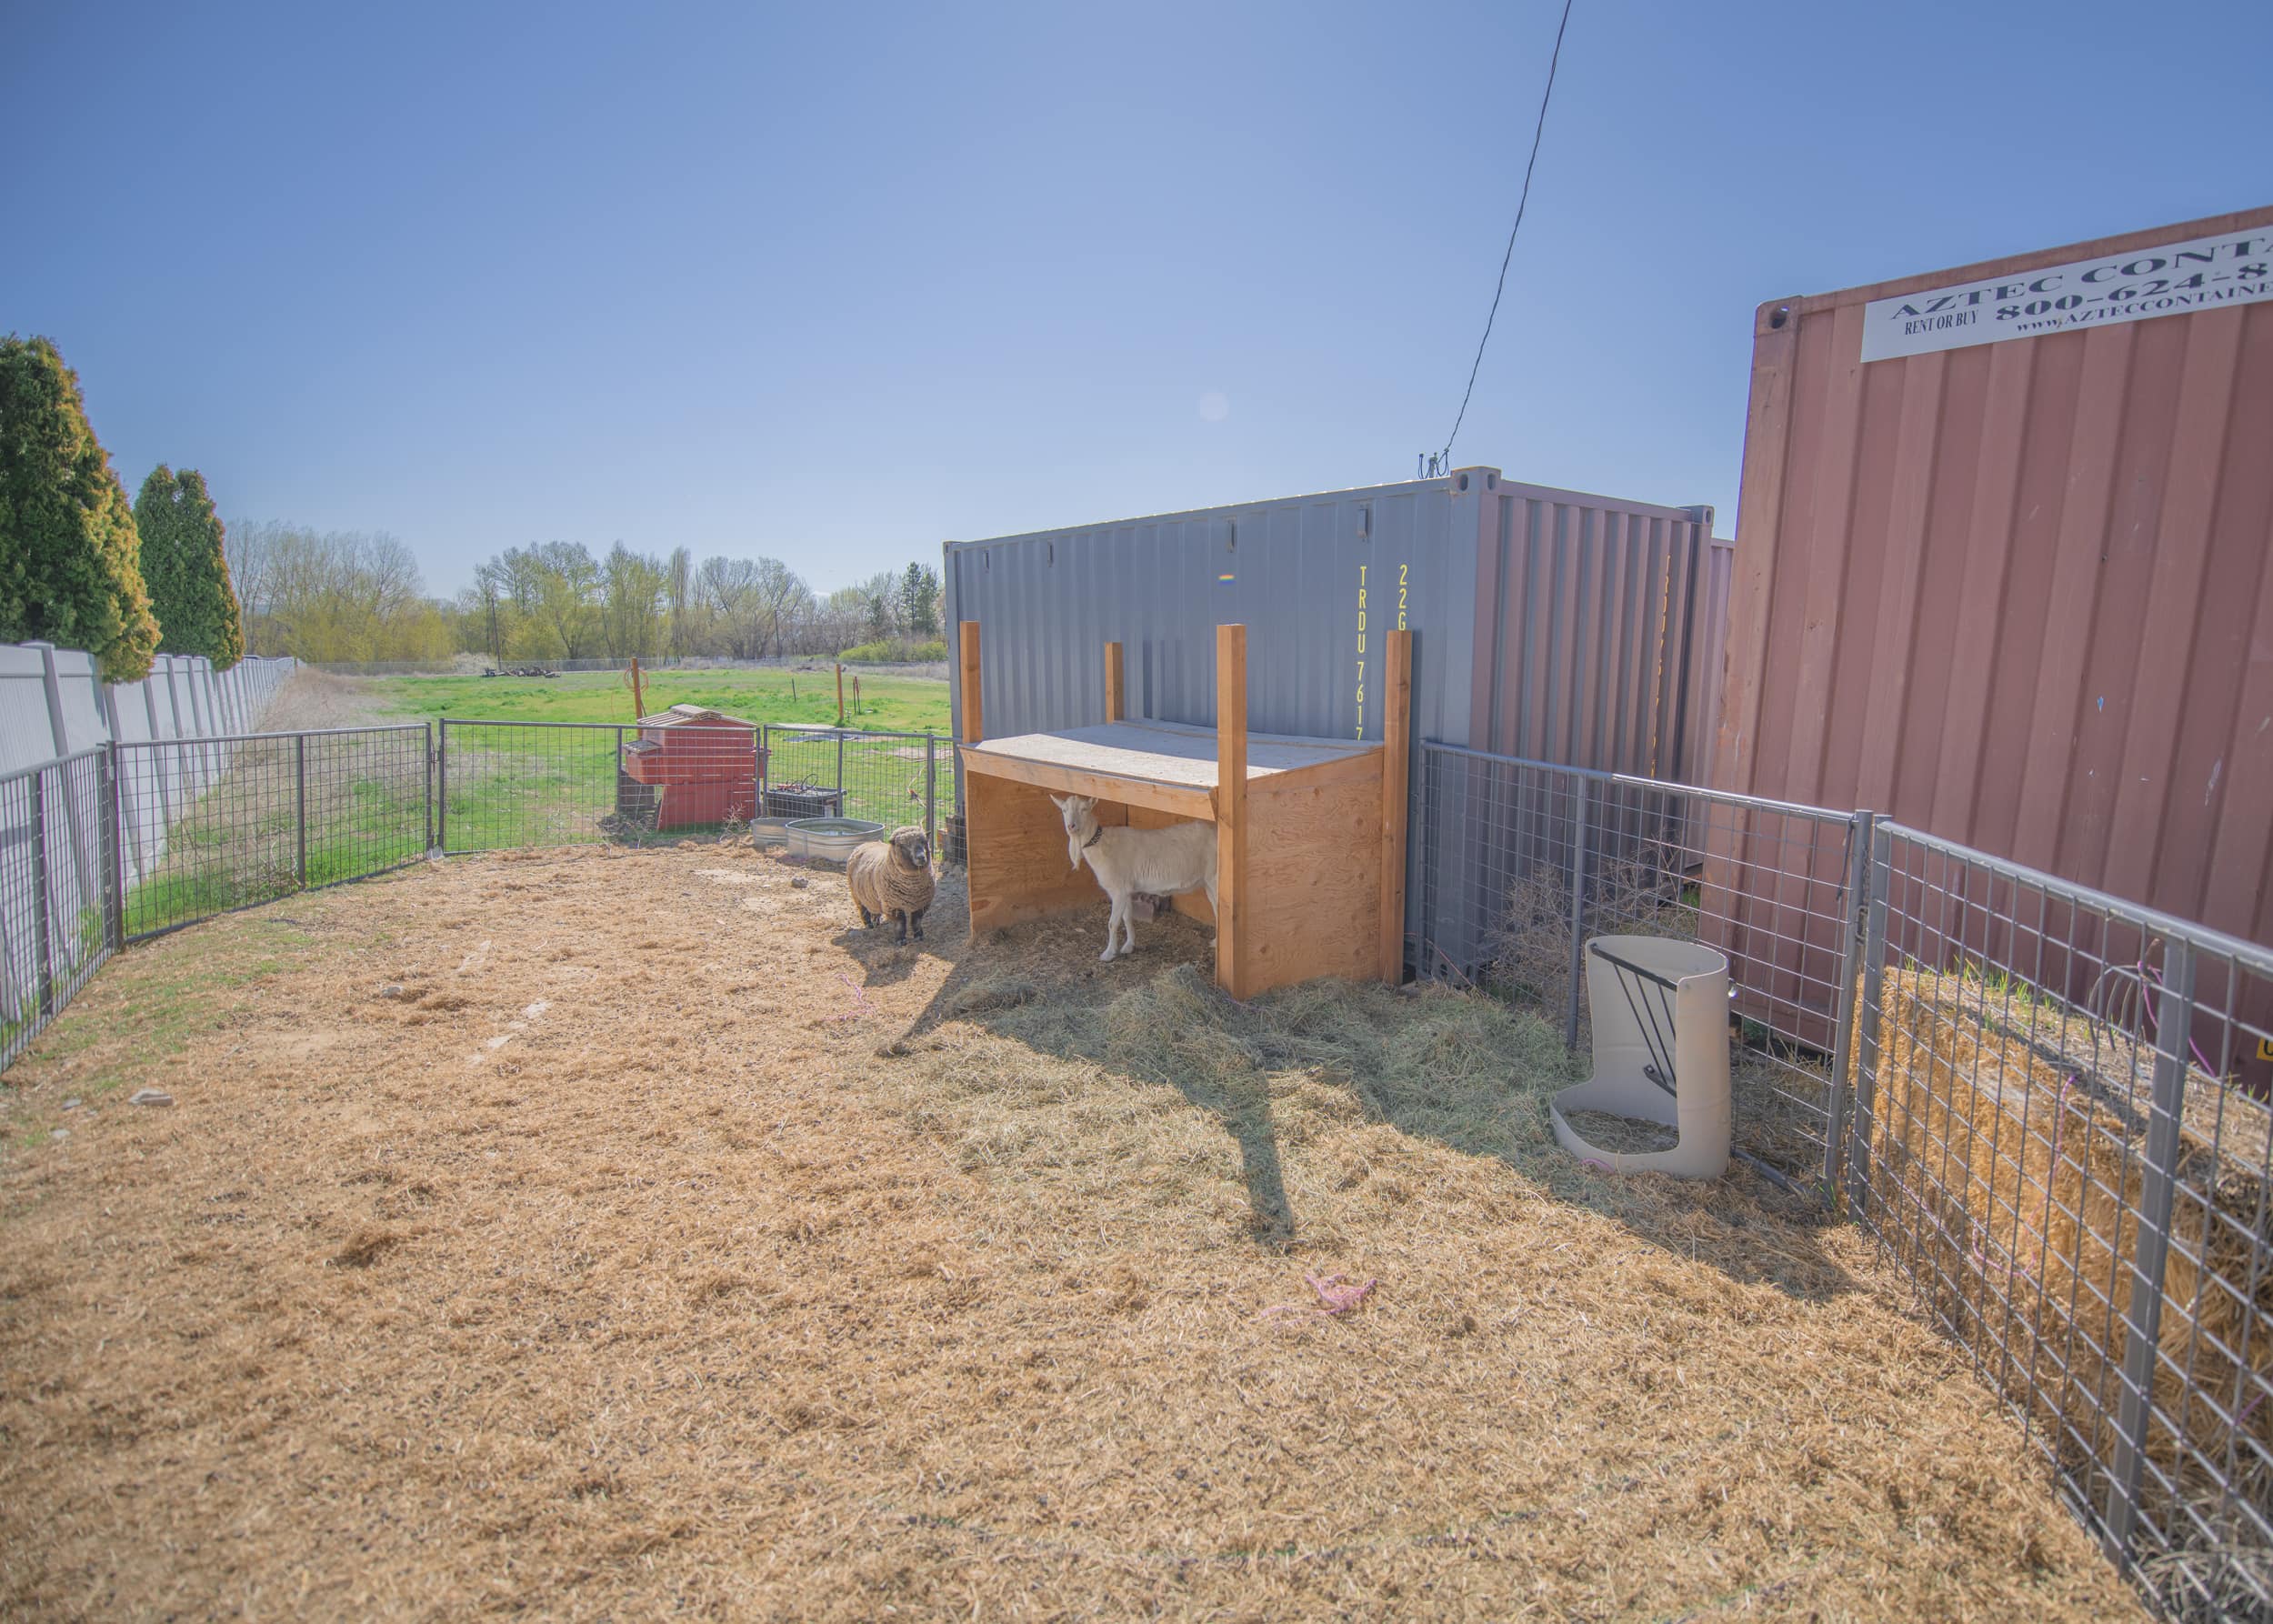
Now, we have a happy little goat and sheep guarding our farm. Everyone deserves some little shade and shelter from the storm.
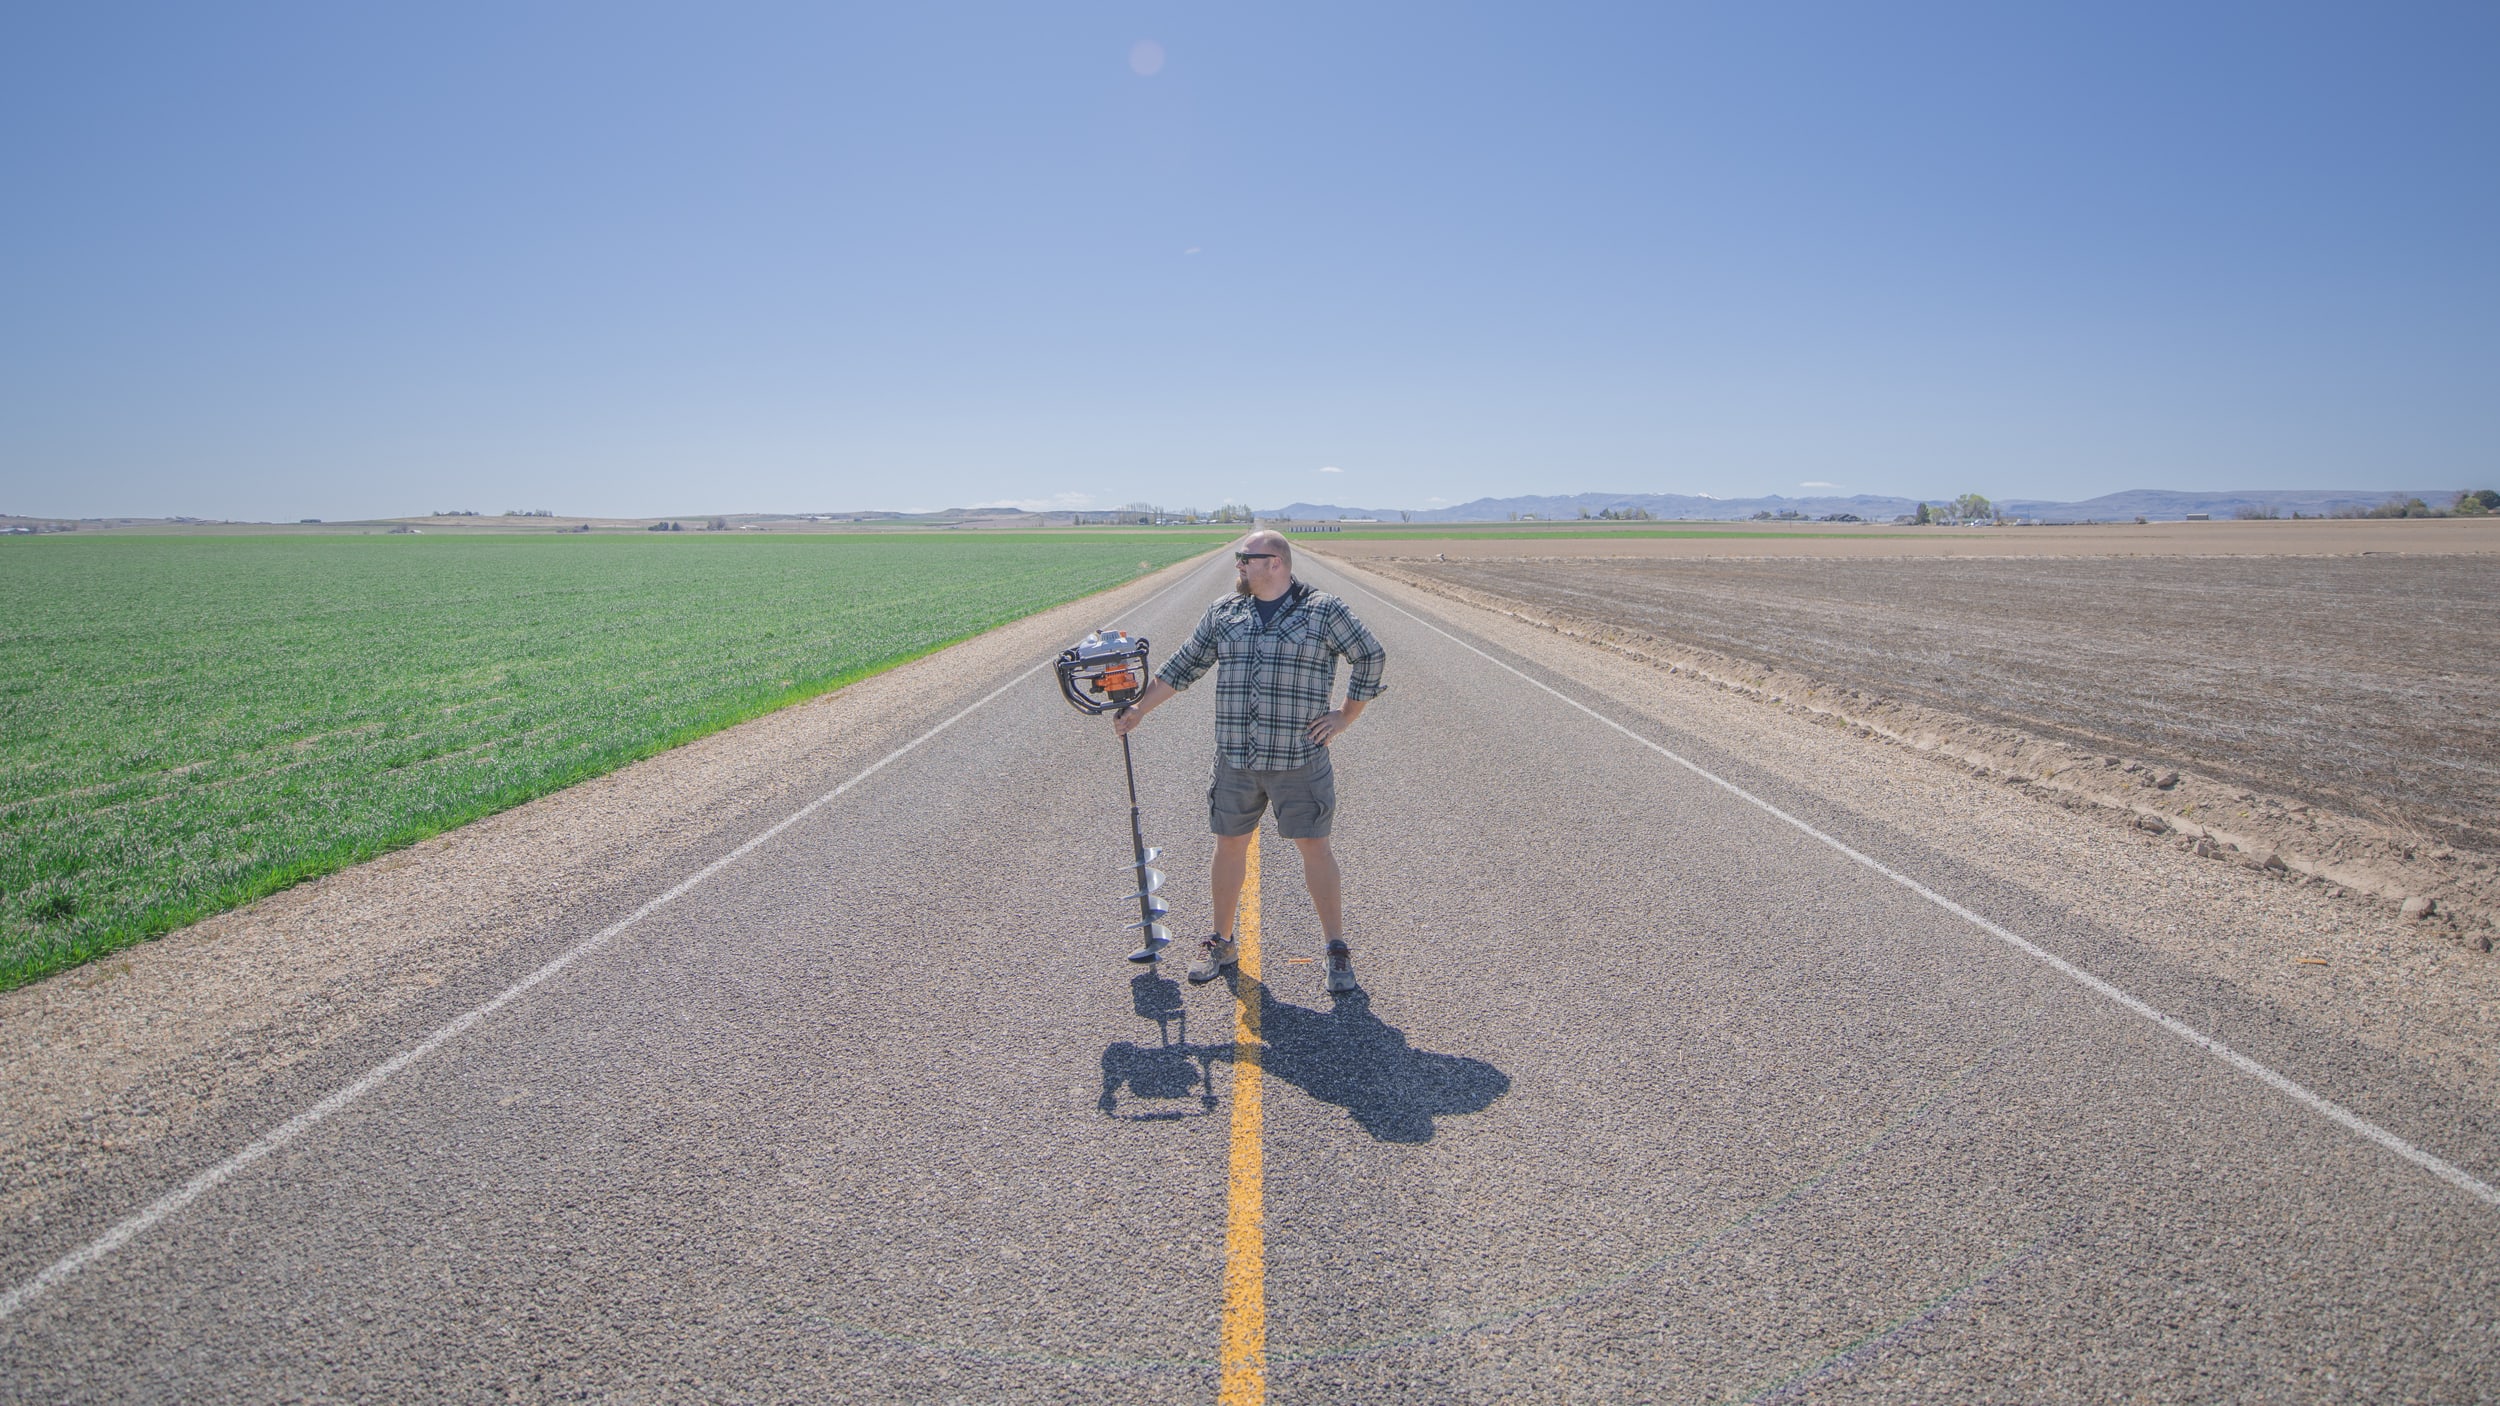
My love relationship with STIHL has spanned a quarter of a century. From when it first began in the early '90s up until today with my lovely little STIHL auger, I've always known where to turn when I need to get work done. The future is bright.
What project would YOU complete with a STIHL auger?
