Painting tape and I have an embattled history. From creating stripes to touching up edges, that tacky blue stuff has long been a go-to in my home. It can be extremely frustrating to use when you don't have experience, but I've tried my hand at it enough times know some insider secrets.
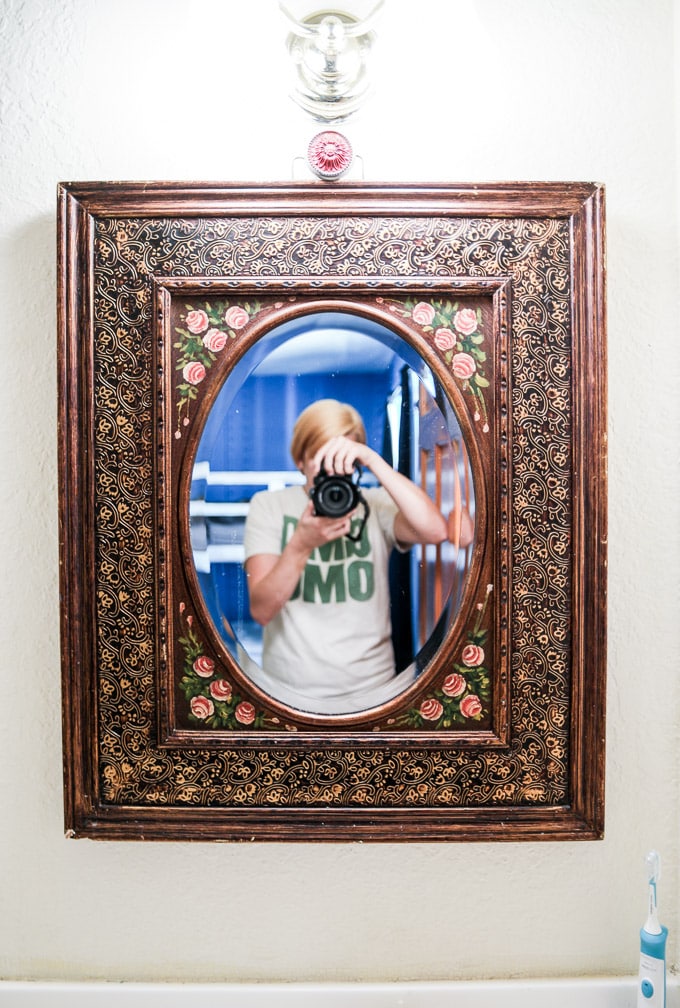
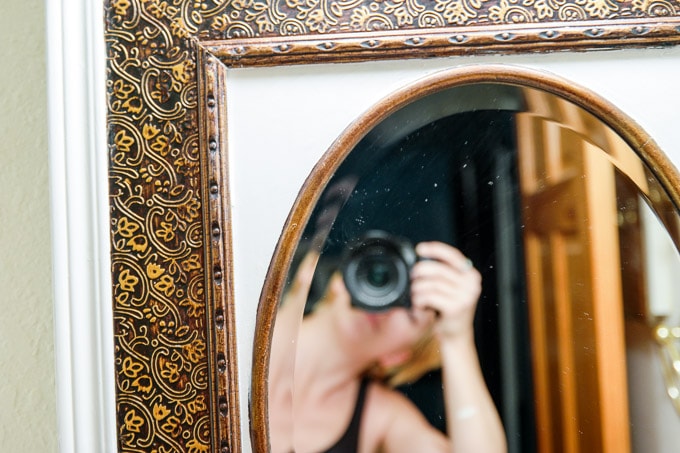
This here is the mirror that was left behind in the boys' room from the previous owners. I'm actually digging the hanging frame, and the gold pattern ties in well to their nautical theme. However, those rosebuds had to go.
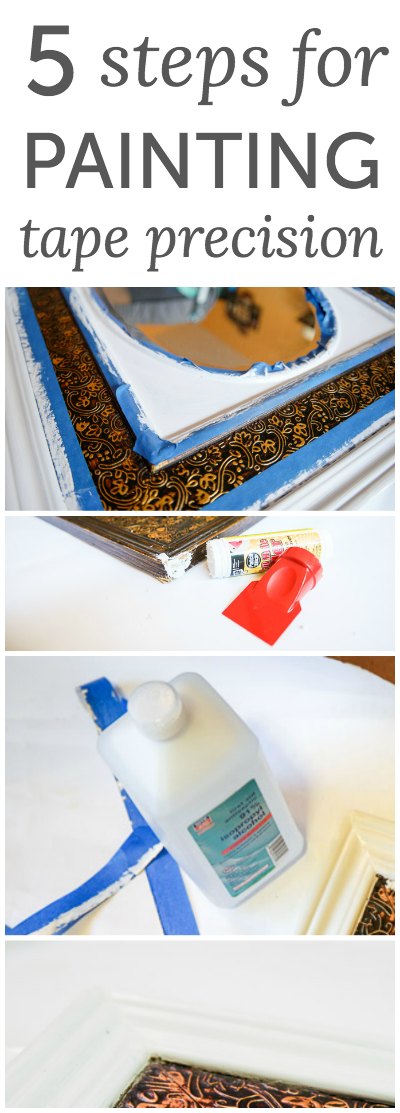
How to Use Painting Tape
I'll admit that I was hesitant to get on the painting tape bandwagon at first. “I have a steady hand,” I always said. “I can forego that tedious prep process!” The truth is that the first couple of times you use painting tape, it can be extremely annoying. There's a learning curve. Once you figure out the basics, though, I promise that you'll be a painting tape convert like myself.
Every brand of painting tape is slightly different and if you ask several experienced painters what the best kind is, you're going to get several answers. It's a Coke-versus-Pepsi deal, and the fact is that each type has varying strengths. FrogTape Delicate Surface is my go-to when I'm worried about pulling away an under-layer, but in this case I'm using the old Scotch-Blue classic. ShurTape is another favorite around here, since it sticks really well to uneven surfaces. Just don't buy cheapo store brand stuff and avoid “contractor” grade tape on interior walls or furniture, since the strong adhesion can rip up surfaces.
Ready? Let's do this thing.
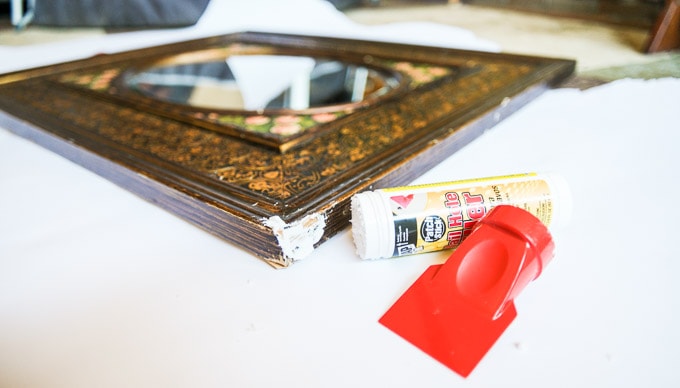
1. Patch any holes or imperfections so that the paint won't pool up in those spaces. This DAP Patch-Stick Nail Hole Filler is my favorite because it's extremely difficult to screw up. A major bonus is that the lid includes a mini spackling knife, which you'll need to smooth out the putty and get the painting tape applied firmly.
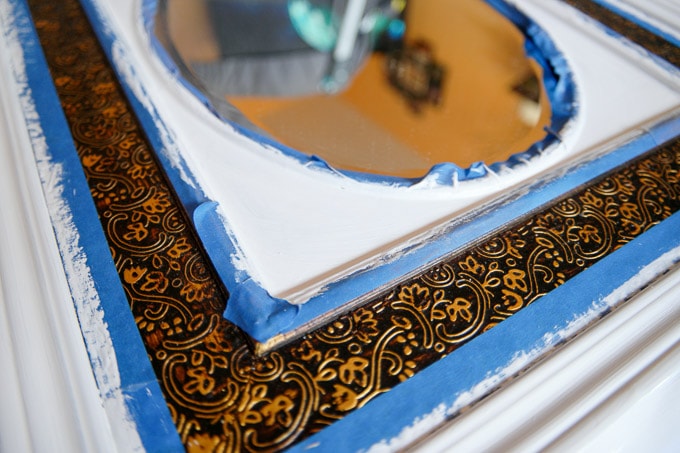
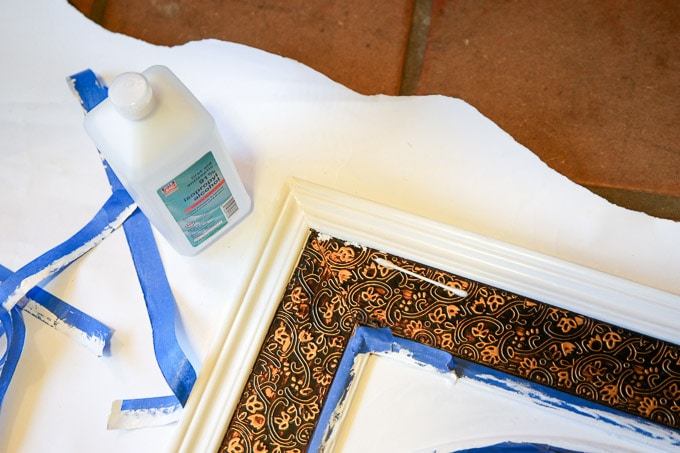
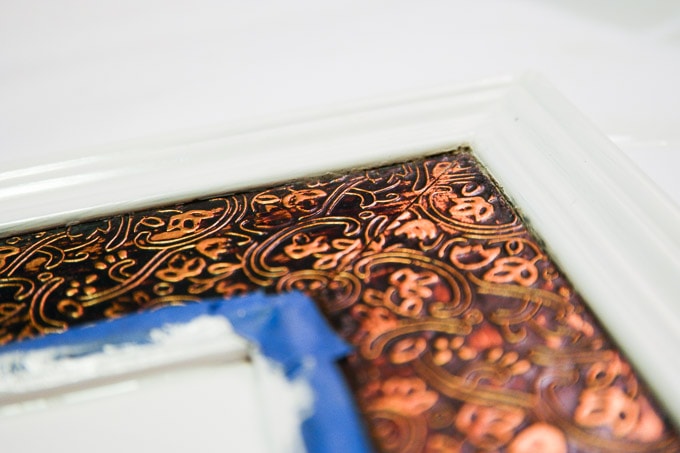
2. Affix the painting tape. Carefully roll it out onto your surface, using shorter pieces to reach the edges. Don't worry about getting it all laid out in one long piece. The most important part is that you use your spackling knife to press it down securely against all of the edges and corners.
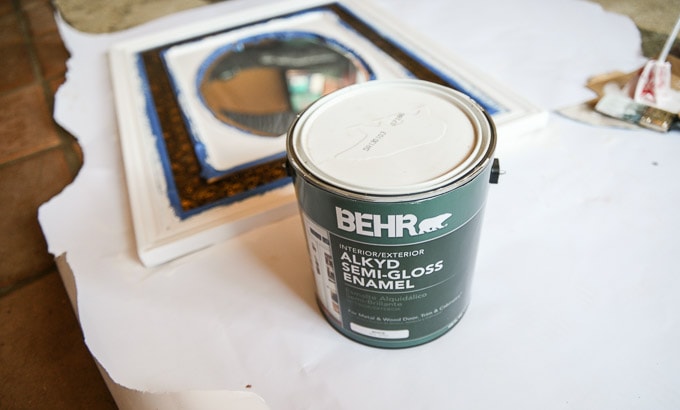
3. Paint. We're working with BEHR, and I am currently obsessed with their Alkyd Semi-Gloss Enamel. Alkyd is a newer type of interior/exterior paint that works on wood and metal, and serves as a happy medium between sturdy oil paints and easy-to-clean acrylics. I use it for all of my trim and cabinets because it is hard as NAILS and levels out beautifully so you can't see the brush strokes. The trick with this stuff – and with any medium where you're working around painting tape – is to sand the area well and try not to overlap the painting tape too heavily. Use an angled cub brush for tight spaces, and work quickly. You want to get the paint applied as fast as possible and then leave it alone so it will flatten fully.
4. As quickly as you can, before everything dries, run your knife along the seams of the painting tape to break any seal that may have formed. This will prevent the paint from “ripping” when you pull the tape away. Right after this step, go ahead and gently yank that tape off, pulling it back over itself. You don't need to wait for the paint to dry. In fact, the longer you wait the harder it will be to remove with a clean edge.
5. Touch-up any rogue areas with a Q-tip and paint remover.
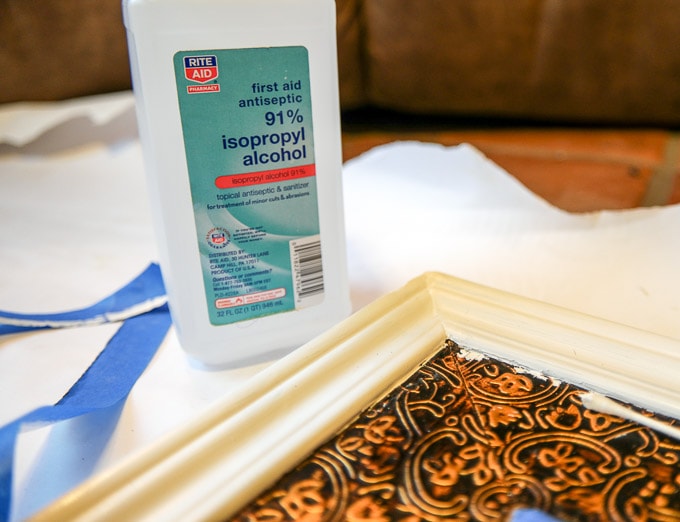
I use plain old isopropyl alcohol, a household essential that is the best thing I've found for removing all manner of paint, Sharpies and pens.
For really fine, detailed work such as this you may even want to use a toothpick to get into the tiny crevices.
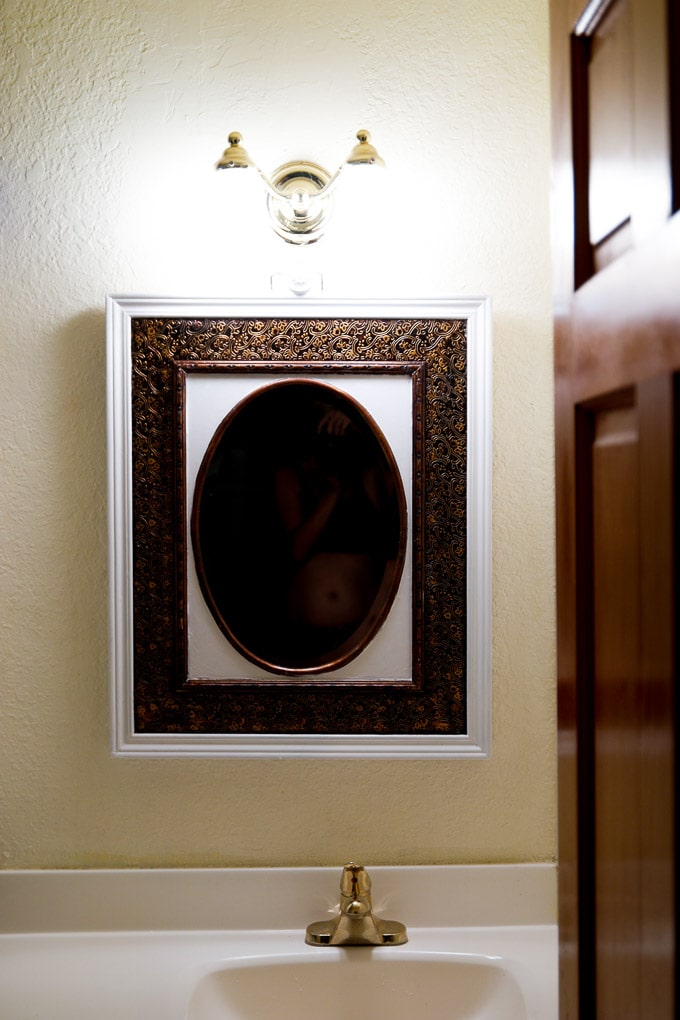
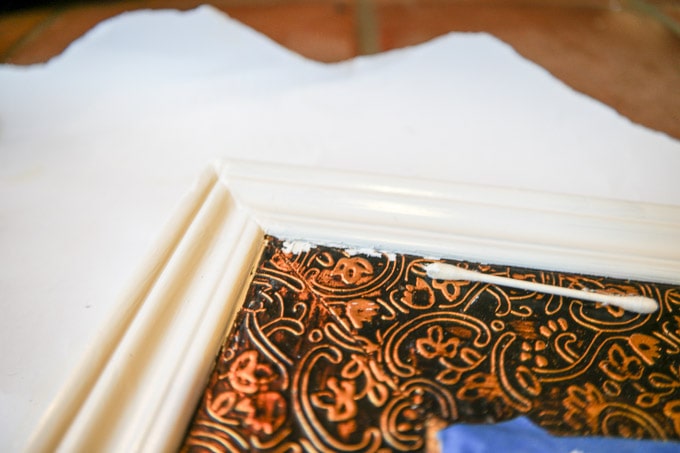
Tada! You can see down at the bottom edge, I didn't follow my own advice and I took a little too long messing with the paintbrush in that area. Bad, Chelsea! With alkyd paint you really do need to trust it to level out, and not repeatedly slather on layers. The outside edge is perfect, though.
Now, if I could only find the time to paint that dirty-looking yellow wall. Gross.
Are you a fan of painting tape? What paint are you currently using around your house?