When it comes to settling into a neighborhood, not much goes as far as building a Little Free Library. It's fun for kids and people who enjoy walks on your street. A Little Free Library is a great way to say “welcome,” without saying much at all.
It's also a great way to promote reading in the neighborhood and with your own children as they can do book exchanges. This is my step by step guide to build a little free library.
How to Build a Little Free Library from Scratch
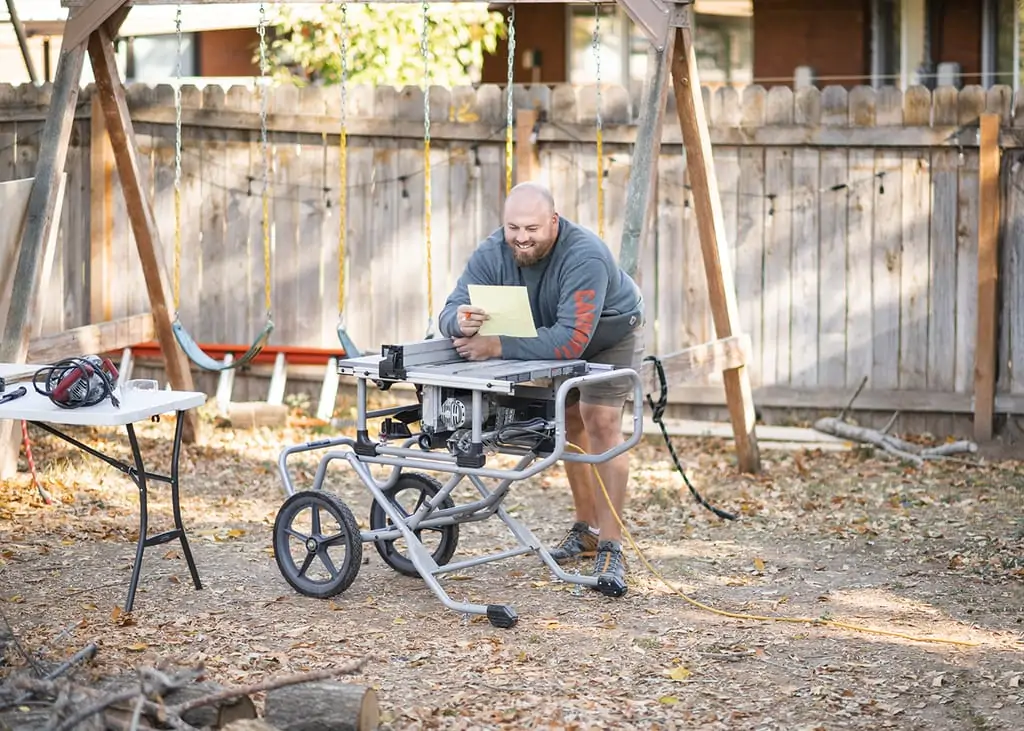
One of the most important parts to building one of these fantastic book boxes is choosing a design you can build. When you think of how to build a little free library, it doesn't have to be super complex or even that large. I sketched mine to have an open face and a single-piece, rear-slanting roof.
The hardest part about conceiving my own library design was coming up with a front door idea. I chose to have a single swing door to keep things simple. We're keeping ours super-simple, but you can find lots of plans and blueprints online for how to build a little free library if you're looking for something fancy.
Measuring Wood for Your Project
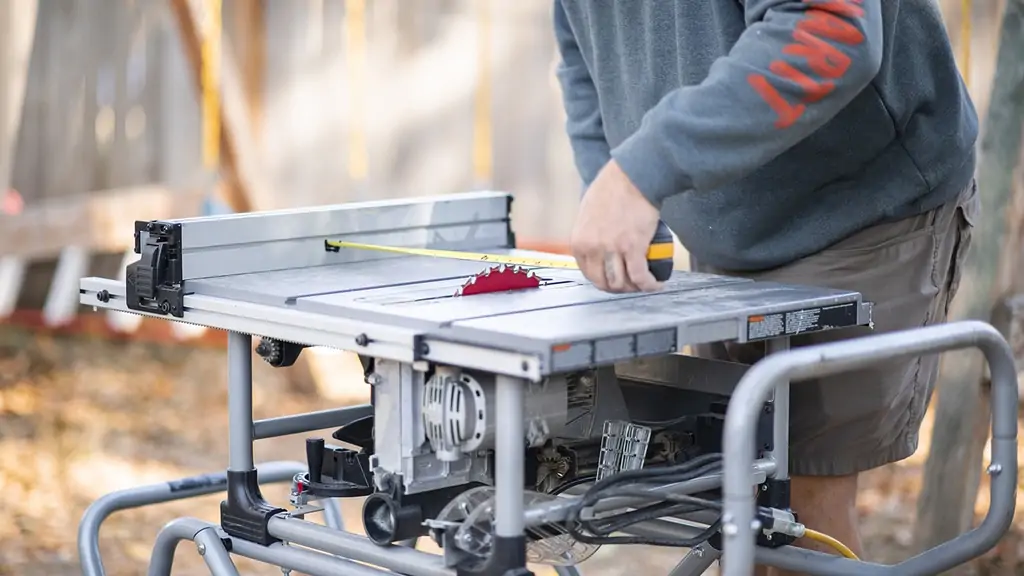
Since I am working from scratch instead of using a free library kit, it's important for me to remember to measure my cuts twice. One mistake I made a lot when I started working with wood was not including the “walls” in total width – for example, when cutting out a floor.
In this case, I wanted an overall width of 24 inches. This meant that I needed to measure the floor to be 24 inches MINUS the width of the walls, as they will be attached to the outside of the floor to allow water to roll off in the rain. That will help my library book sharing box last a lot longer.
Construction Safety Precautions
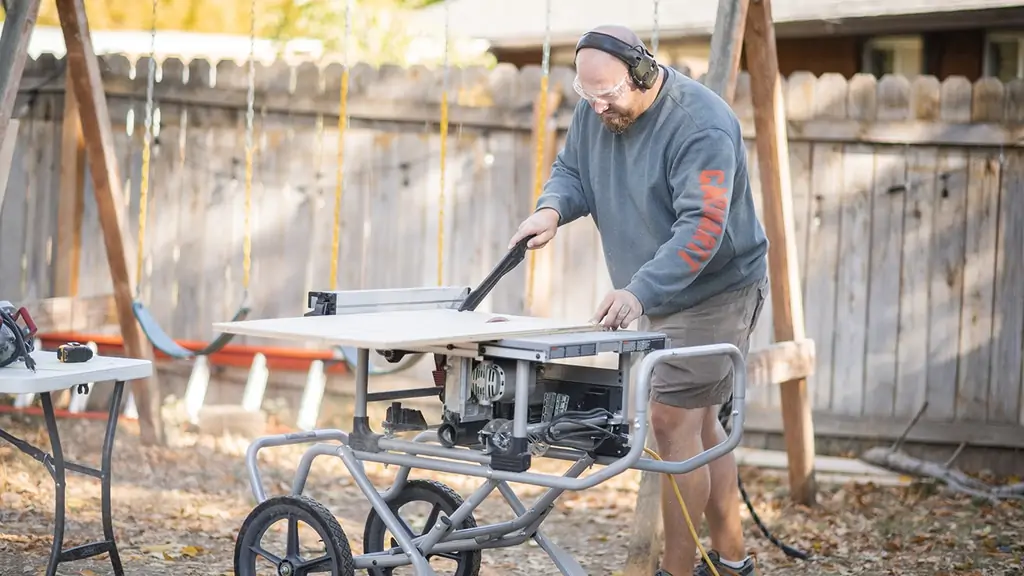
If you are NOT a former wood shop student or aren't used to working with wood cutting tools, remember to start by becoming safety conscious. Knowing how to build a little free library is important, but your fingers are more important. Make sure to wear appropriate tight-fitting clothing and safety gear, and refer to any of your tool's owner manuals.
A pretty solid lesson I've learned – especially working with my favorite tools like my STIHL MS 391 or STIHL MS 251 – is that eye protection and ear protection are always a great starting point. After that, look at the appropriateness of your clothing, shoes, and possible need for safety gloves before finally considering specialty safety equipment like chaps, a helmet or mask.
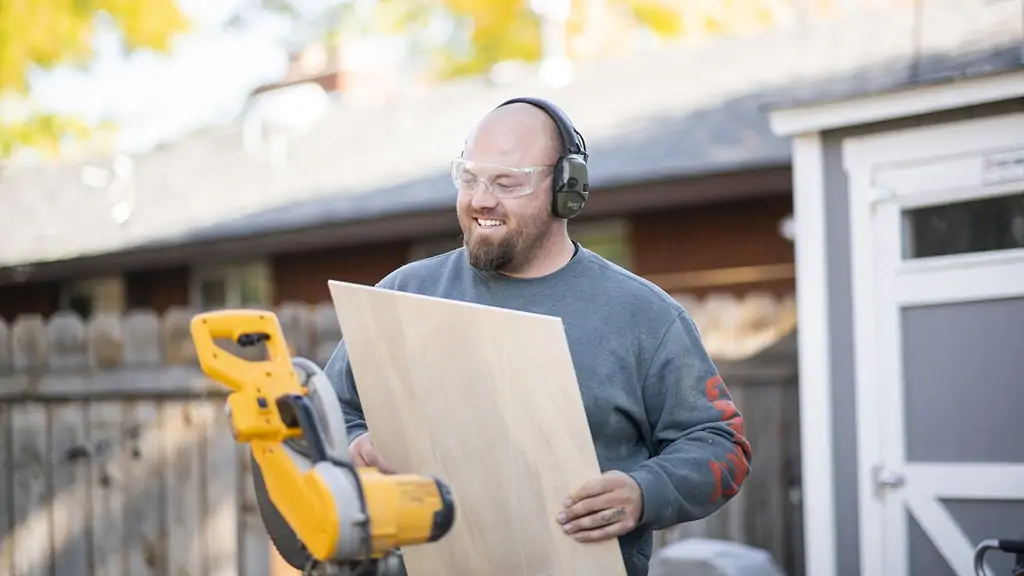
A side benefit of exploring how to build a little free library is that the project is both small and fulfilling. The small part helps keep a beginning project's cost down – especially with the possibility of mistakes. The other great thing about this as a first project is it's definitely cooler than building a filing cabinet.
Assembling a Little Free Library
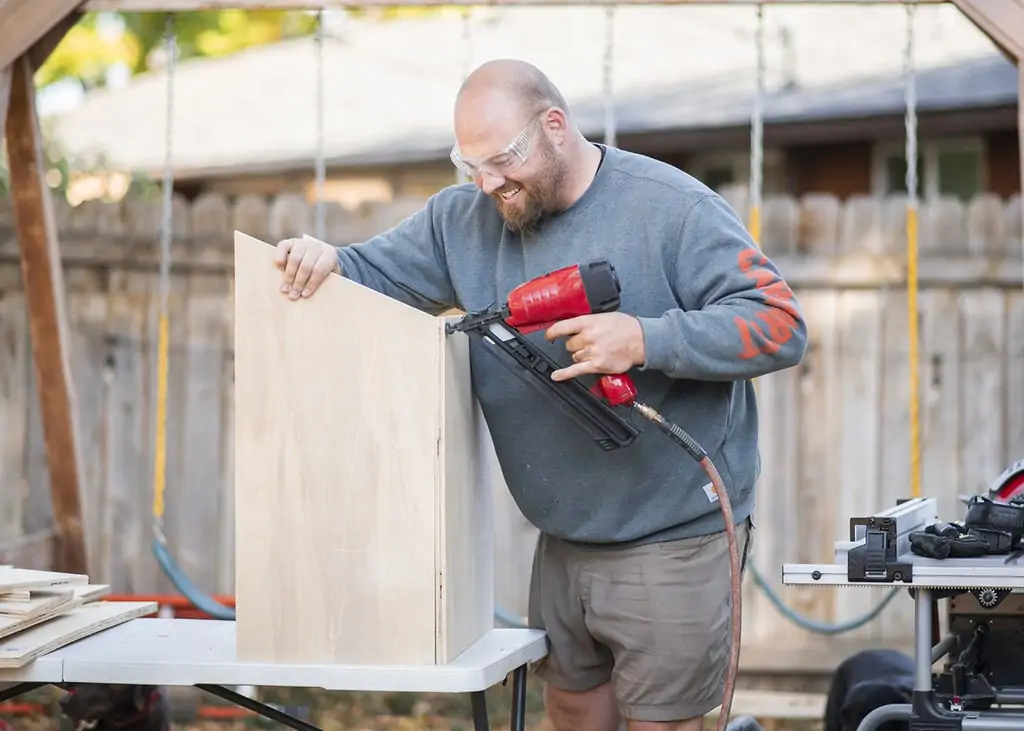
Another simple consideration when making plans for your little free library is deciding how to put it together. Choosing between glue, nails, or screws is dependent on factors like building materials, how you'll finish the library, and local weather.
Because I am using plywood in a climate region that is both hot and wet (summers vs winters are a wide swing here), I chose to use a pneumatic nailer and finish with a coat of exterior paint. The nails would prevent screws from splitting my plywood, be far easier to put in, and be easy to fix as time took it's toll on the library.
Building the Box of a Free Library
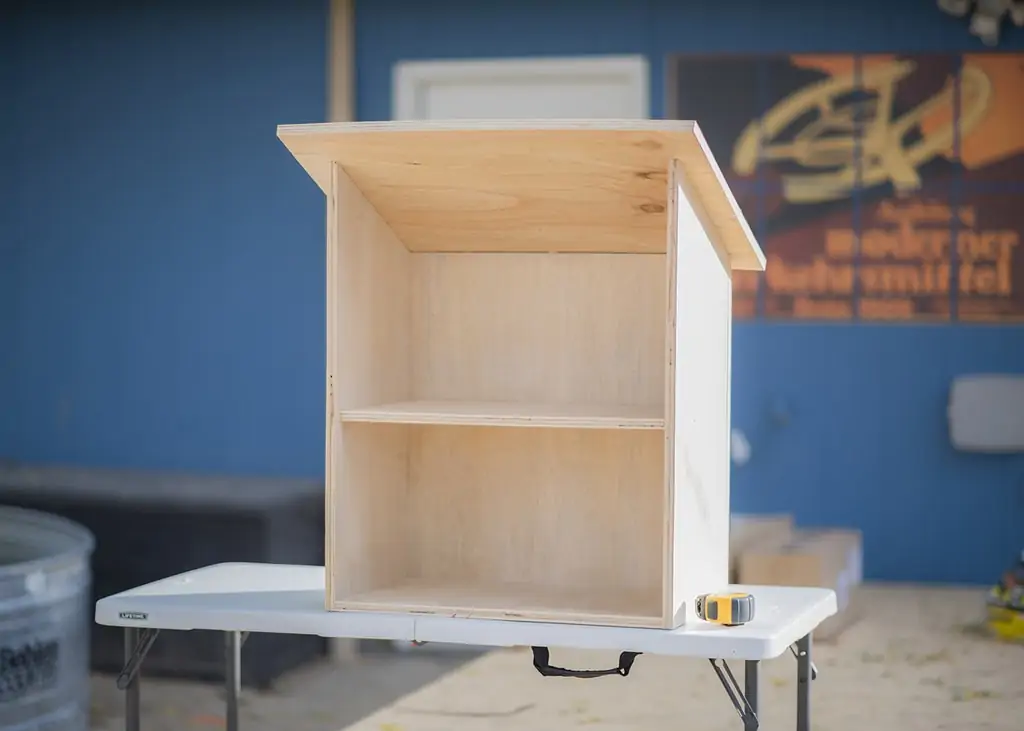
Just remember, this is a fun project that also makes for great learning. Don't overthink it and enjoy the process. Another great thing about learning how to build a little free library is that it lends itself to a bunch of other projects like bird, dog, or doll houses.
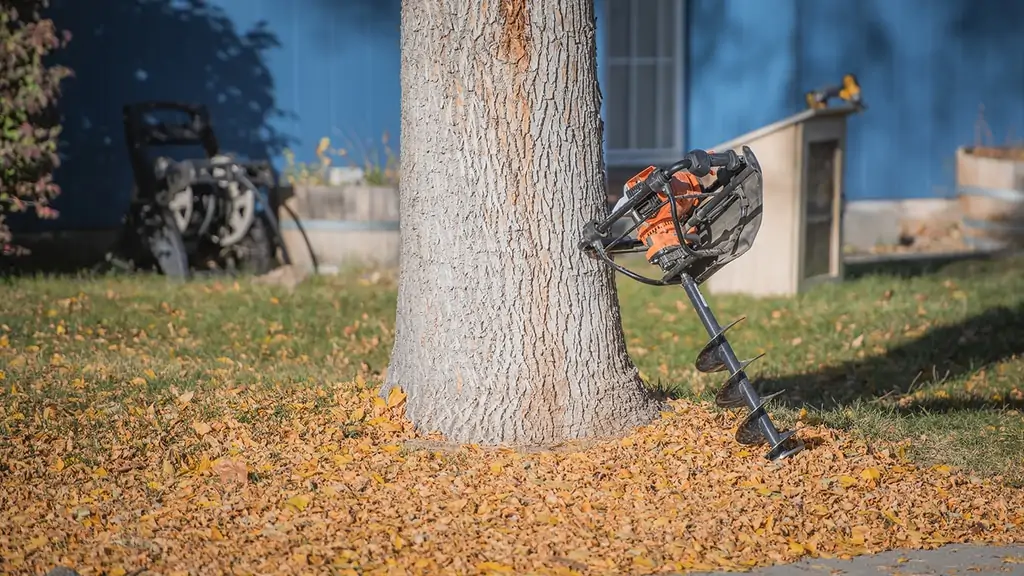
After buying the little Boise house in the city, I figured there wouldn't be a ton of opportunities to use my STIHL BT 131 Earth Auger. Well, that turned out to be very untrue. From our candy bat line to our amazing brand new cedar deck in the backyard, this little baby has proven to be pretty indispensable.
Cleaning up the Yard First
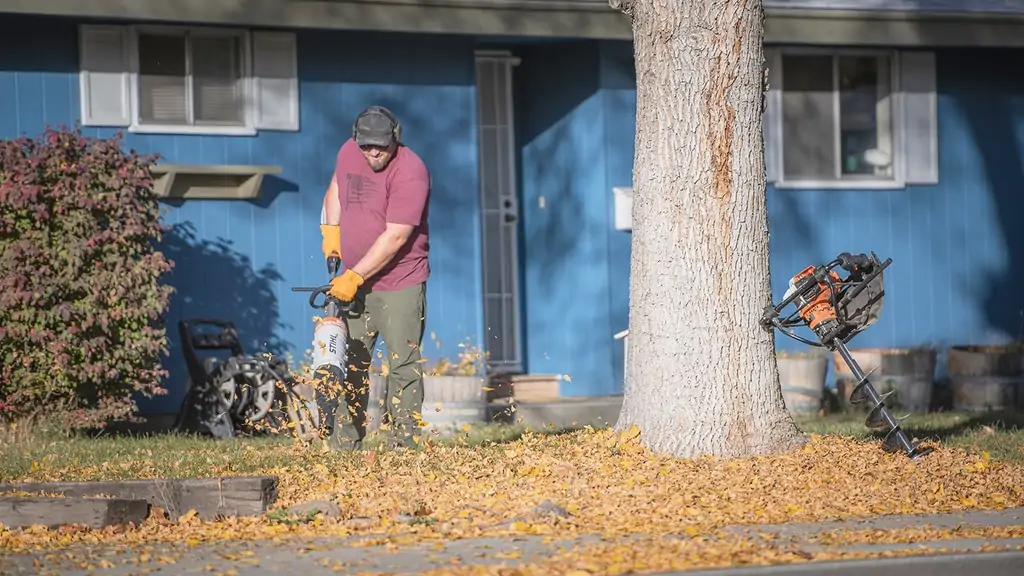
One of my more enjoyable and recent tools from STIHL is the KMA 135 R. This multi tool has not only helped trim my yard and trees but also is the perfect tool to clear these fall leaves right where the little library is going. If you are considering a tool for a home in the city – or even in the countryside – this is definitely one to look for.
Augering Post Holes
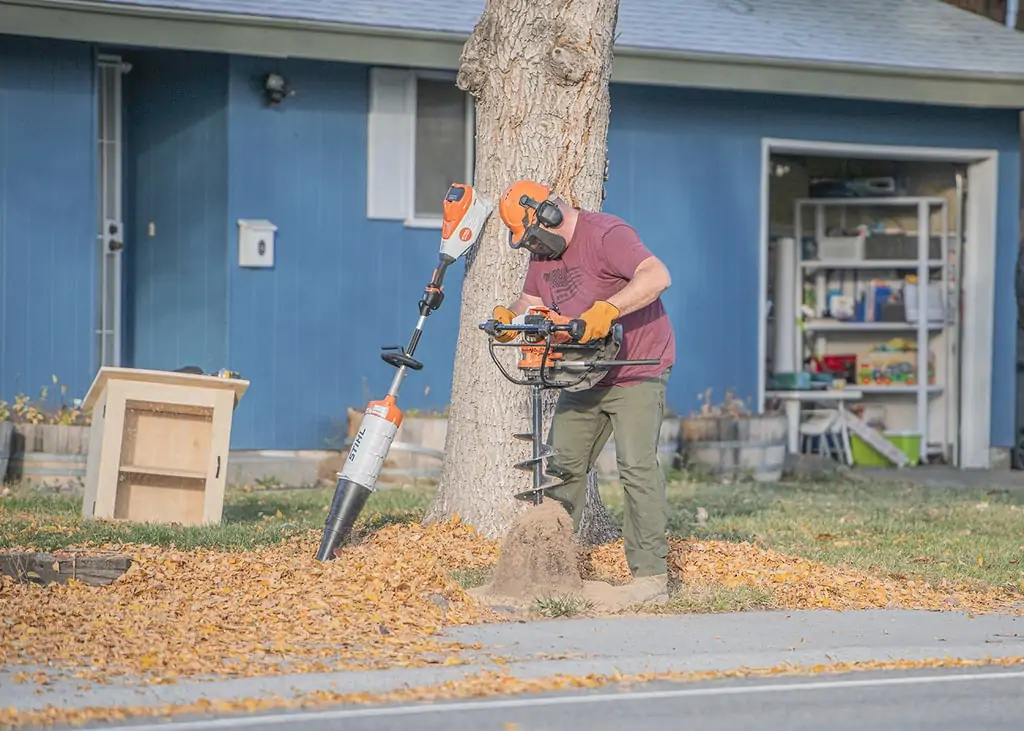
Finally, we're on the final stretch of this little free library project. I'm using a 4×4 treated wood post as the base for our little free library. Being able to drill a precise hole for this post not only makes the project neater, it also saves my yard from unnecessary damage.
That's why the BT 131 is such a great tool. Not only do I not have to do a lot of manual digging, but everything is so accurate and straight. It also has the option to be used with a number of other useful attachments
How to Level a Post
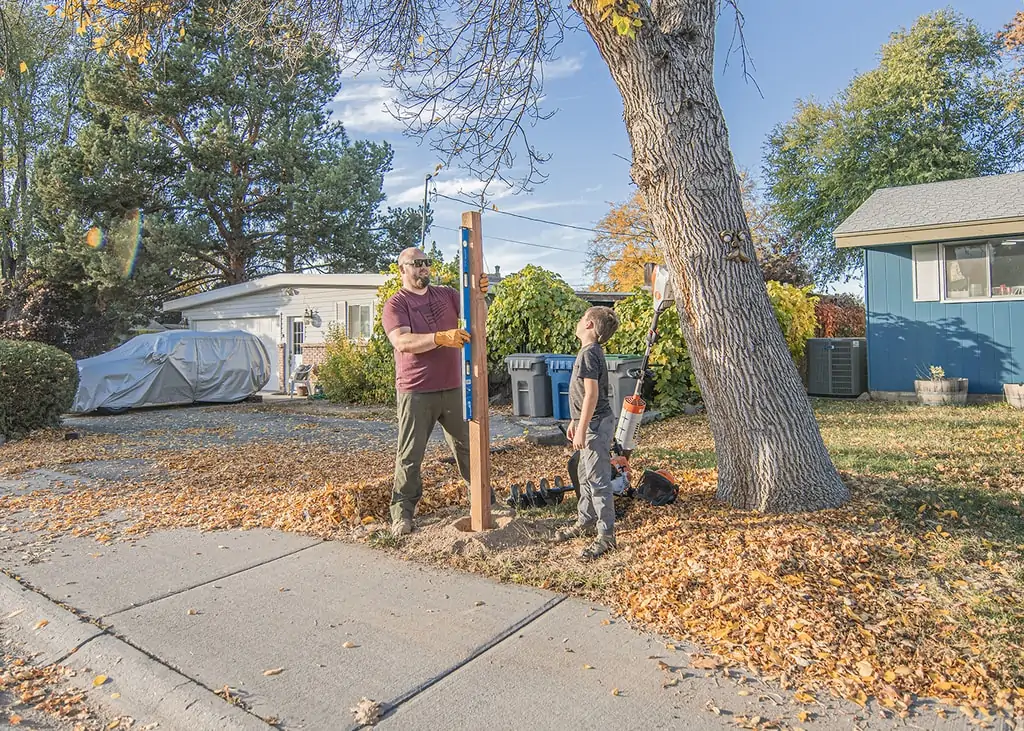
You can build the simplest or fanciest little free library you can imagine, but if it's not set level, it just won't look right. That is, unless you're going for that Picasso look. So, to make it right, use a level and ensure your post is set straight up and down.
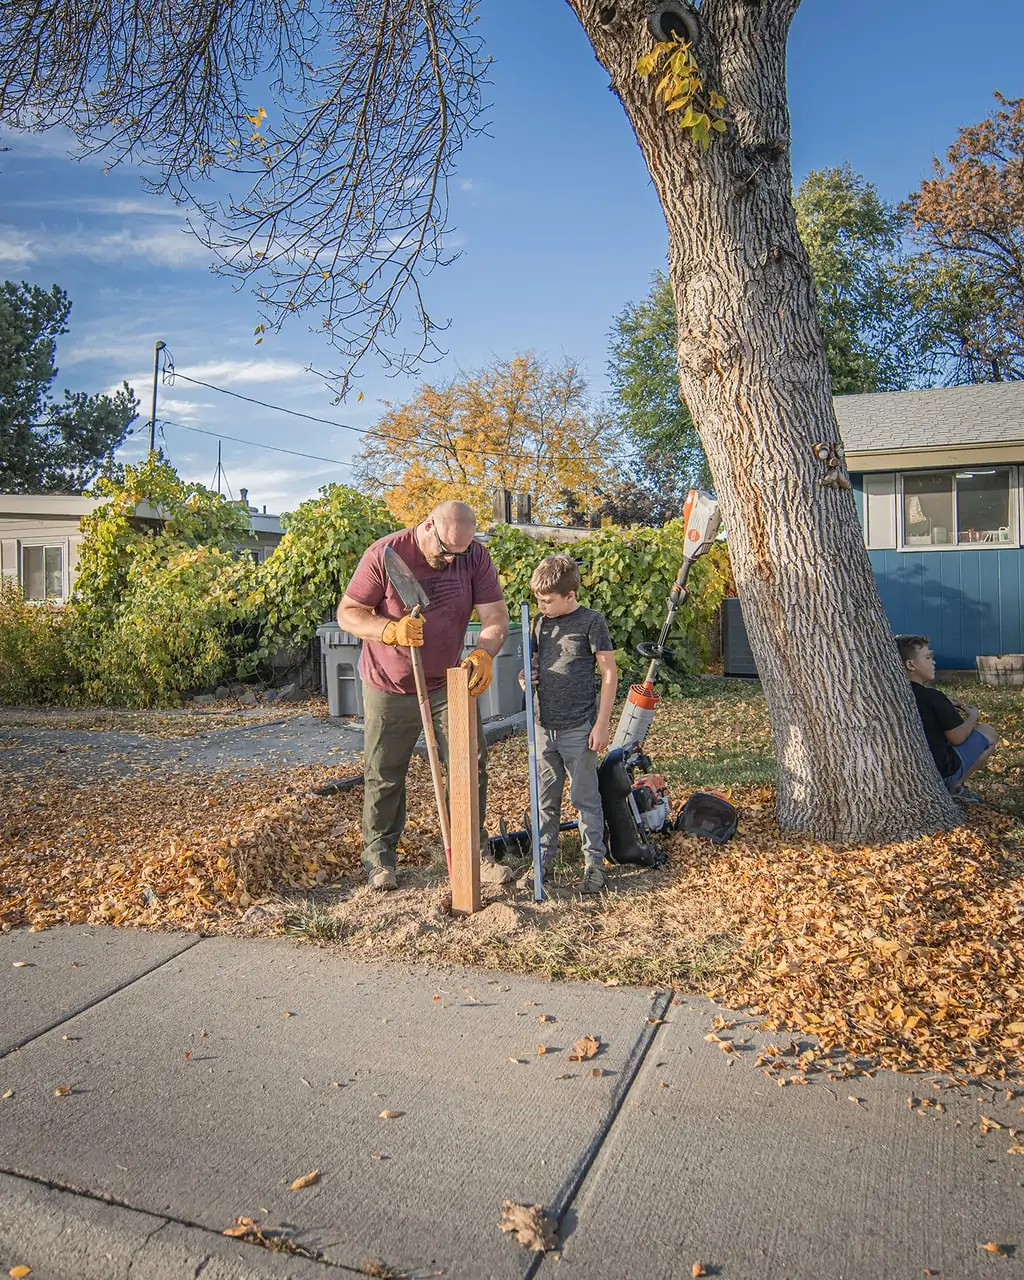
After you trim the post to the right height, set it in the hole and backfill the dirt halfway. Pro tip: pack the dirt with the top of a shovel handle all the way around the post to get the soil nice and tight. Then, fill the hole the rest of the way and repeat the packing process.
Register with Little Free Library
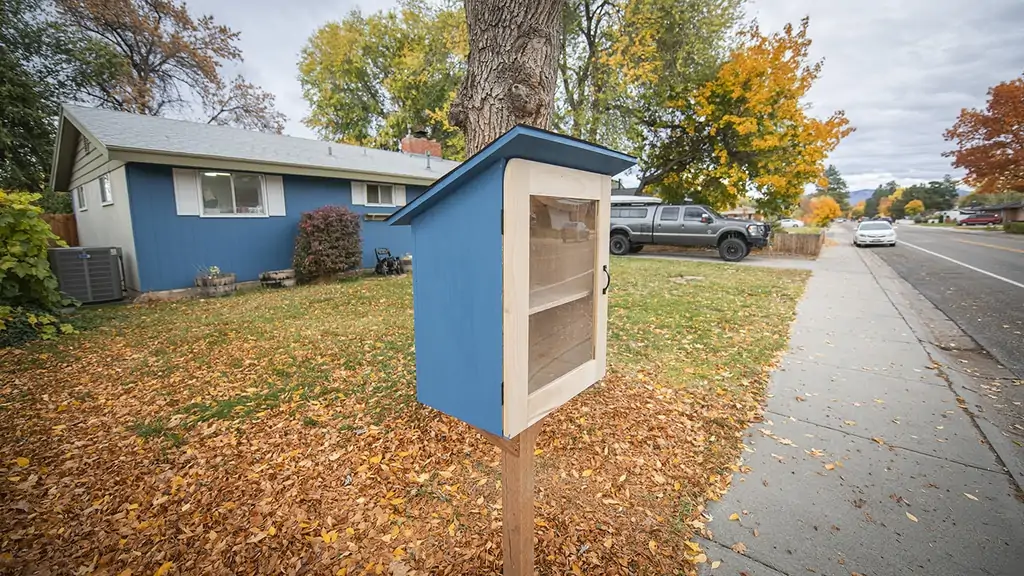
After applying a nice coat of paint and some free spare shingles acquired from a nearby shed store, we're all set for fall book reading. THIS is how to build a little free library and begin free library book sharing. Don't forget to register your location on the Little Free Library organization website to increase foot traffic to your box.
Then, it's just time to wait for the neighborhood to enjoy and take part in all the book sharing fun.