Are you looking for bulk food storage solutions that work in a REAL home? Here's the tried-and-true setup we use for our family of six. It's perfect for dry foods, such as bags of flour and rice. This saves money in our weekly budget, and fits nicely in our tiny home!
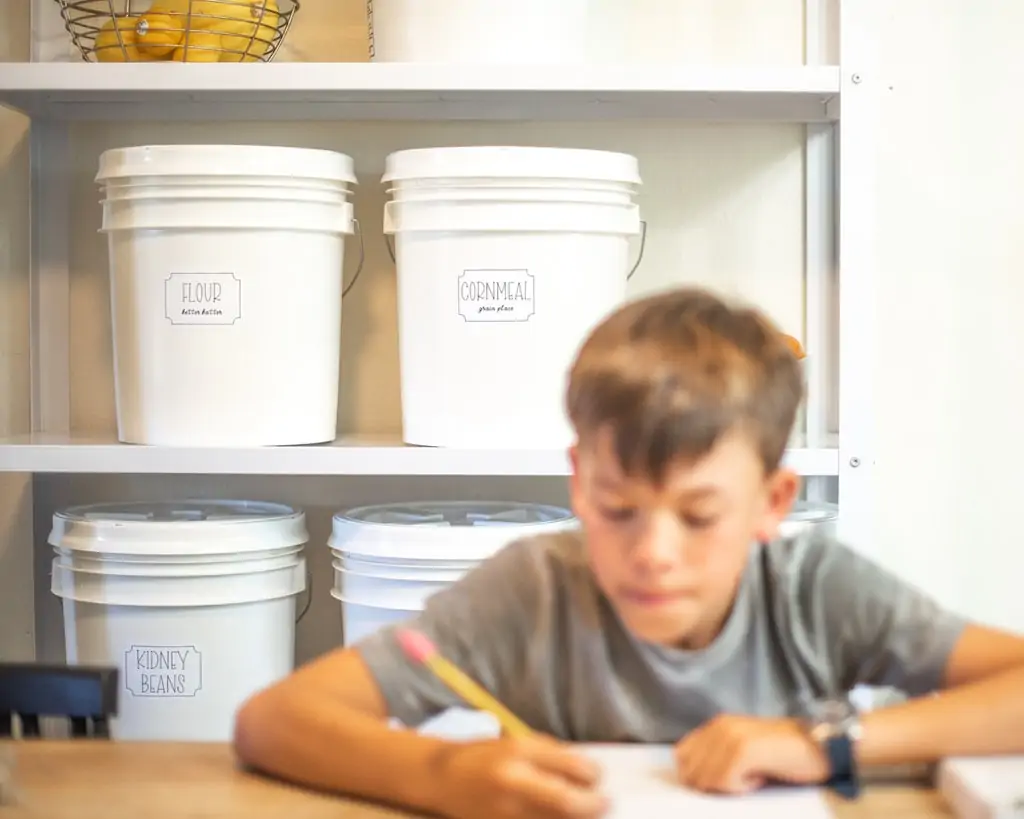
You may recall that back when the whole world abruptly changed (shudder), we bought our Boise house. Everything got really serious, really fast. There were all sorts of supply shortages happening, and we were scrambling to get our hands on furniture and food as quickly as possible.
Since we were buying everything online and trying to reach shipping minimums, we opted to buy large quantities and find bulk storage solutions that could help us hunker down as long as need be. In many cases, ordering lots of food let us save on shipping entirely, saving us tons and tons of money while guaranteeing that we'd be secure for as long as necessary.
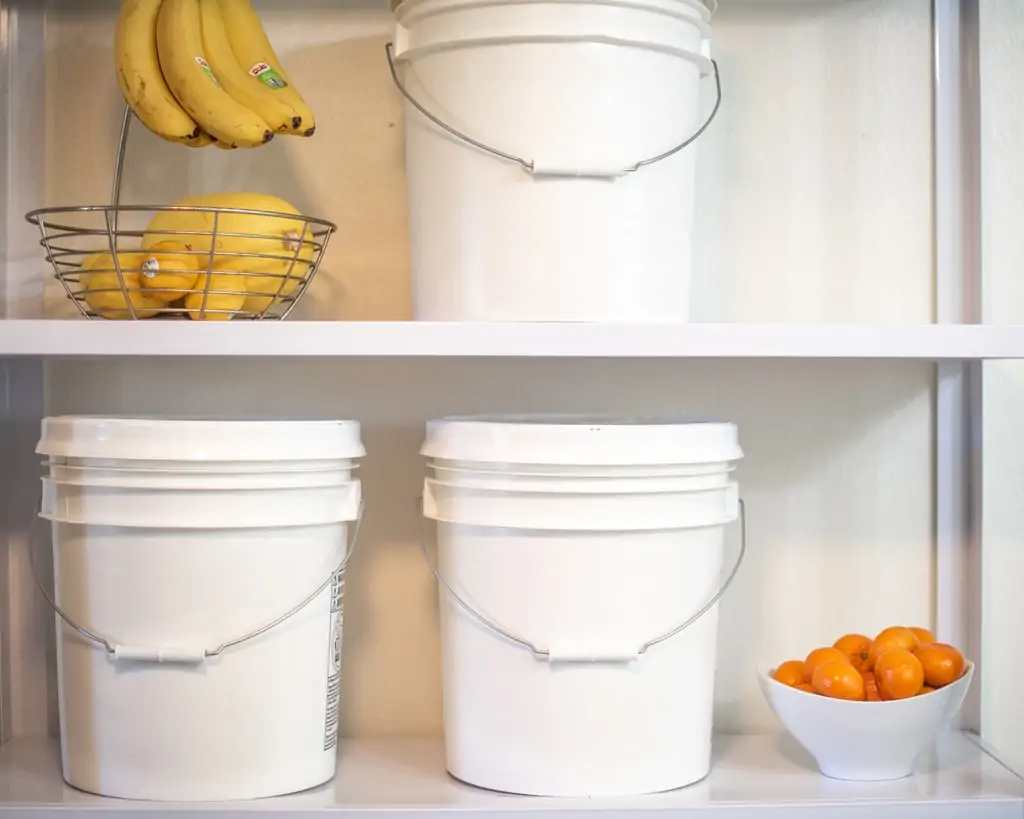
The gamma-seal lids and heavy duty buckets we picked are about the size of an average Home Depot bucket, but they're specially made with BPA free, food safe plastic that's acceptable for long term storage. The top has an airtight seal and spins down so that no air or liquid can seep inside. They're often used in large-scale emergency preparedness kits.
We ordered big desiccant packets to toss inside to absorb any rogue moisture, just in case. Then we loaded them up on shelves in the kitchen, and loaded them all up with food! If you have a particularly large kitchen counter or an extra island, you could even keep them right in the middle of your cooking area for easy access.
This little place in the city is just a thousand square feet, so every inch is critical. Kitchen space is particularly precious, with less than 3 feet of counter space. There's no dining room, so we've placed a long, thin dinner table along the longest wall that leads into the living room from the sink area.
Tucked right behind that dining table (which also serves as a workspace and homeschool area for the whole family) we found the most perfect metal industrial shelf that fits four levels of our buckets, three wide if need be. I don't cram it THAT full, since I like a more modern spaced-out look and I also like to stick our fruit up there. We have baskets for mandarins, and hanging metal hooks for bananas. All of our family's most-used items are right within reach!
How to Label Bulk Food Storage
We're working with our long-term partner Cricut again to share how this awesome solution can easily be customized with a Cricut Joy machine.
Supplies for this project include a Cricut Joy machine,
Template is available on Cricut design space
Smart Label Writable Vinyl,
and 0.4mm Fine Point Pens
As with any Cricut machine, the Cricut Joy works by pulling up a template that is then cut or written on, depending on which tool is in the machine. In the case of Smart Label Writable Vinyl, it writes the names of the food out and then cuts the label, which can be peeled off and applied right onto the buckets.
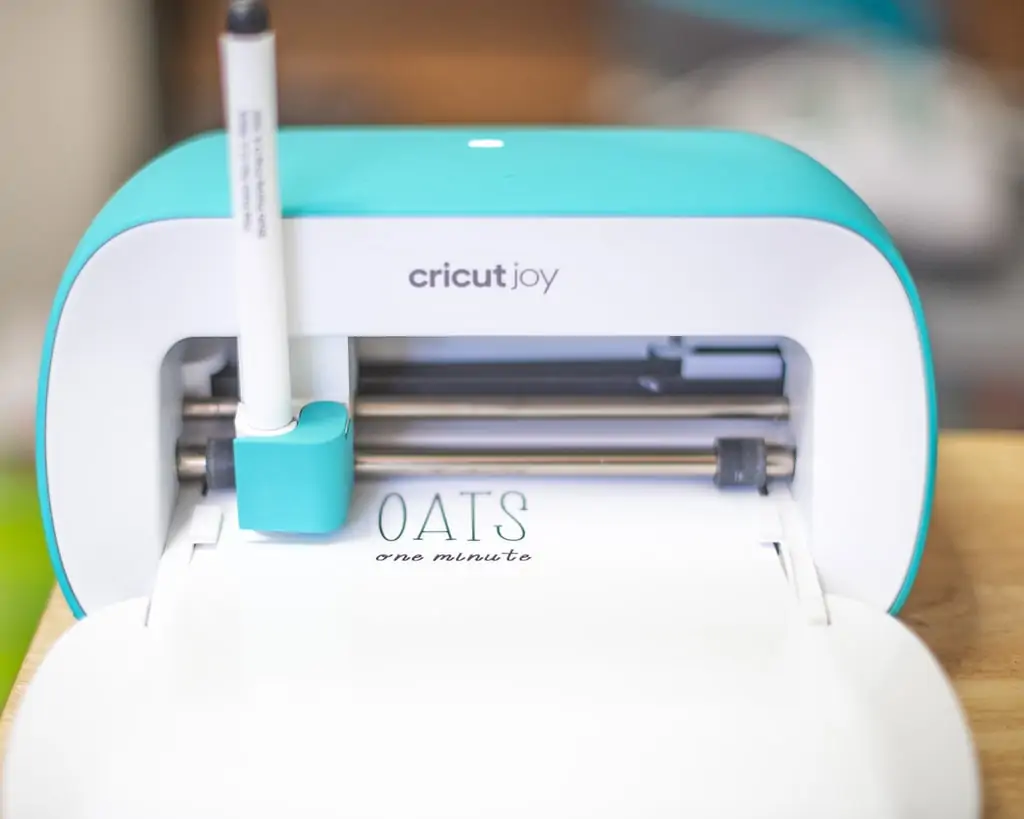
Cricut Design Space prompts the user to swap tools midway through the process. As with all Smart Vinyl made especially for the Cricut Joy, the Smart Label Writable Vinyl doesn't need to be applied to a mat. It goes through the machine glossy side-up, and the machine measures before printing or cutting to make sure there is enough material for the whole project.
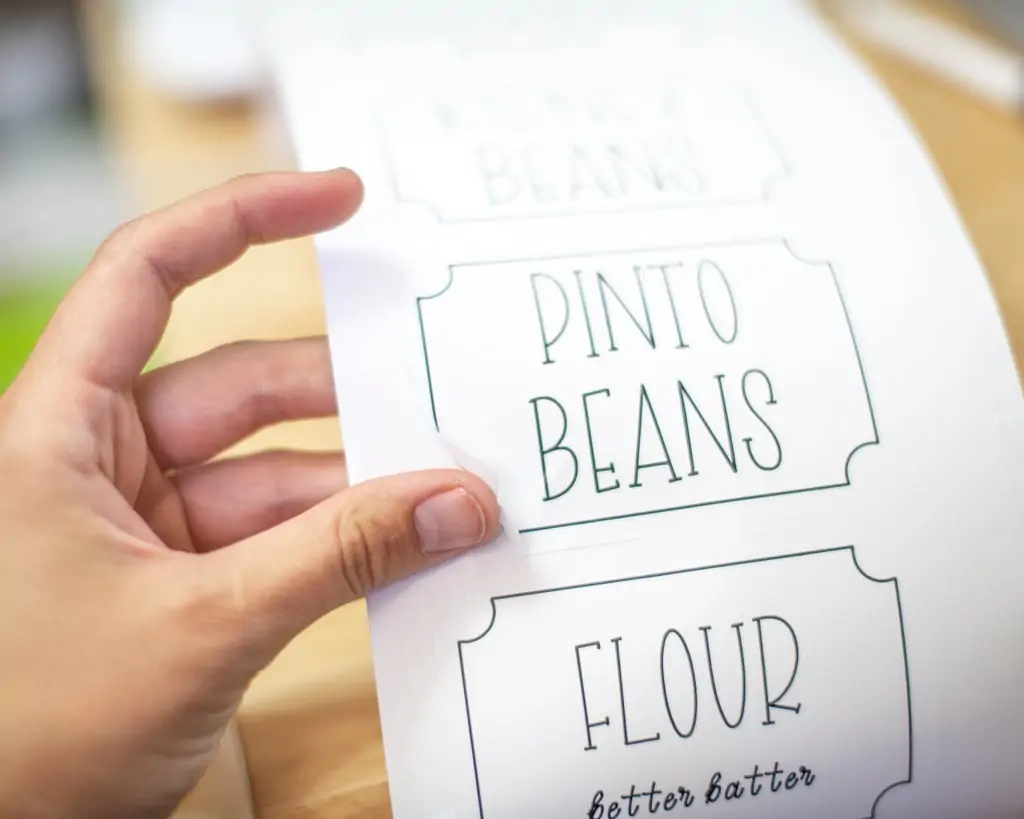
My template includes quinoa, oats, cornmeal, kidney beans, pinto beans, flour and rice. You can easily adjust, rename, or create your own labels for things your family uses. Just be sure to “attach” every image and text to the project before cutting, so it all stays in place. Under some of the labels, I've noted details about the brands or specific types I use so that I can remember when it's time for the buckets to be refilled.
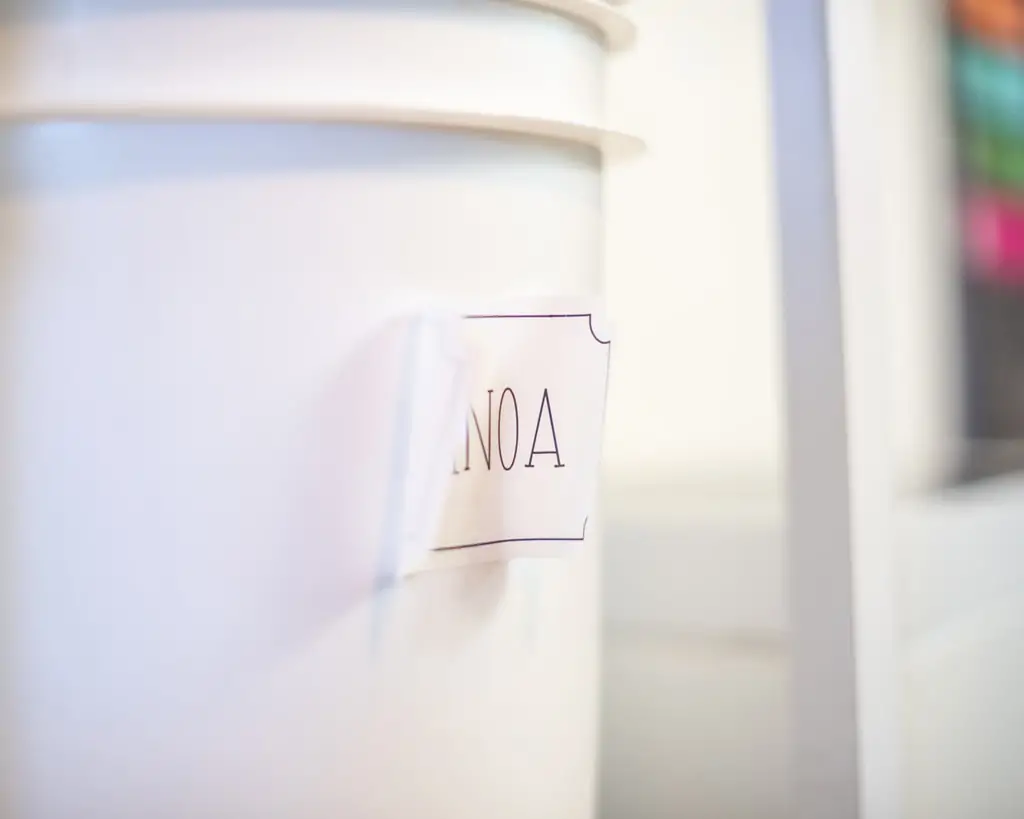
The main trick to applying the Smart Labels to your bulk food storage buckets is to start applying the middle of the label initially, then slowly spread your fingers out to affix the edges. This way, there won't be any bubbles! I did try to mark short, level lines on the bulk food storage buckets to help ensure that I didn't get the labels crooked, but it turned out that the start contrast of the black line and the white buckets was a little bit visible through the labels once they were applied.
To recap:
- Pull up the template, listed above, and hit “Customize.”
- Make any necessary changes to your labels.
- Select all layers, and click “Attach” in the bottom-right corner.
- Click “Make It” in the upper-right corner.
- Follow the steps to print your labels, selecting Smart Label Writable Vinyl as your material, glossy side up, without hitting the “Mirror” toggle. The machine will prompt when to insert the material, when to insert the pen and when to change to the blade.
- Apply to your bulk food storage buckets.
If you want to make even bigger labels, you can use the Cricut Maker with a Standard Mat and any vinyl that’s compatible with your food storage solution. Instead of writing and cutting, with a larger format you can make cut-outs of the label title you want to use, and transfer it with transfer tape.
There are so many options for storing bulk foods that would work well with these labels to store dry goods when buying in bulk. You could get stainless steel containers, canning jars, or glass jars of all shapes and sizes. I always take my food orders out of their own plastic bag and put them straight into my containers since I know that this situation is optimized for long-term storage, whereas containers from the manufacturer mostly guard against damage during shipment.
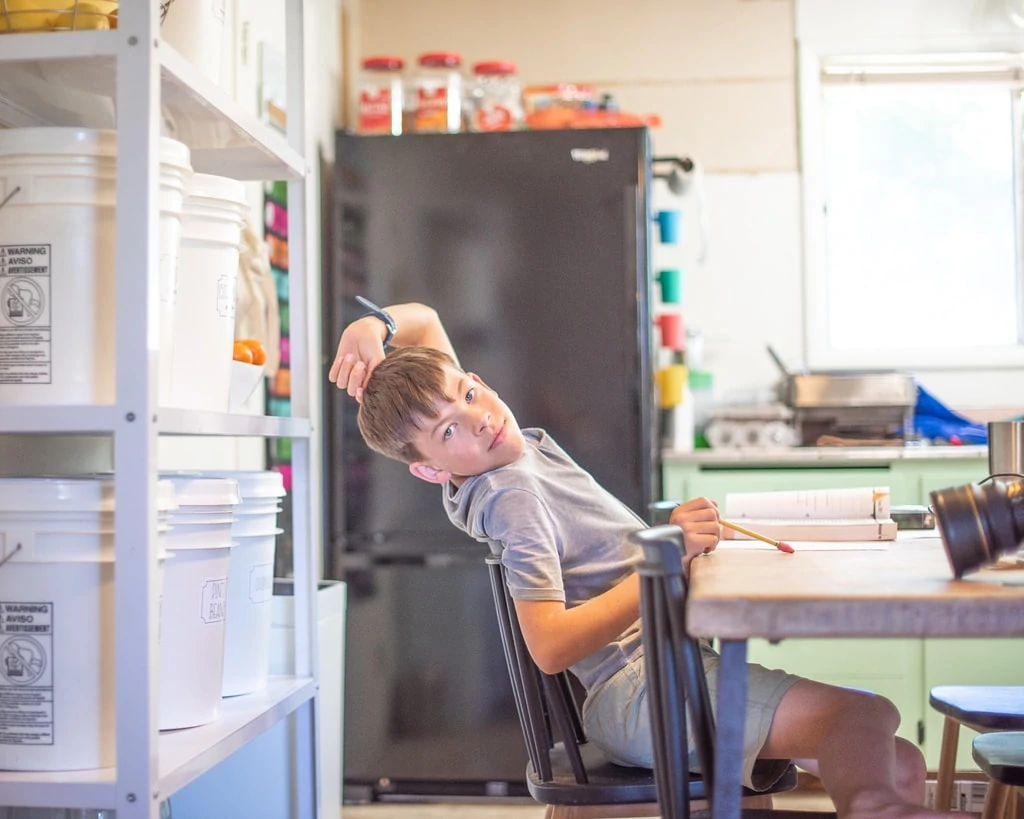
You can see that the kids usually sit on the side of the table where the buckets are stored, and they have plenty of space to move about. These buckets have appeared in numerous photos here on the blog and on social media, and we've gotten tons of people asking if we're preppers!
My answer is always: no, more or less. I mean, in some way, who ISN'T a bit of a prepper by now? I like to be prepared, and I also like knowing that I have everything I need within arm's reach when I'm cooking. Especially in such a tiny home, it's awesome to have everything close by, without needing to pop into the garage and trip over everyone else as I'm trying to gather supplies. It sure doesn't hurt to know that I'm able to cut down on grocery store trips, and that I always have what I need to whip up something tasty, whether or not I've gotten my meal plan together that week!
This solution stores food basically indefinitely. I haven't noticed any degradation or quality loss as long as I close the containers tightly after removing whatever quantity I need for cooking. I simply turn the lids to open the container, use a measuring scoop to remove food, and seal it right back up. I can usually check volume measurements online to make sure that whatever I order will fit in my bulk food storage area, but if not, the customer service department of wherever I'm ordering from is usually happy to supply volume information.
We order pound bags of quinoa, oats, and giant quantities of rice and beans. You could order bags of sugar, noodles, cornmeal – all sorts of stuff! I especially like to keep bulk amounts of items needed for baked goods, so I'm always ready for a party. You could even stash whole or ground coffee beans for the best black coffee anytime.
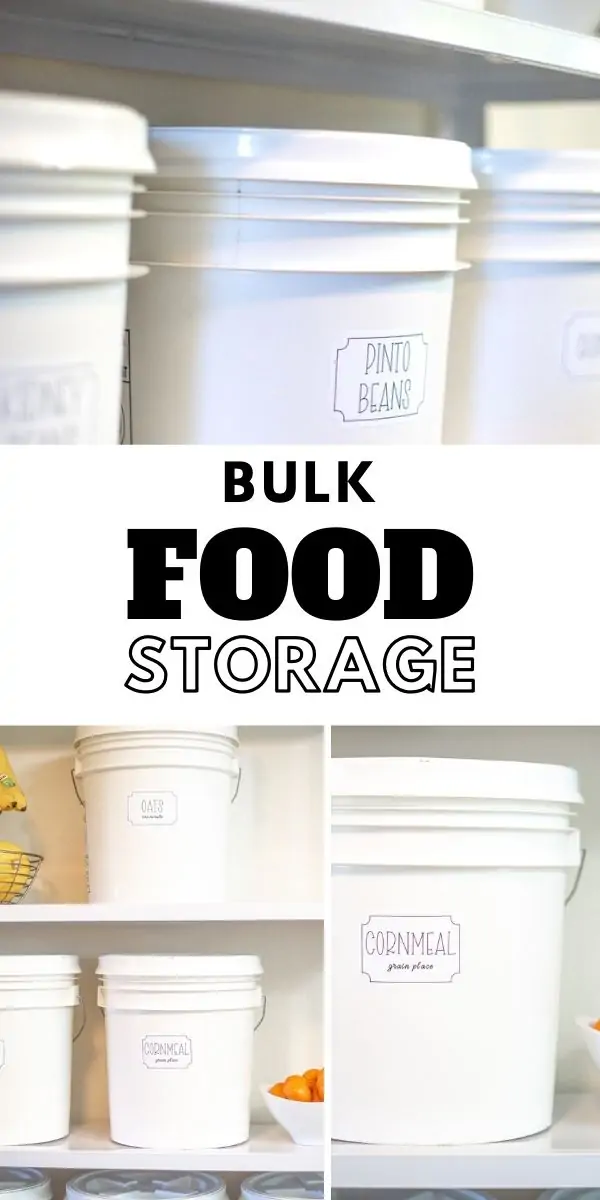
My Favorite Dry Food Items Include:
- Grains such as wheat and spelt
- Flour
- Noodles
- Beans
- Lentils
- Pasta
- Oats
- Popcorn
- Dried seaweed sheets
- Jerky
- Dried fruits
- Rice
- Dried vegetables, such as peppers
- Baking soda
- Nuts
- Salt
- Chocolate
- Pumpkin seeds
I prefer to buy straight from the manufacturer whenever possible, since they usually offer special bulk deals and their selection is always the freshest on the market. I also like knowing that the business (usually a small business) is getting as much of the profit as possible, without a middle man. Other good options include membership stores, such as Costco.
If you're interested in bulk food storage and using everything you've got, you may also like to learn about gardening and composting. Garden stakes may come in handy, too!
What would you put in bulk food storage?