So here we are, moved into a brand new house that we're now stuck in with very few supplies and an itch to decorate. Will I let my limited craft selection stop me from busting out some DIY wallpaper? No! No I will not.
Our new house in the city has one bathroom – and it's not a very attractive bathroom at that. It's weirdly long, with pink tile and a single sink, a combo tub/shower, and a tiny medicine cabinet behind the doorway. It's very 1960's.
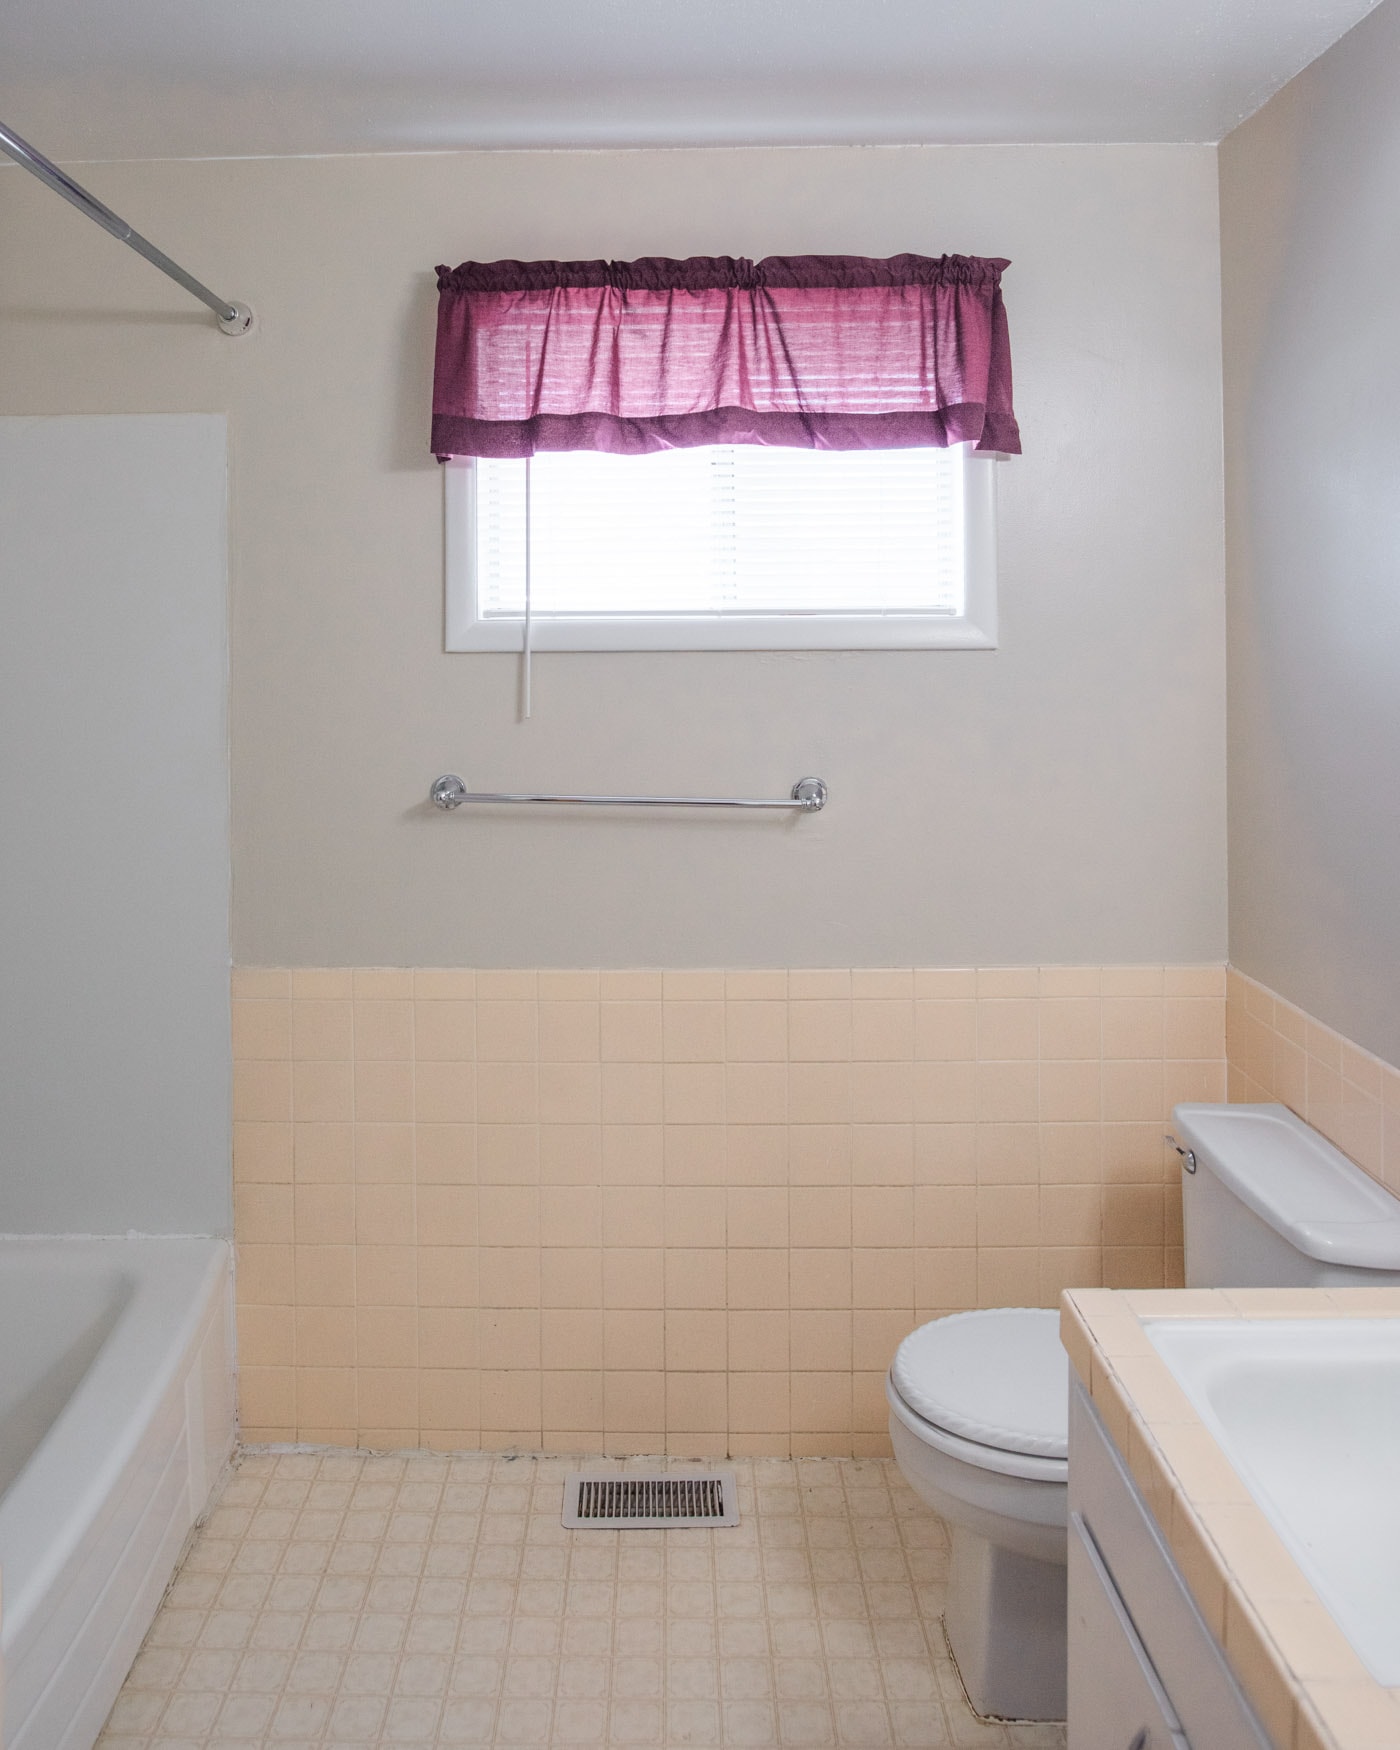
The whole house is pretty dang groovy, actually, having been built in 1960. Since I don't have access to contractors or paint or…well…anything that will help me completely gut and remodel this place, I've decided I'm going to have some fun while I'm here!
I'm going full-bore on the mid-century vibe. 60's, here we come. This is gonna be a gas, boss, and if you're not with me, you can bug out!
Actually, truth be told, it has been incredible difficult to get reliable contractors to work with us here in Idaho. The influx of Californians has had everyone CRAZY busy and nobody wants to small gigs right now. That's fine, actually…I needed to learn a lesson in self-reliance and making the most of what we have. With this new remodel, we're going to look for small tweaks that have maximum impact.
No more dumping endless sums of money into the highest-level finishes and upgrades. Unlike our last remodel, we know that this is not our forever home. We'll probably rent this out when we finish the lake property, so that gives me motivation to slow down, focus on long-term value over personal preference, and invest in aesthetic updates as opposed to the latest-and-greatest fancy stuff.
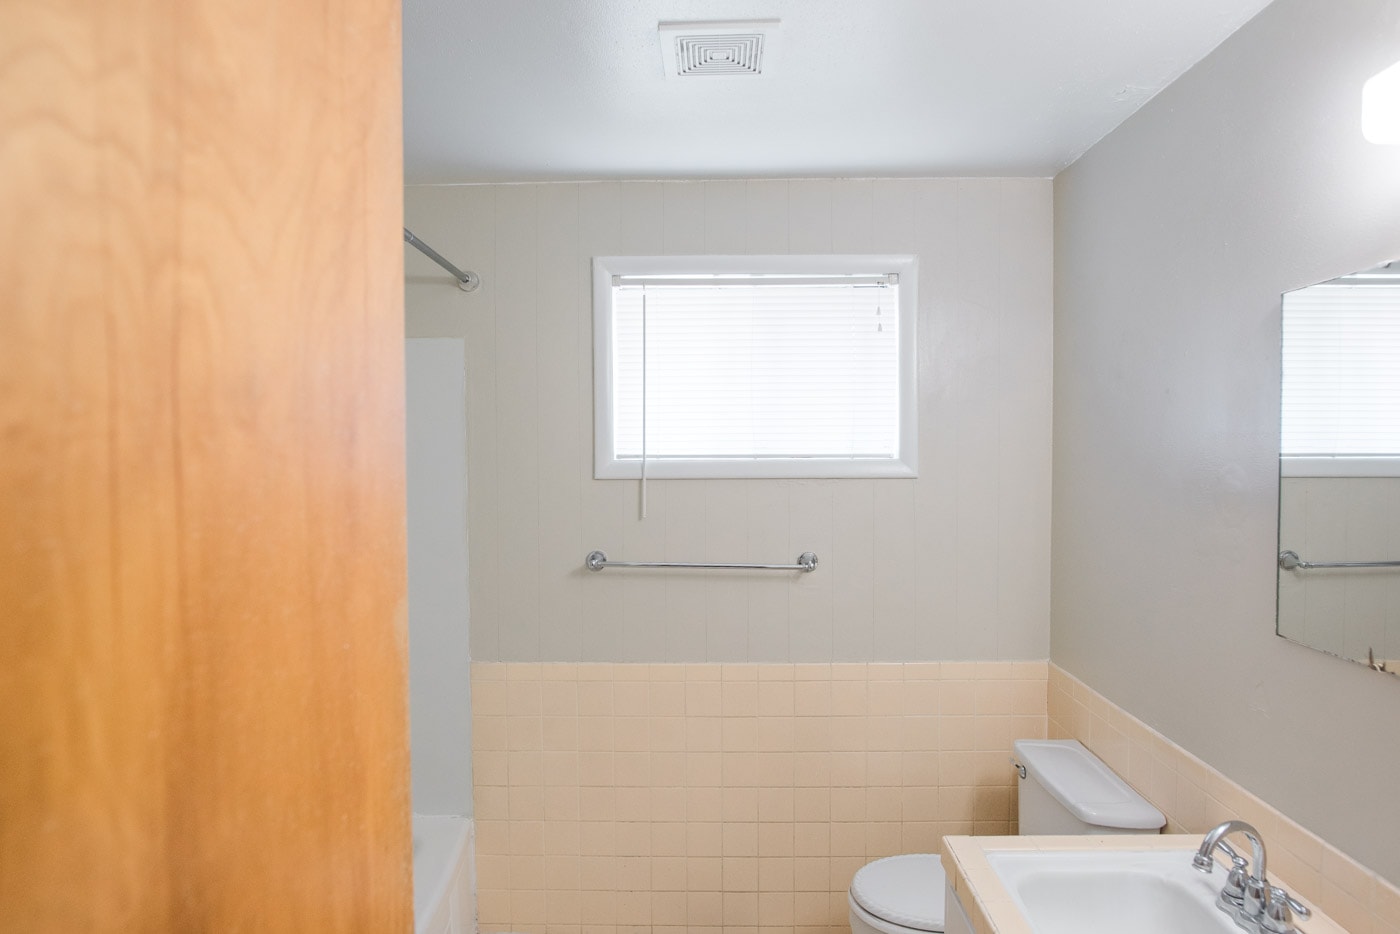
First step: I removed the ugly burgundy valance. Ahhh, that's better already. Next, I used my Cricut Joy machine to print out a set of Bubble wallpaper strips, a set of Gold wallpaper strips and two sets of Leaf wallpaper strips – all onto removable smart vinyl.
If you need a refresher, you can find ALL the goods on Cricut Joy over here. This little machine quickly became my favorite workhorse for everything from homeschool crafts to home stuff, making travel accessories and more.

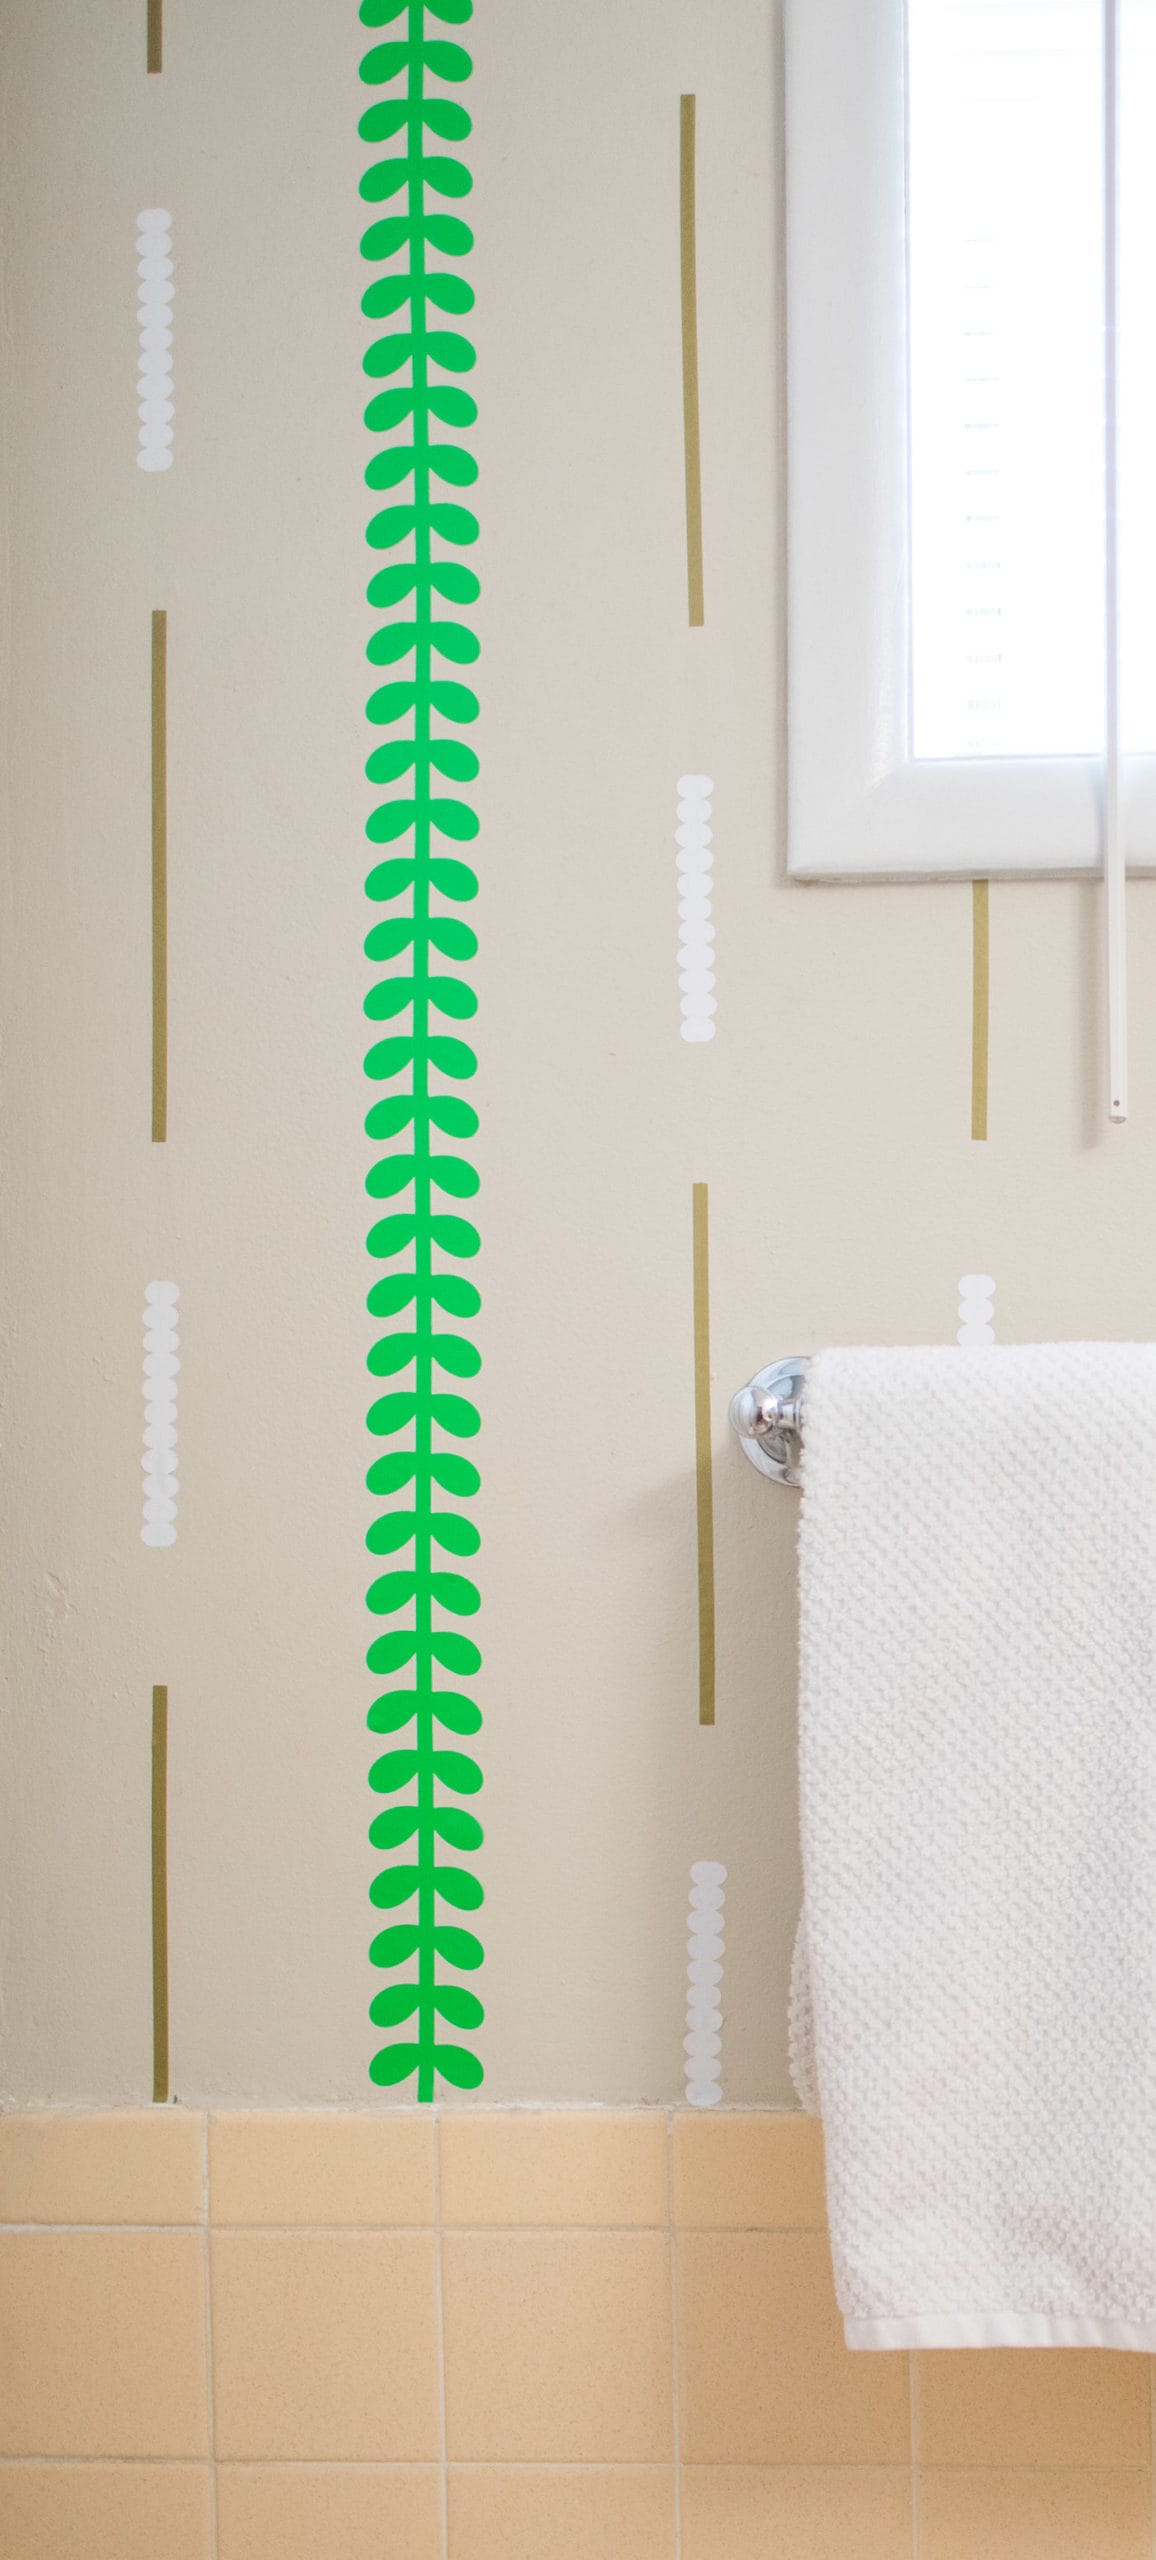
With my wallpaper strips in-hand, I measured columns 5″ apart on my bathroom wall and alternated the designs, with the leaves serving as long accent points and the gold and bubble strips measured 2.5″ apart on those columns markers. Check out the time lapse below to see it in action!
I used a ruler to mark 5″ apart up at the ceiling and down by the tile. I then used a long measuring stick and a pencil to draw a line between the two, then applied the leaf decorations from top to bottom, alternating the gold and white bubble strips in between.
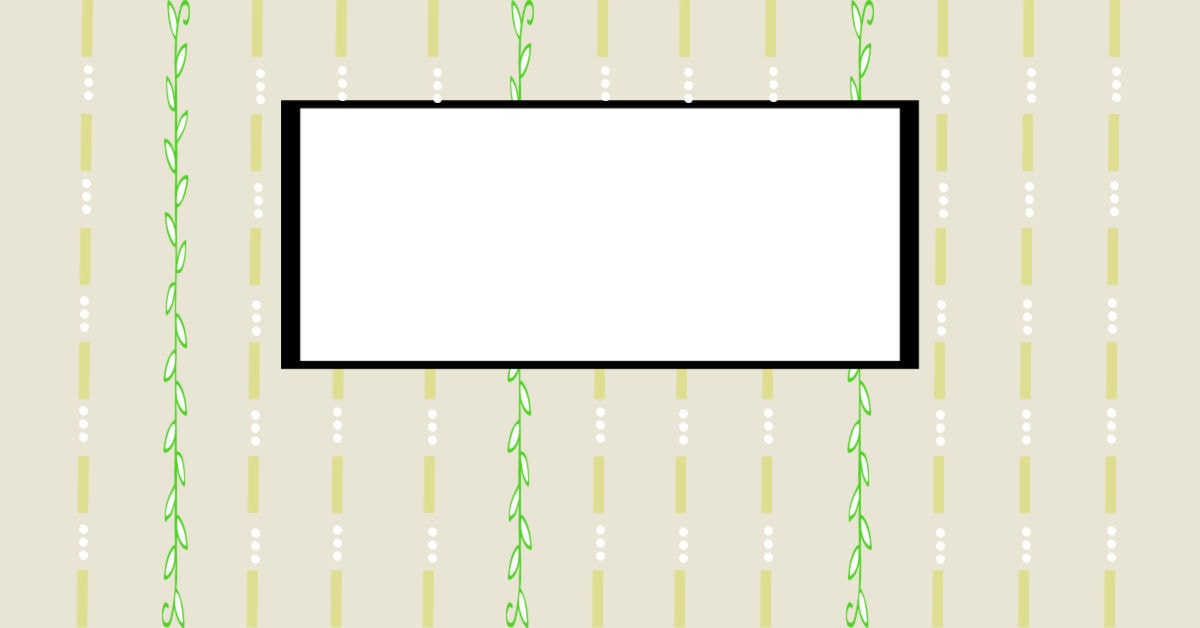
I like to use PicMonkey to visualize intricate designs like this ahead of time, so I have some idea of how it will come together and a plan once I get into action in the space. It's SO helpful.
I simply used scissors to trim the DIY wallpaper once I hit the top of the tile, and made sure to press the strips all the way down so there weren't any rogue pieces trying to fly off the wall. I used rubbing alcohol and a Magic Eraser to easily remove the pencil marks in between the DIY wallpaper strips once they were all up there.

Since I used Cricut's awesome Removable Smart Vinyl for Cricut Joy, I was able to print long strips of vinyl without a mat. Mega-bonus for being able to remove it easily whenever I decide to remodel the bathroom down the line.
You could easily modify this project to work on a standard Cricut machine. You'd just want to rearrange the strips so they print onto 12×12″ mats instead of on the long rolls that Cricut Joy uses.
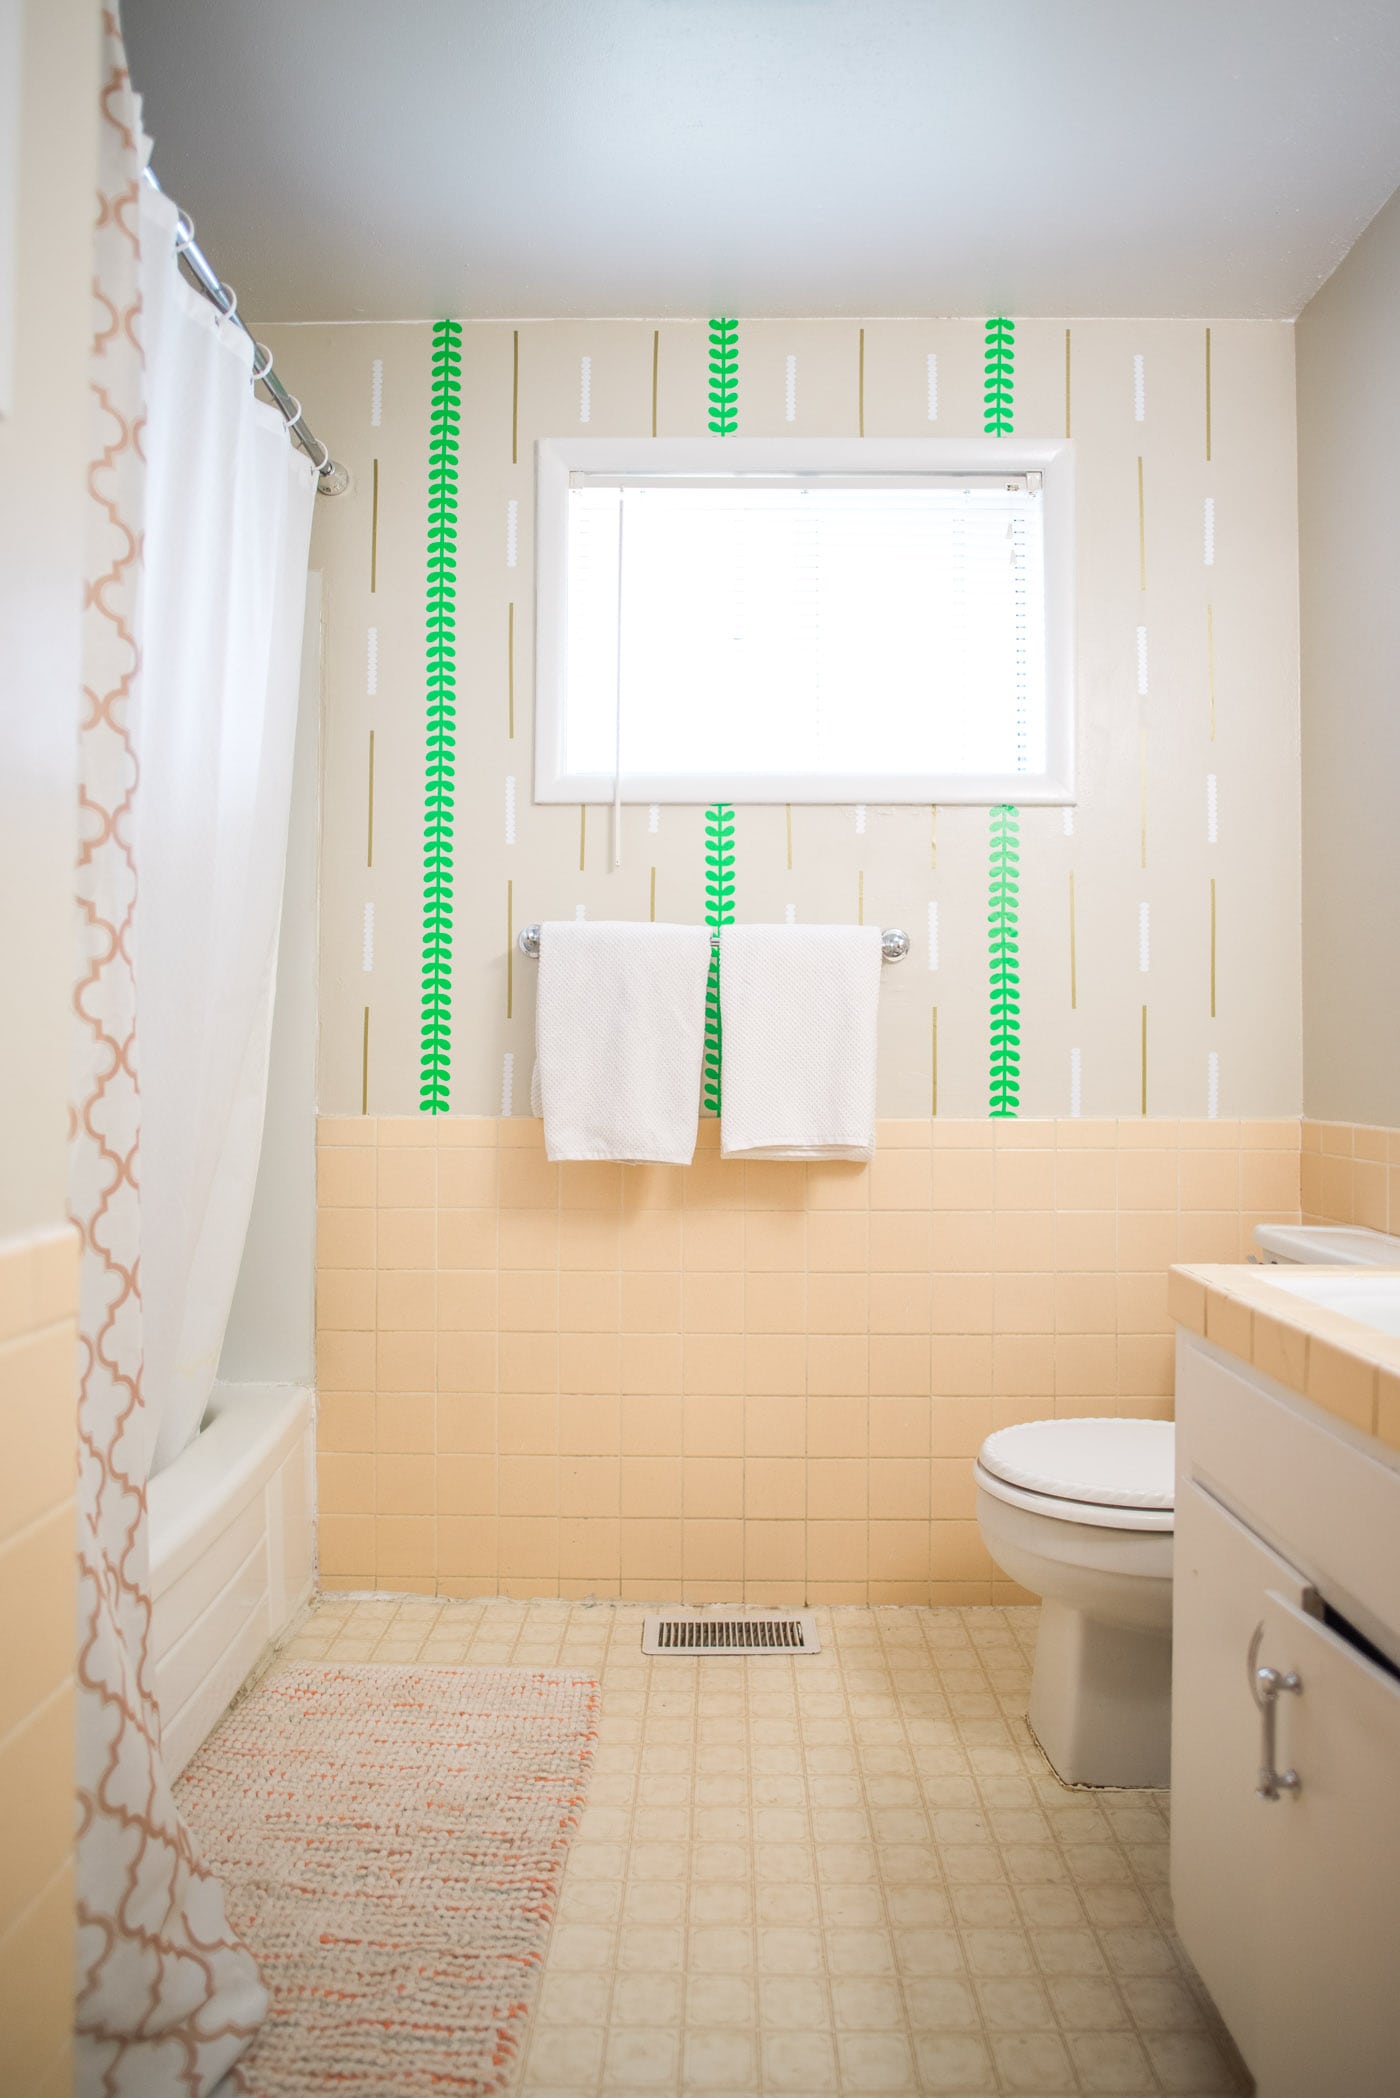
Nate was totally skeptical about this project when I started it, but he walked in and remarked over how well it pulled the space together. With some simple white accessories, a shower curtain that adds in some of those epic 1960's geometrical patterns that the time was known for, and a rug that plays up the pink in the room and makes it feel intentional…this space is totally tolerable.
That, by the way, is all stuff I already had on hand from thrifting!
I'm still not thrilled with the glossy stainless steel finish on the appliances, the crookedness of that towel rail or these hopeless floors – but we'll get to all that. Eventually.
Have you ever tried making DIY wallpaper?