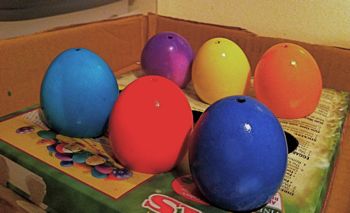
I love decorating for the holidays, but decorating for Easter can be tricky. You can't make Easter eggs very early or display Easter eggs too long because, well, the smell of rotten egg kind of ruins the effect. My family has been doing this hollow Easter egg craft since I was a kid. It's a great way to get into the Easter spirit early on and create a centerpiece display that lasts indefinitely.
Hollow Easter Eggs Craft
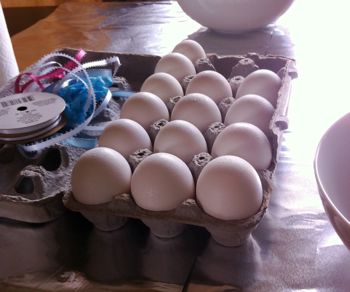
Eggs
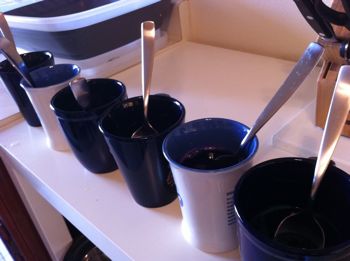
Egg dye and cups
Spoons
Thin ribbon
Paperclip
Pushpin
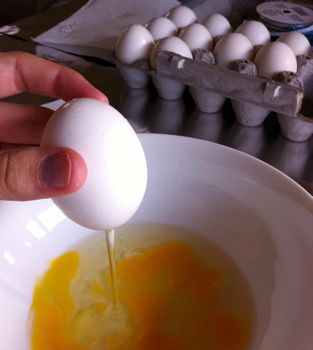
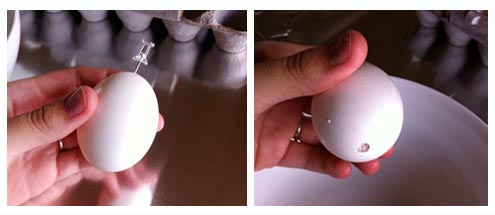
Using the pushpin, pierce a small hole (slightly smaller than the diameter of a pencil eraser) in the top and bottom of each egg.
Dye the eggs, placing spoons on top of each egg to keep it from floating to the surface. You may want to rotate the eggs every few minutes so that the bottom of the spoon doesn't leave a mark on the egg's surface.
Remove eggs from the dye, draining any dye that has entered the hollow Easter egg. Let the eggs dry completely.
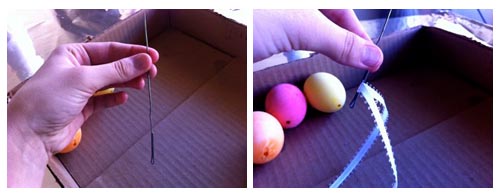
Straighten a paper clip, leaving a small hook at one end (if you aren't strong enough to do this by hand, a pair of pliers can help). Lace about ten inches of ribbon through the hook.
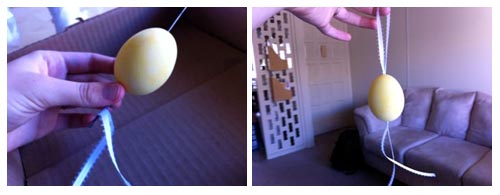
Gently guide the paper clip through the egg, removing the paper clip when the ribbon is halfway through the egg.
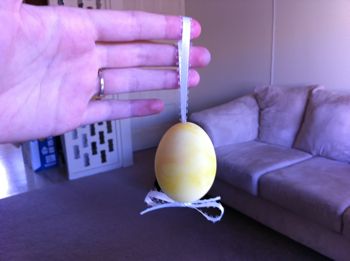
Tie off the end of the Easter Egg with a bow.
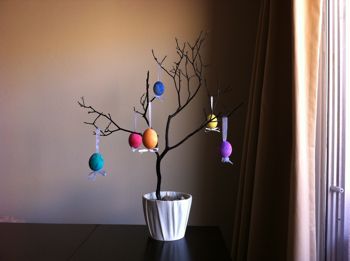
You can hang these hollow Easter eggs from small shrubs or chandeliers. We hang ours from one of the centerpiece trees that we used for our wedding. Since the Easter eggs are hollow, there's no chance of them spoiling and starting to smell bad. If you package the hollow Easter eggs gently, you can even save this craft and reuse them for future years' decorations!
Have you ever made hollow Easter eggs or created an Easter tree?
