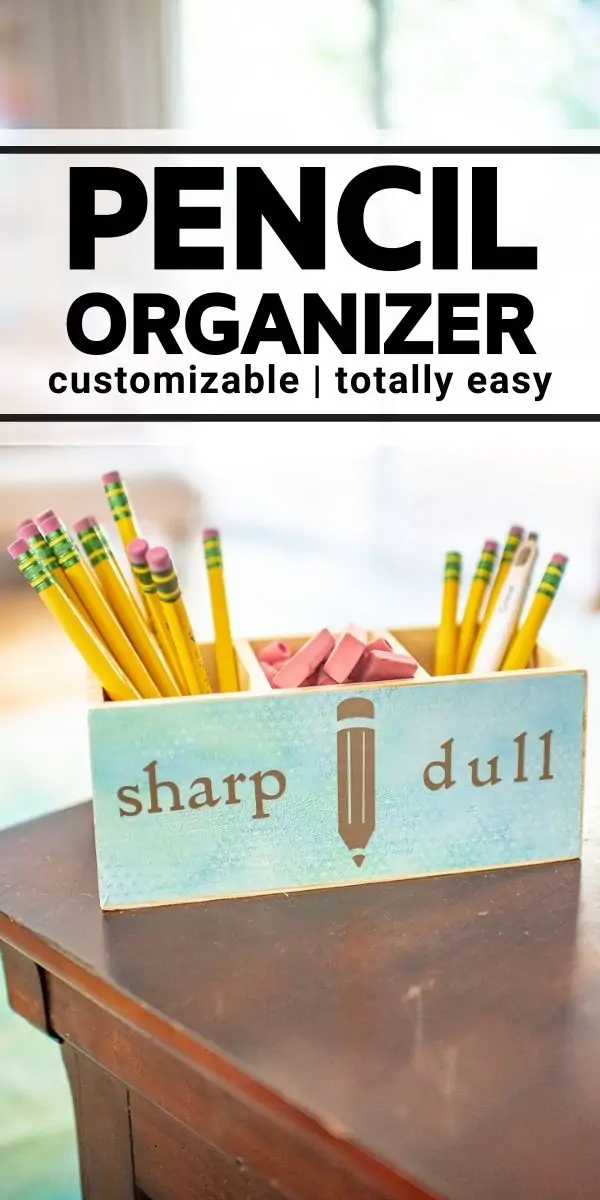
If you're looking for the perfect gift for a teacher – or just a way to get your own desk more organized – you're in luck! This easy tutorial shows how to customize a wooden pencil box. Match it to any decor, whatever size you need, or put a name on there so everyone knows whose pencils are whose.
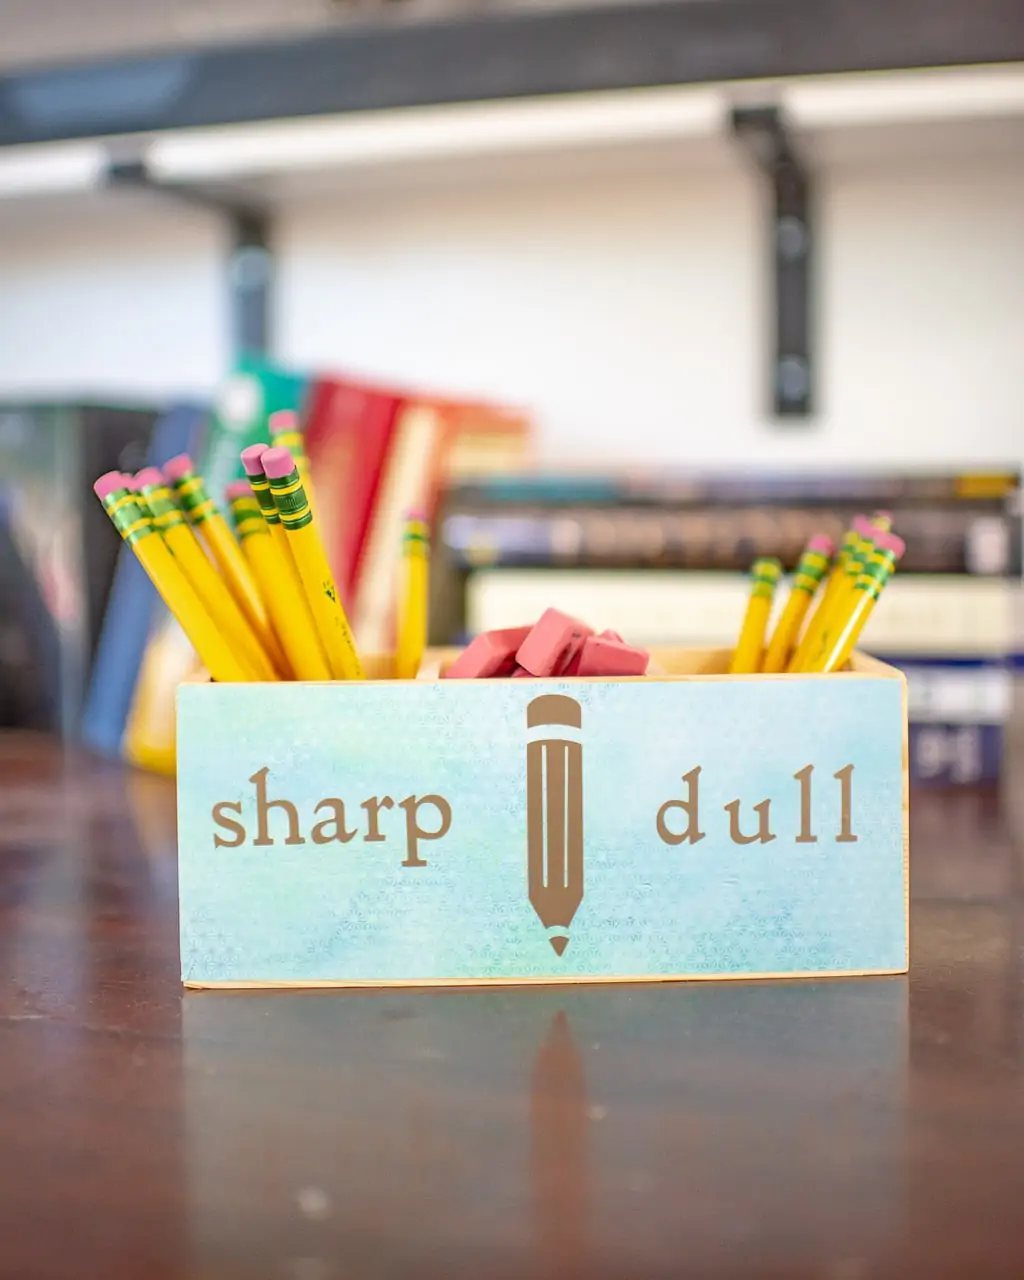
My kids have all been using plastic pencil boxes and cloth pencil pouches for in-person meetings with their clubs. For homeschooling, though, I like to have an old-fashioned wooden school pencil box set out in our common area. Nothing over-the-top, just a simple three-compartment situation with space for dull pencils, sharp ones and a holding area for erasers. I couldn't find anything like this being sold anymore, so I decided to make my own with our sponsor Cricut!
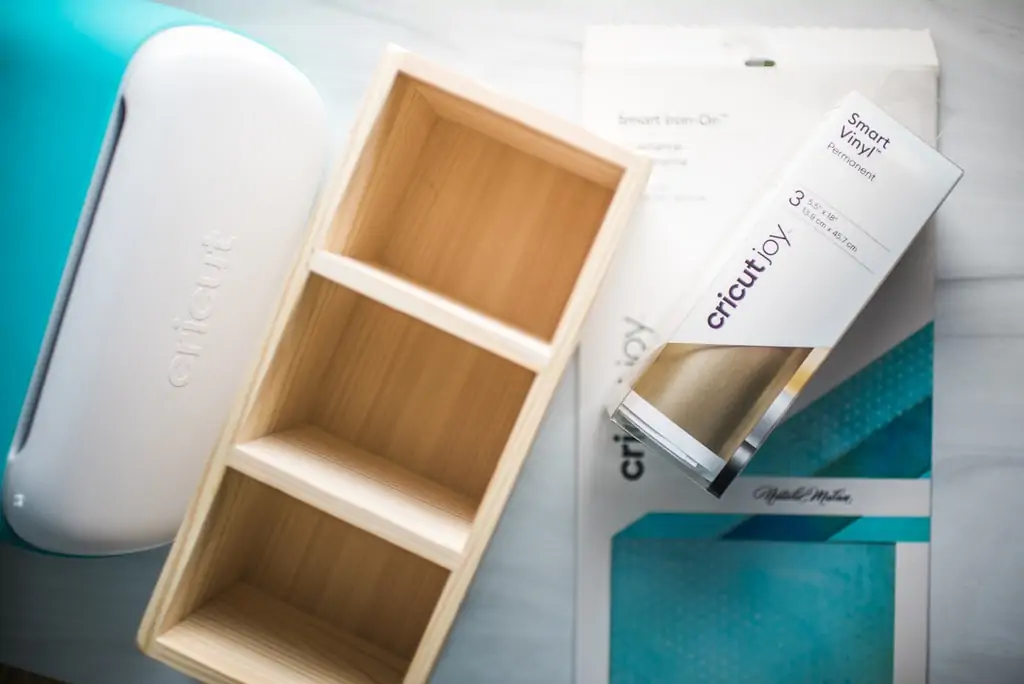
I found a basic three-container wooden box, and gathered a few Cricut supplies. With a catch-all like this serving the whole family (or whole classroom), kids will always have somewhere to stash their dull pencils for sharpening, or to pick an already-sharpened one up.
As a former 3rd grade teacher, I know how distracting those mid-lecture sharpenings can be!
Custom Wooden Pencil Box How-To
Supplies:
- Wooden pencil box (easily found at a craft store)
- Cricut Joy
- Cricut Smart Vinyl Permanent
- Transfer Tape
- Weeder
- Scraper
- Optional: Cricut Iron-on and EasyPress
Using my Sharp / Dull Pencil Template, cut out the words “sharp” and “dull” and the pencil decoration on your preferred vinyl.

I'm sure you remember how to weed, but if not, here's a visual representation of that. Simply pull away any vinyl that will NOT be going on your box.
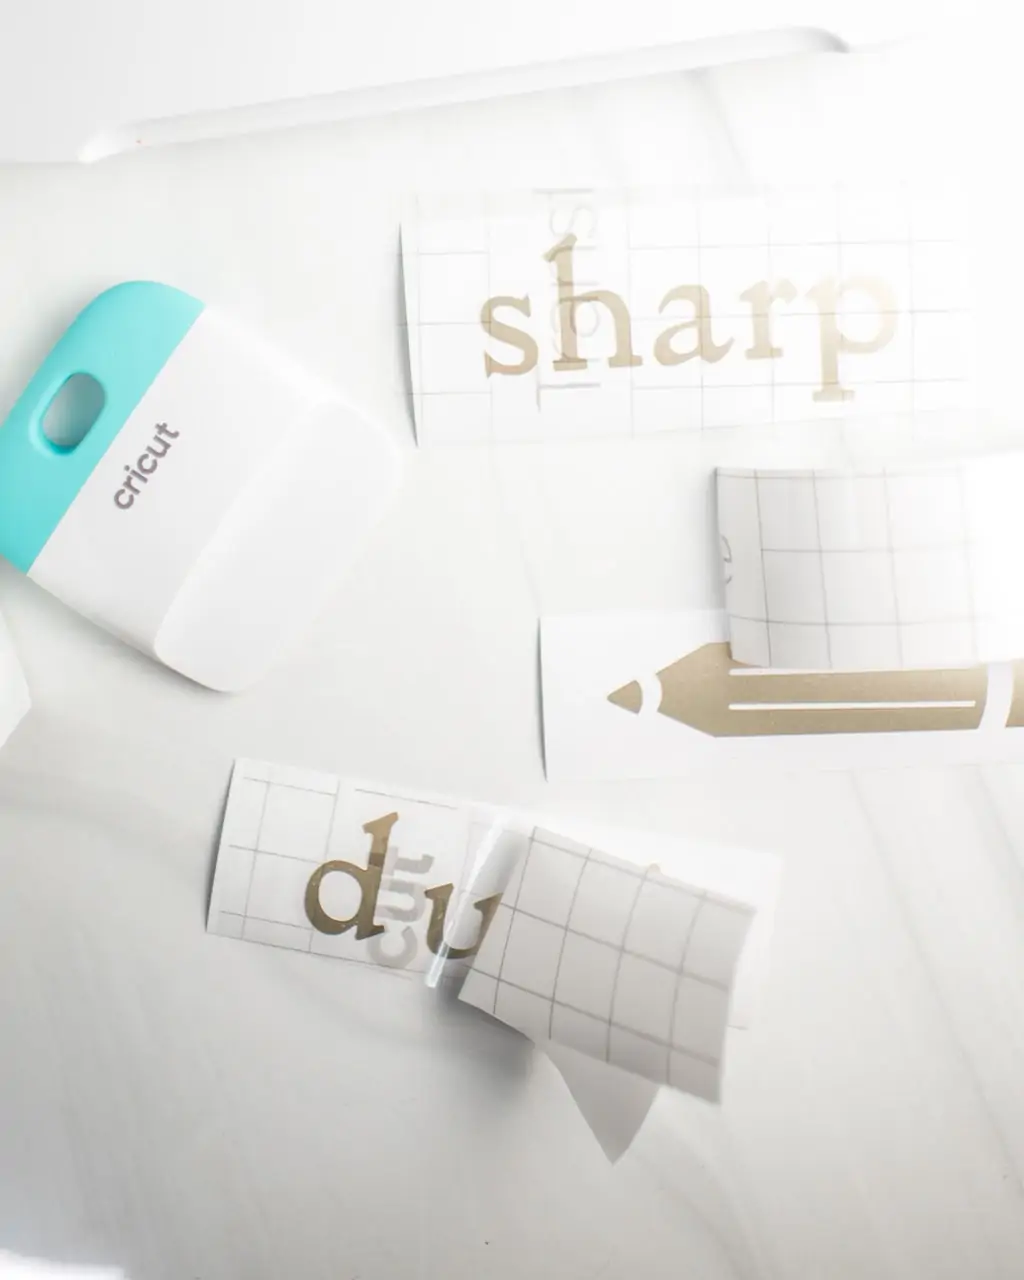
Cut transfer tape to the same dimensions of your now-weeded vinyl decals, and affix the transfer tape to the vinyl with the scraper tool.
NOW STOP! Before you apply the vinyl pieces to your pencil box, you need to decide if you want to apply the vinyl directly to the wood, or if you want to do a layered look. You can see on my pencil box below that I decided to iron-on a pretty pattern first. To do this, I simply hand-cut a piece of Iron-On material to fit the front of my box, then firmly placed my Heat Press on it for 45 seconds at 300 degrees and let cool completely like I did in my DIY Outdoor Games Post.
That is an entirely optional, unnecessary step, but I love how it took things up a notch on my wooden pencil box. I actually pulled the iron-on transfer piece away a little too fast before it had cooled all the way (oops!). That resulted in some minor imperfections towards the bottom of the material but I actually liked that effect even more. It gives it an upscale, handmade cloth wallpaper look.
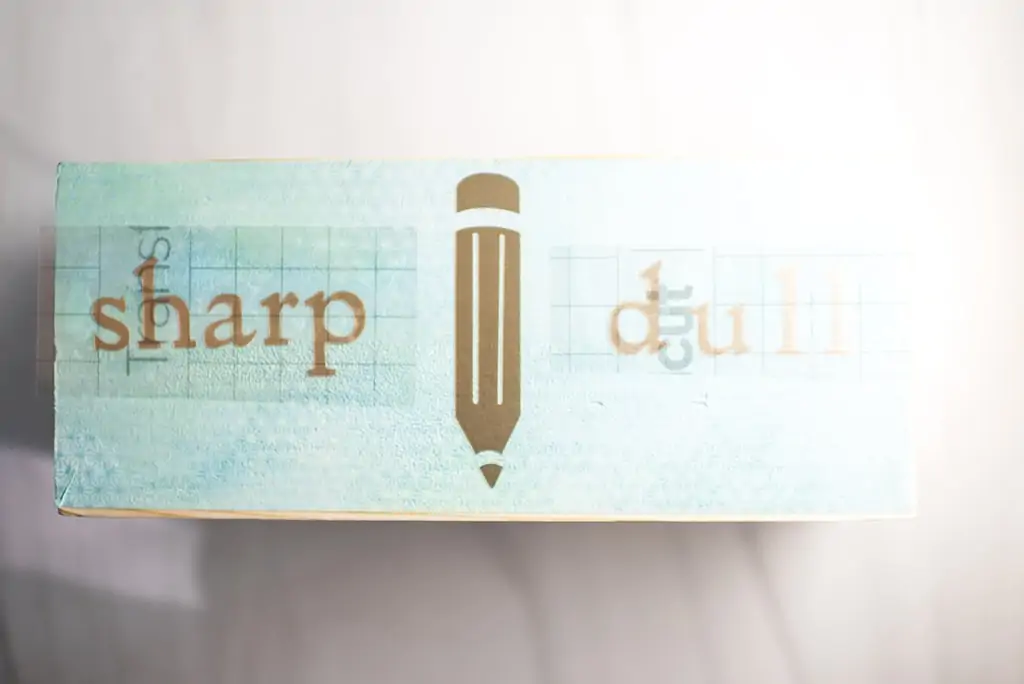
Anywho, the next step is to simply use your scraper tool to affix the vinyl onto your wooden pencil box, and pull away the transfer tape. Voila!
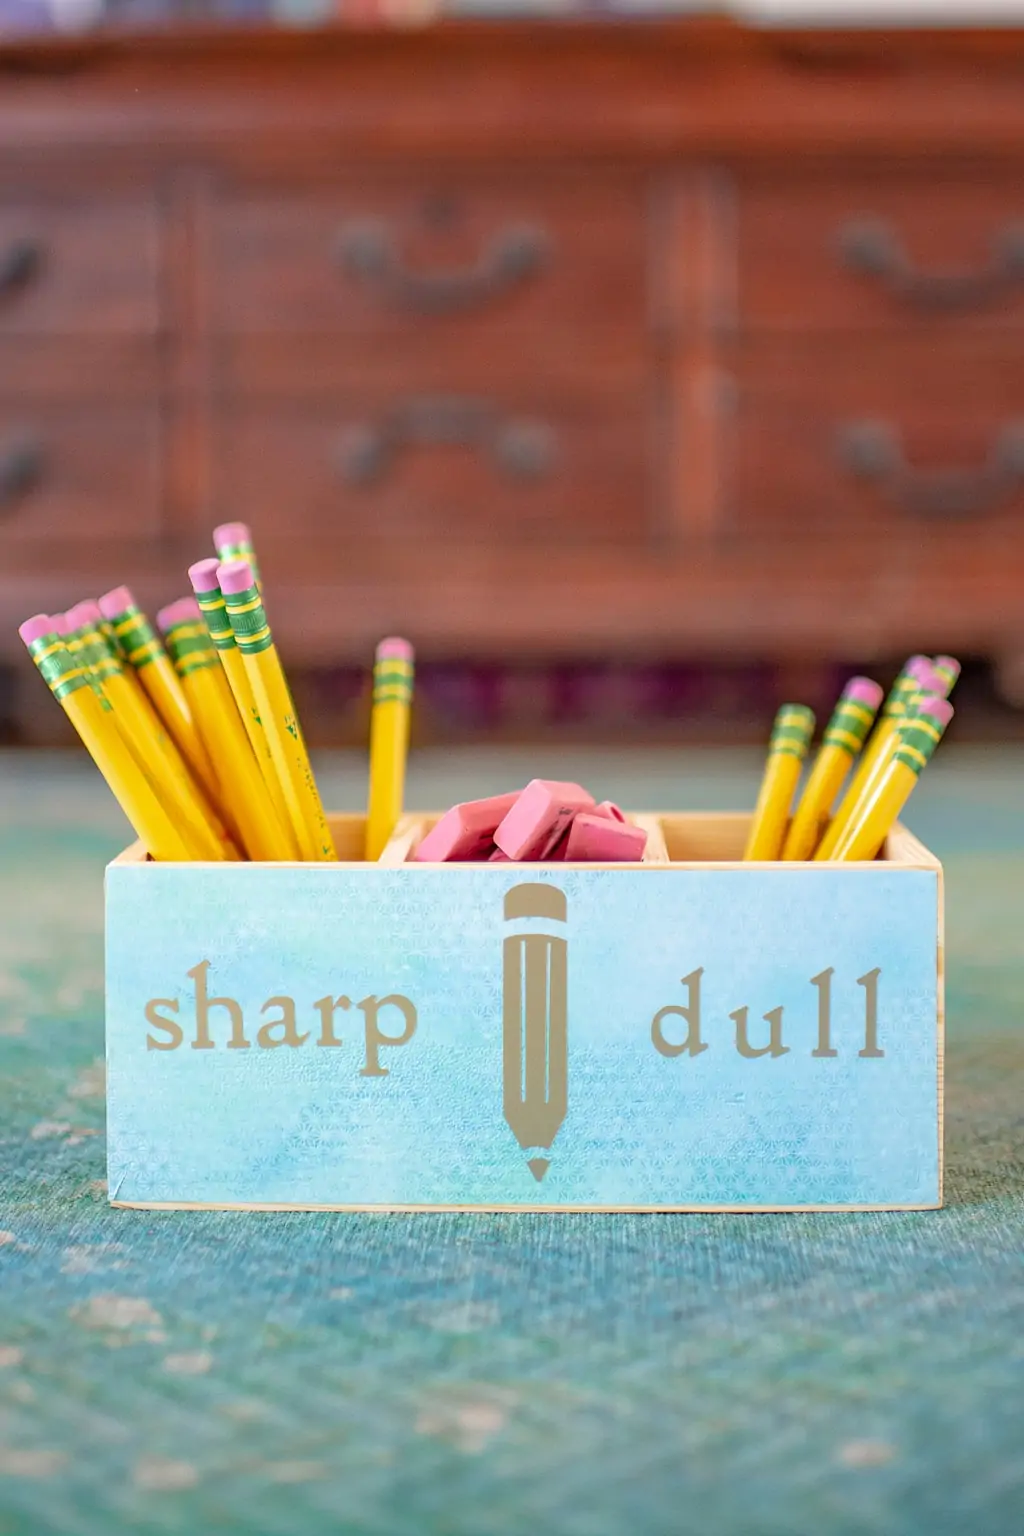
Do you see how my wooden pencil box totally vibes with the washable rug that the kids sit on when they're reading or doing school work? Not gonna lie, that was totally intentional.
Would a wooden pencil box help your family stay more organized?