Learn how to make DIY outdoor games like checkers, a tic tac toe game and memory. Giant sized playing pieces are perfect for the whole crew, including little kids! These fun activities are great for game night, party games, or even just hanging out with friends and family.
These DIY outdoor games are another project we're working on with our sponsor, Cricut. This time around, we're pairing Smart Iron On Vinyl with wood slices (just like we did for our Cricut business). Wood slice customization is one of my favorite uses for the Cricut Joy. It really seems like there are endless ways to incorporate good old-fashioned natural pieces with fun memorabilia or hands-on activities!
Multiple people have told me I needed to try using Iron On Vinyl with wood, and I was absolutely thrilled with the outcome for these simple games that are loved by kids and adults alike. Iron on Vinyl is perfect for DIY backyard games because it's so durable! For every one of these crafts, you're going to acquire your vinyl, and then cut and affix it to your wood slices per the instructions at the end of the post. Easy peasy.
DIY Outdoor Checkers
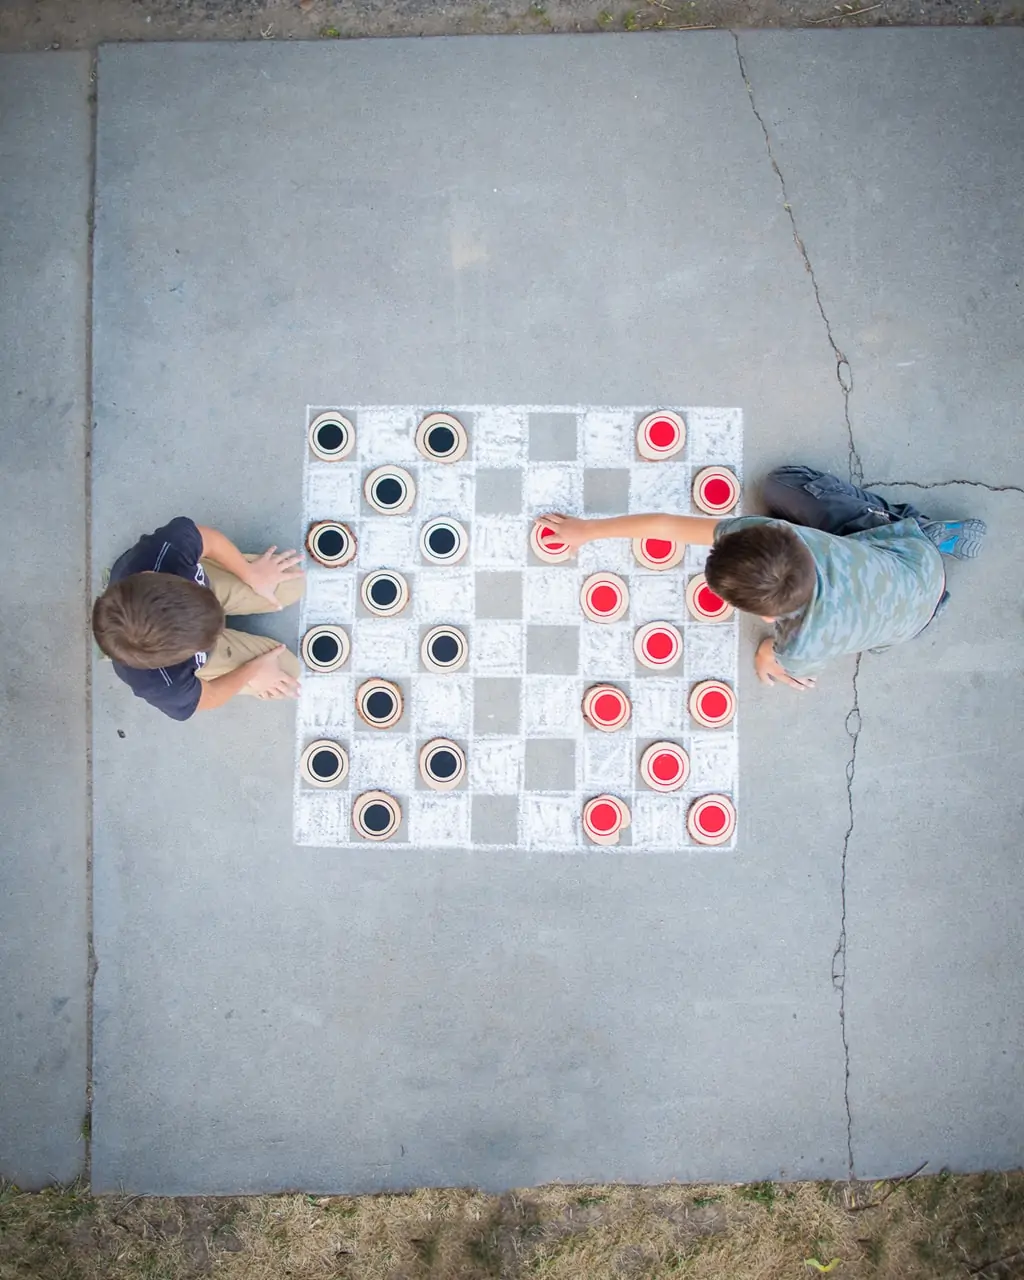
Can I just say that I'm utterly obsessed with how these checkers turned out? This is definitely my favorite of all the DIY outdoor games. It's top of the list of all the fun games out there, in fact. I may eventually make a felt quilt to bring along for playing anywhere, but the kids have enjoyed using their sidewalk chalk to make a cute little playing space.
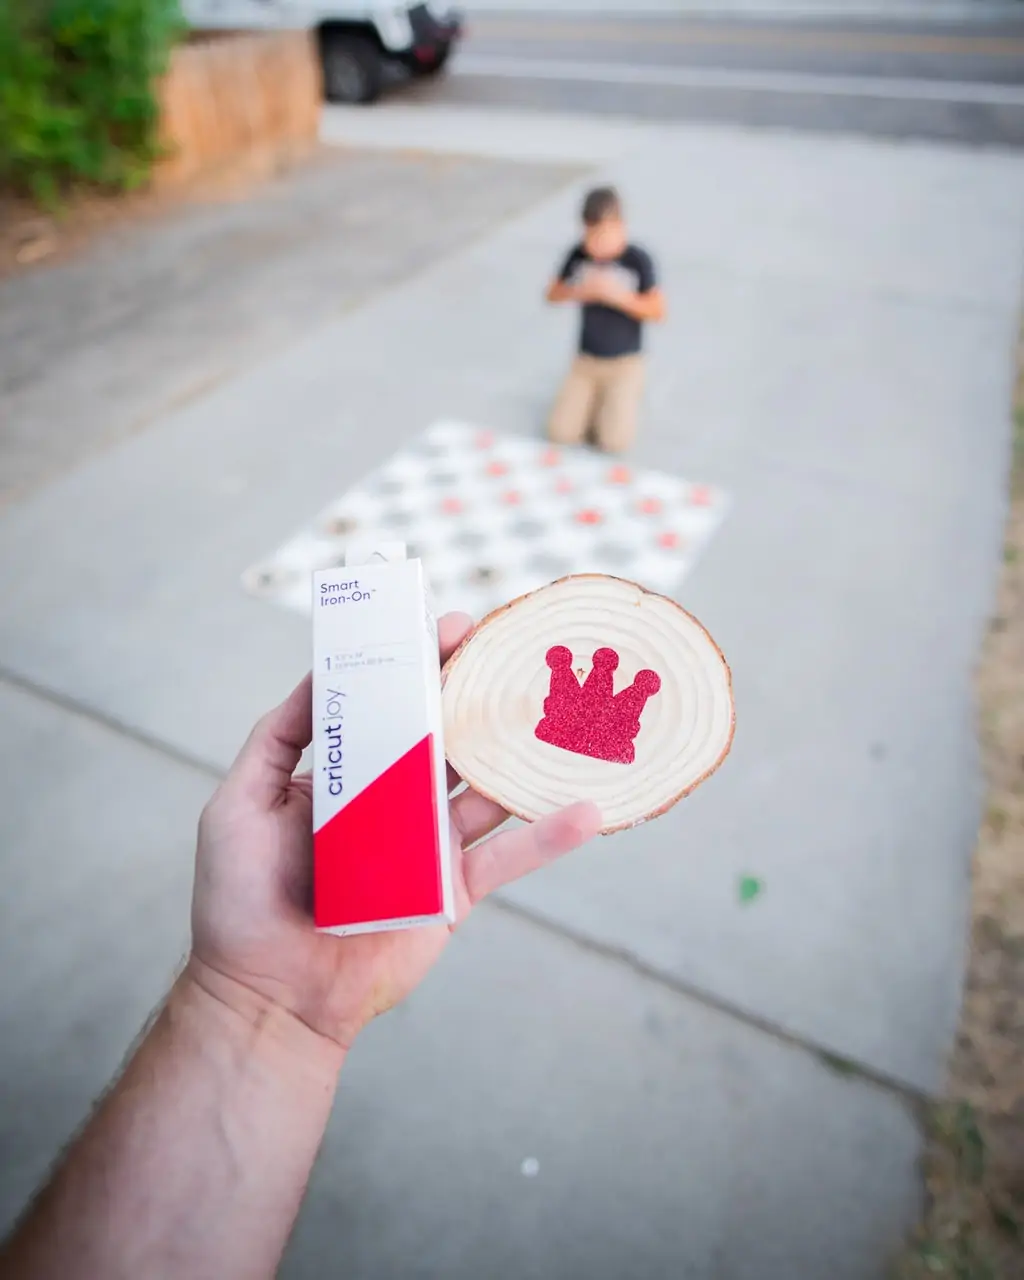
Pro tip: I used standard red and black smart iron on vinyl for the front of each piece, and on the back I used glitter vinyl so that it would be extra apparent (and feel extra super special) whenever someone gets kinged.
DIY Tic Tac Toe
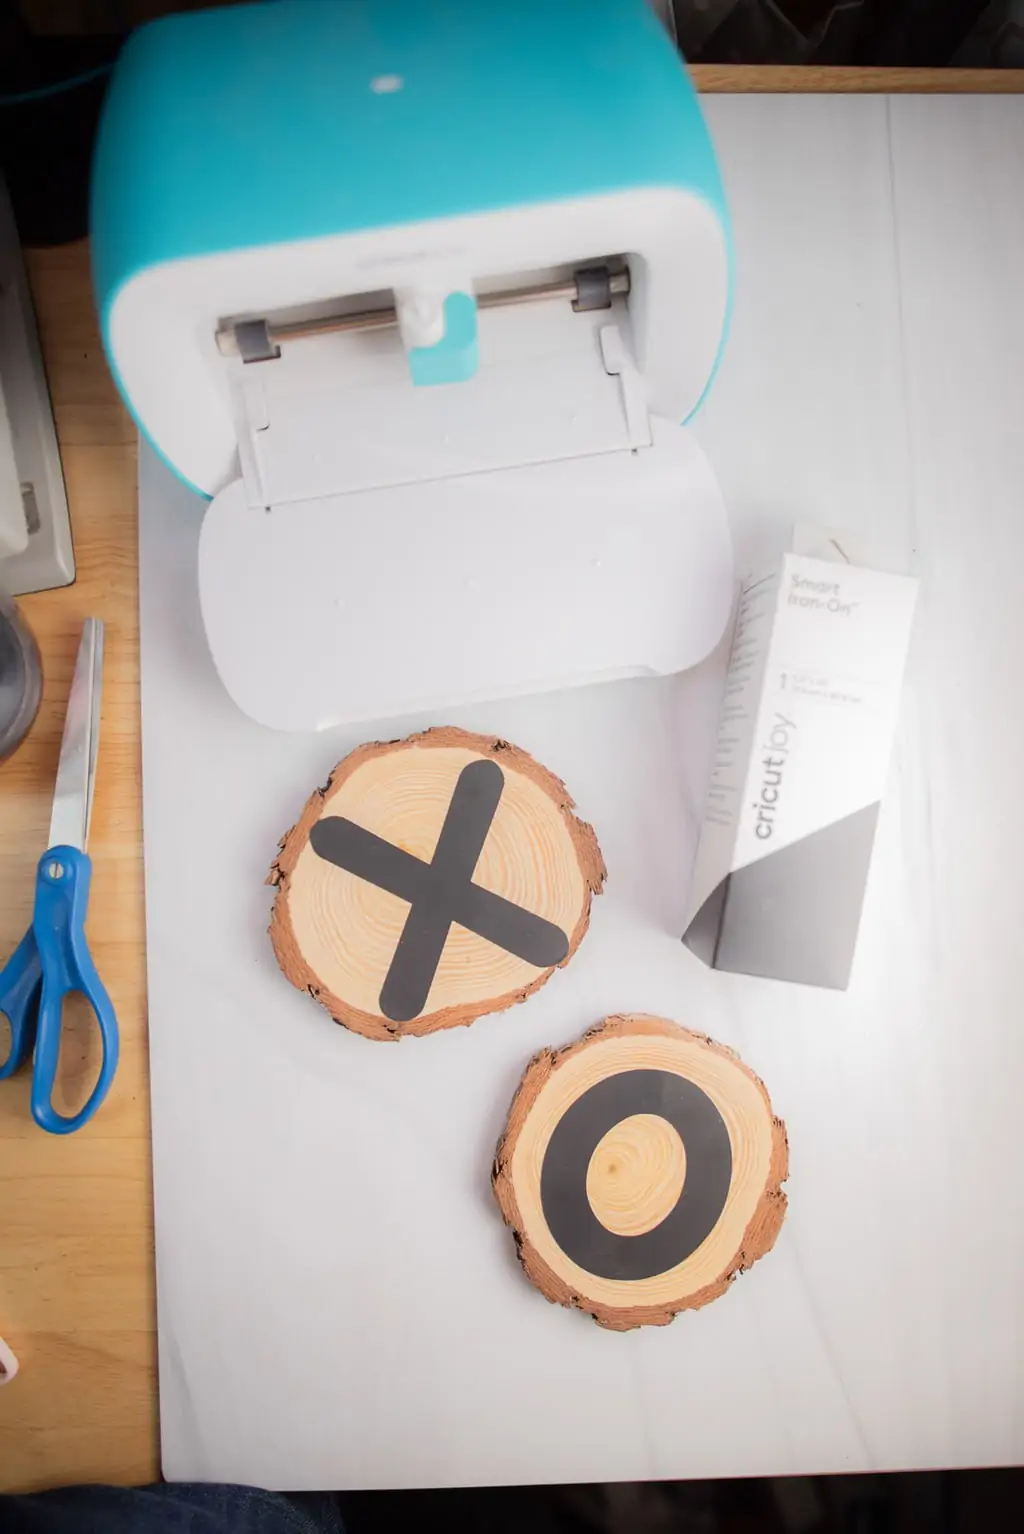
Since wood slices can vary in size, it's important that you make sure your pattern will fit on the smallest wood slice, without overlapping the bark area too much. Bark has a tendency to fall off or chip away over time, and you want the playing pieces of your DIY outdoor games to remain in tact! In fact, it's a good idea to slap all of your DIY outdoor games with a quick coat of polycrylic to seal away weather and dirt after you apply the vinyl.
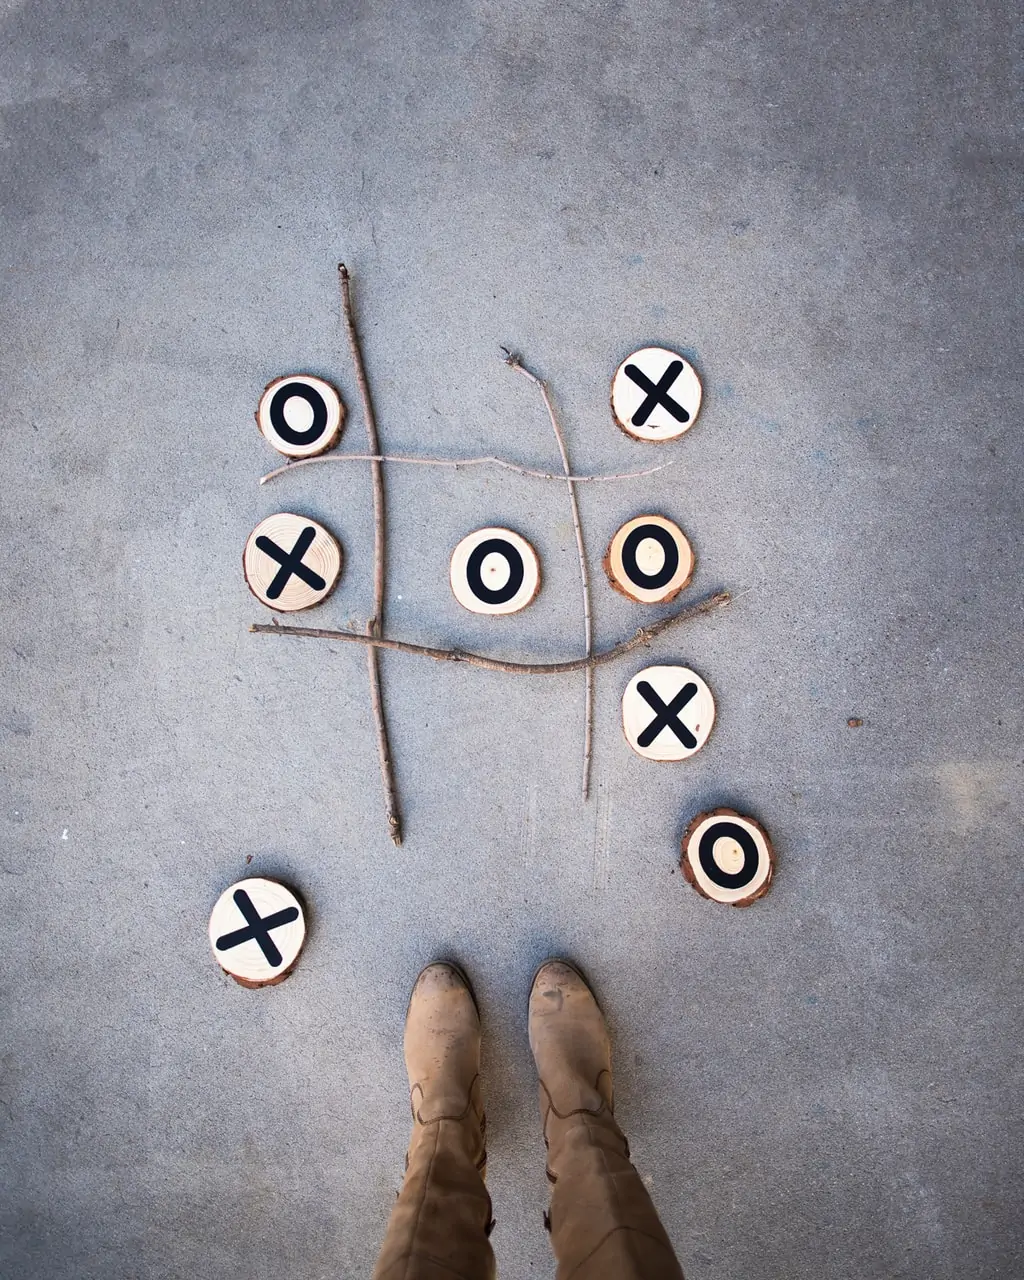
I didn't make any sort of board for this one. We like to gather sticks wherever we're camping or hanging out, and create a makeshift cross-section for playing. I love this outdoor game for its grab-and-go, play anywhere ability.
Giant DIY Memory Game
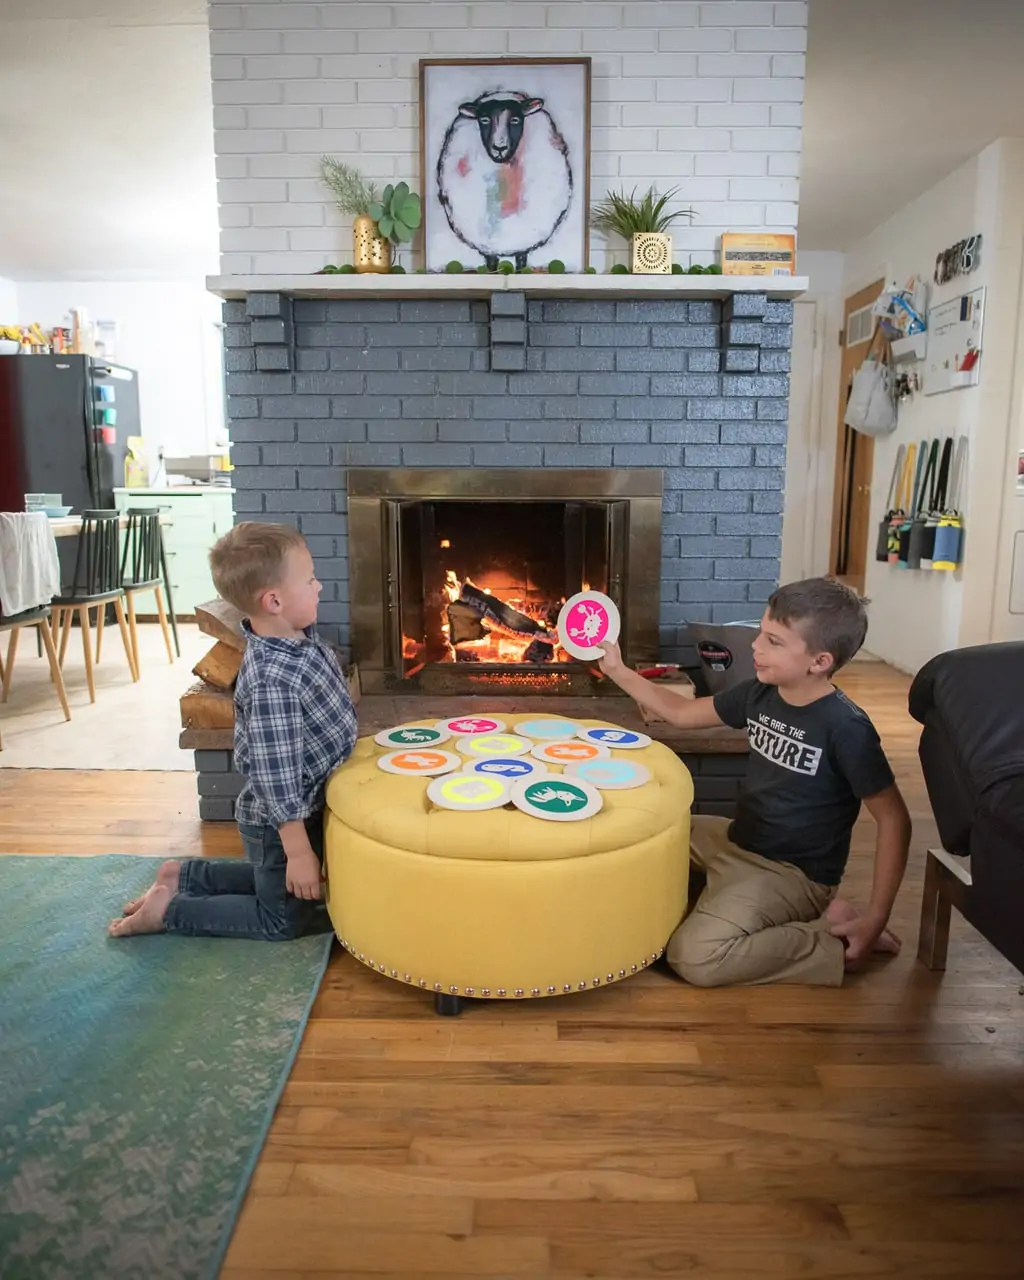
We did things a little differently for the memory game. The place where we bought the natural wood slices was running low on wood (dang supply issues!), so we instead bought large flat balsa wood pieces. I figured their smooth, uniform surface would be better for the more intricate patterns of the memory game animals.
In case you haven't played memory in awhile: the concept is that you have pairs of identical images on disks or cards (usually six to ten pairs max). All pairs start face-down, randomly placed in no particular order. One player is able to turn over two playing pieces at a time, taking turns back-and-forth. The goal is to remember where the pairs lay. If you get a match, it's yours to keep! Whoever has the most pairs at the end, wins.
This is an excellent game to play with preschoolers, as they are still developing crucial deductive reasoning skills. Any matching game is really perfect for this age, as they start to learn that things can still exist without being seen at all times. It's a difficult conceptual hurdle, and one that's important to foster their understanding of the world.
How to Make DIY Outdoor Games
All of the above games follow a very similar process. You'll want to cut the below templates for each game. Use a Cricut Easy Press to affix the vinyl to the wood, and an Easy Press Mat to protect the area where you're pressing.
- Checkers: Use my “checkers” project on Cricut Design Space. Be prepared with wood slices + two boxes standard red Cricut Joy Smart Iron On, two boxes standard black Cricut Joy Smart Iron On Vinyl, one box red glitter Cricut Joy Smart Iron On Vinyl, and one box black glitter Cricut Joy Smart Iron On Vinyl.
- Tic Tac Toe: Use my “tic tac toe” project on Cricut Design Space. Be prepared with wood slices + two boxes standard black Cricut Joy Smart Iron On.
- Memory: Use my “memory” project on Cricut Design Space. Be prepared with wood slices + Cricut Joy Smart Iron On in royal, bright teal, kelly, and the Neon sampler.
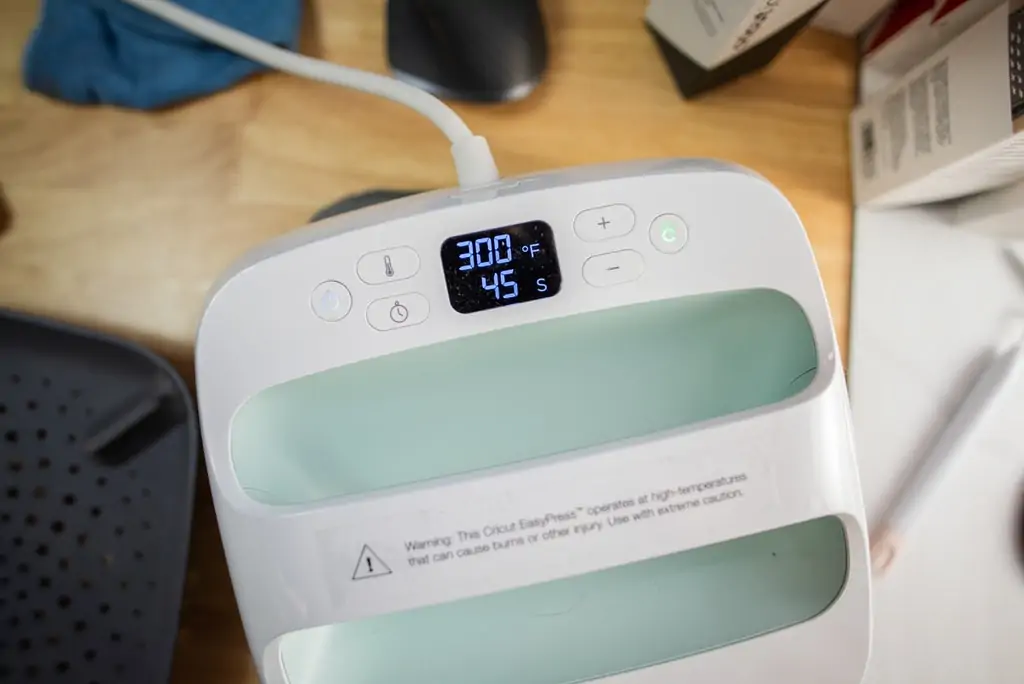
Your Easy Press should be set to 300 degrees and 45 seconds for each press. Heat up the wood for five seconds, then apply the weeded vinyl before pressing firmly for 45 seconds.
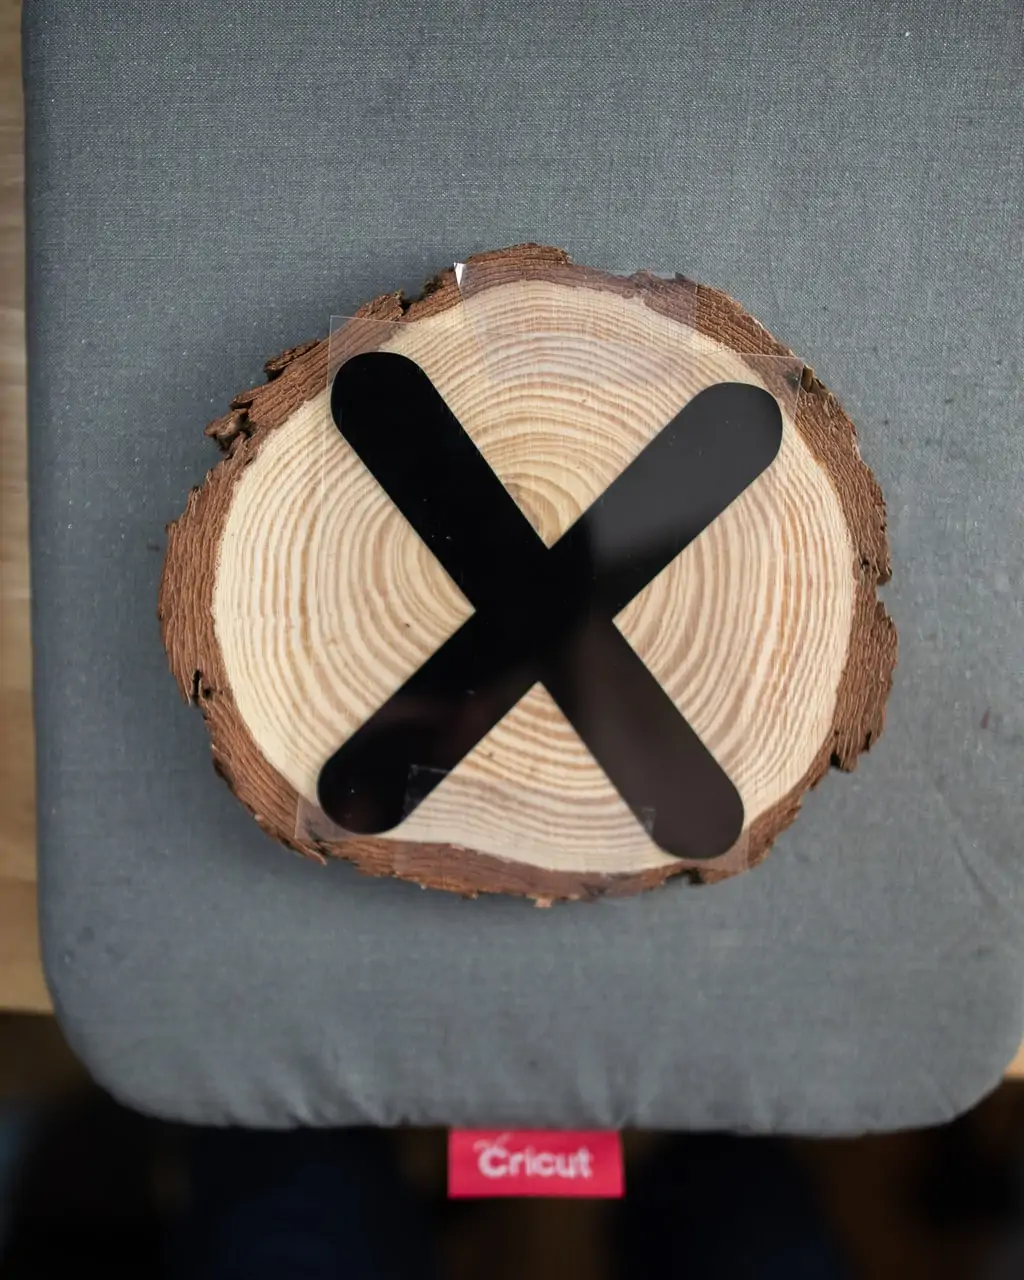
I like to use some heat proof tape to keep the vinyl in place. And remember: don't peel the liner off until it's cool to the touch. Peeling it off too soon will cause it to pull away from the wood (ask me how I know).
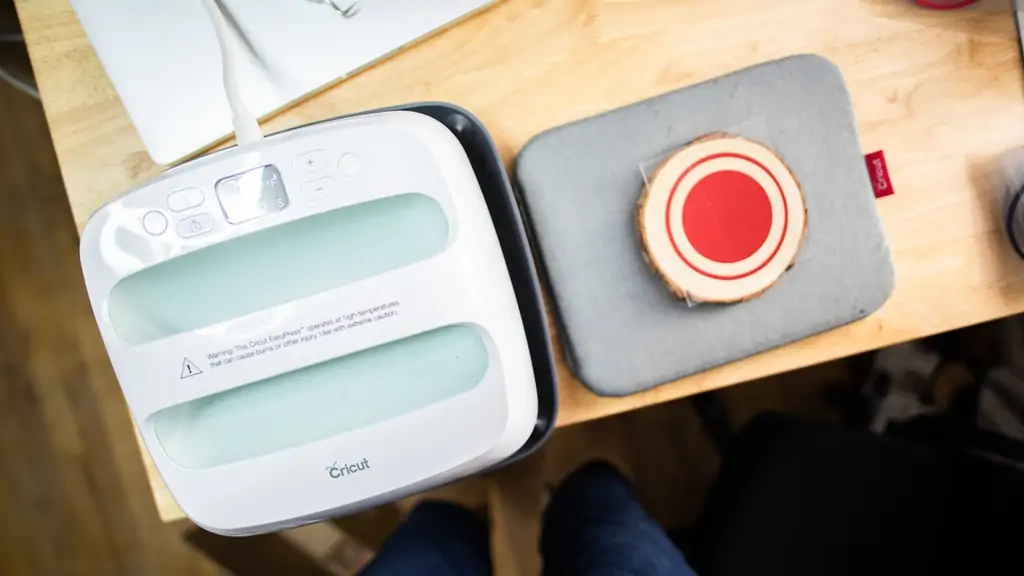
Make sure you have a safe spot to stash your wood slices while they're cooling! This is a large project that tends to take up more space than expected. I laid out a towel in a cardboard box to corral all my little wood slices while they cooled down.
Have you ever made DIY outdoor games? We've had a blast constructing classic games with pool noodles, PVC pipe and a water balloon assortment. You can come up with some really fun toss games for a birthday party, like a bean bag toss with bean bags (which can also be customized with Cricut!). I bet some fun things could also be done for a lawn game with bocce ball or giant Jenga pieces.
Will you try our DIY outdoor games? Got any other crafty suggestions for us? Let us know!