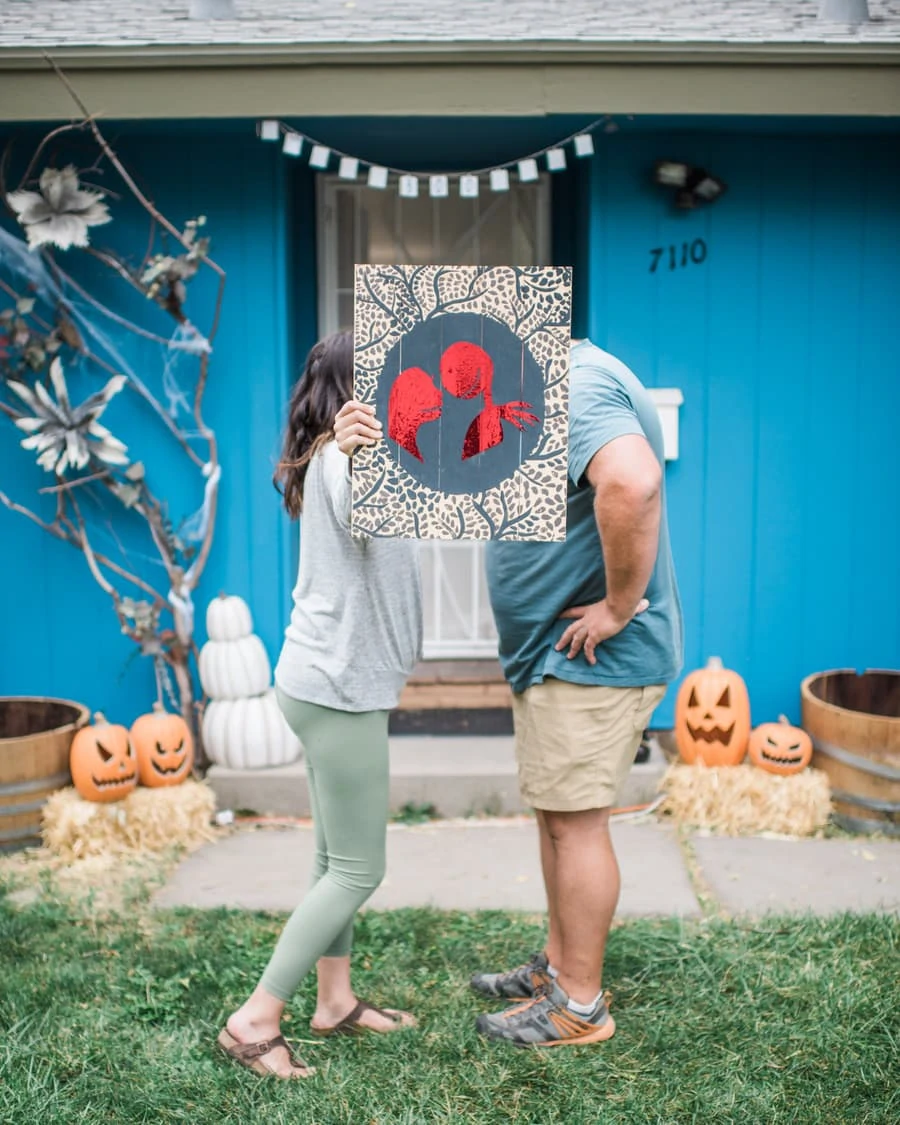
Looking to add a little Sally and Jack Skellington love to your holiday display? Look no further than this super-simple DIY Nightmare Before Christmas sign!
If you're not familiar with Nightmare Before Christmas, it's at the tippy-top of our list of Halloween movies for kids to stream. It's a classic. Go watch it. Go on, we'll wait!
Alright, now that you've been properly introduced to the main characters of our project today – Sally and Jack Skullington – let me show you how to execute this adorable Halloween project. Gather some adhesive foil vinyl and an old wooden sign from the thrift shop (this one had some corny expression on it that I covered up with chalk paint to leave a nice, big circle for our characters). Then, hop on over to Cricut Design Space and pull up the file to make this simply design!
Looking back at the design now, I think I accidentally reversed the image before printing when I didn't really need to do that. OOPS. Oh well, this is fortunately one of those designs where it doesn't actually matter which way it's facing and whether it's reversed or not.
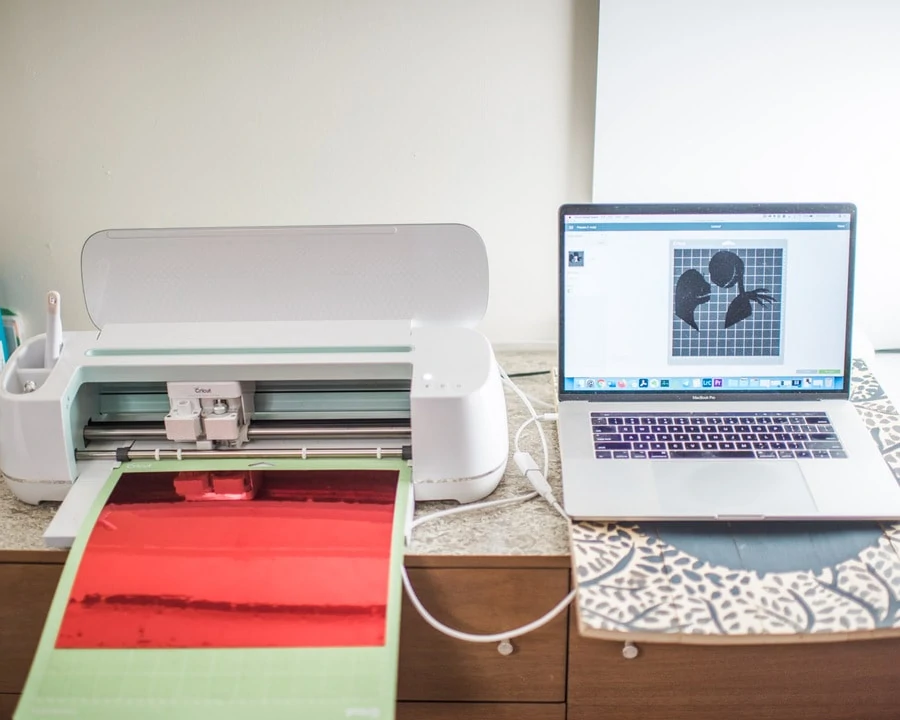
We used our Maker, but an Explore would also work. You can learn more about Cricut machines here. They're not scary, I promise! They are so, so easy to work with. If you're feeling intimidated or not sure how to dip your toes in the water, try the Cricut Joy. It's inexpensive, easy to use and it's the perfect foray into the Cricut workspace on a smaller-scale. Perfect for a mini Nightmare Before Christmas sign.
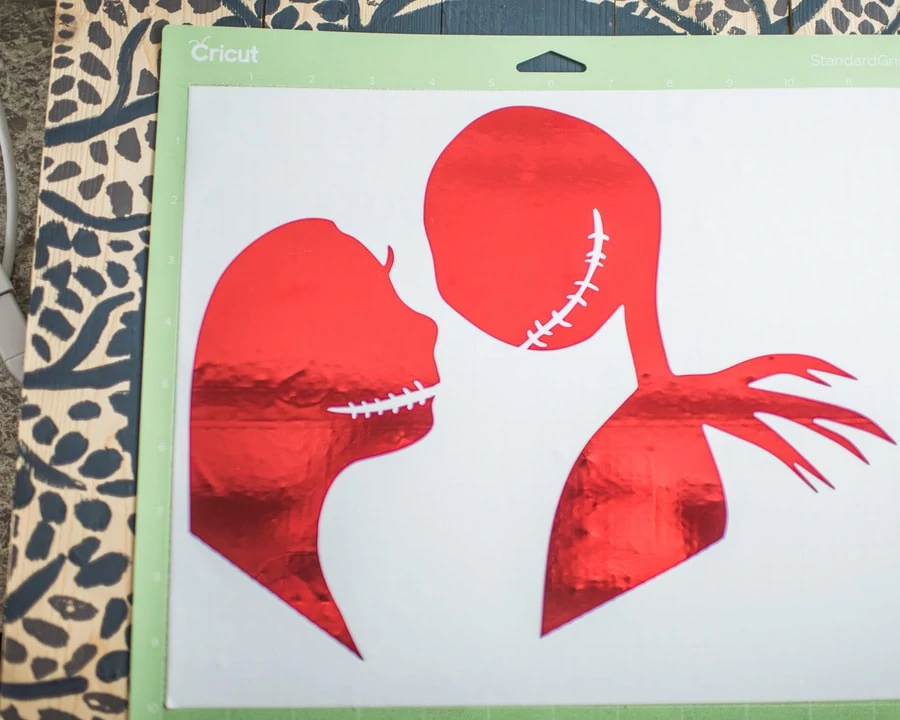
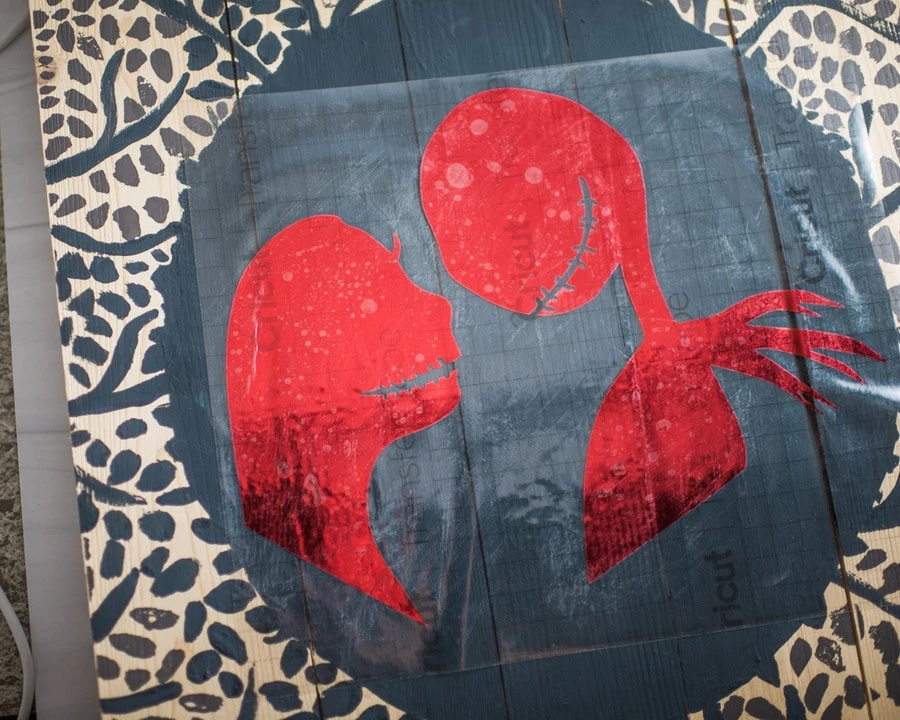
Back to the project at-hand! Once the adhesive foil is cut, you'll easily weed away the excess material and be left with a perfectly lovely Jack and Sally silhouette for your Nightmare Before Christmas sign. I love that adhesive foil comes apart so crisply, without any hassle. You can make really intricate designs with this material and have a completed project in under an hour.

Lay some transfer paper on top of your design and peel it on up. Adhesive foil can be a wee bit stubborn at the edges, so just keep at it until it wants to come up for ya! We use a special tool to press the foil into the transfer paper, but you can use a credit card or just rub it aggressively with your fingers.
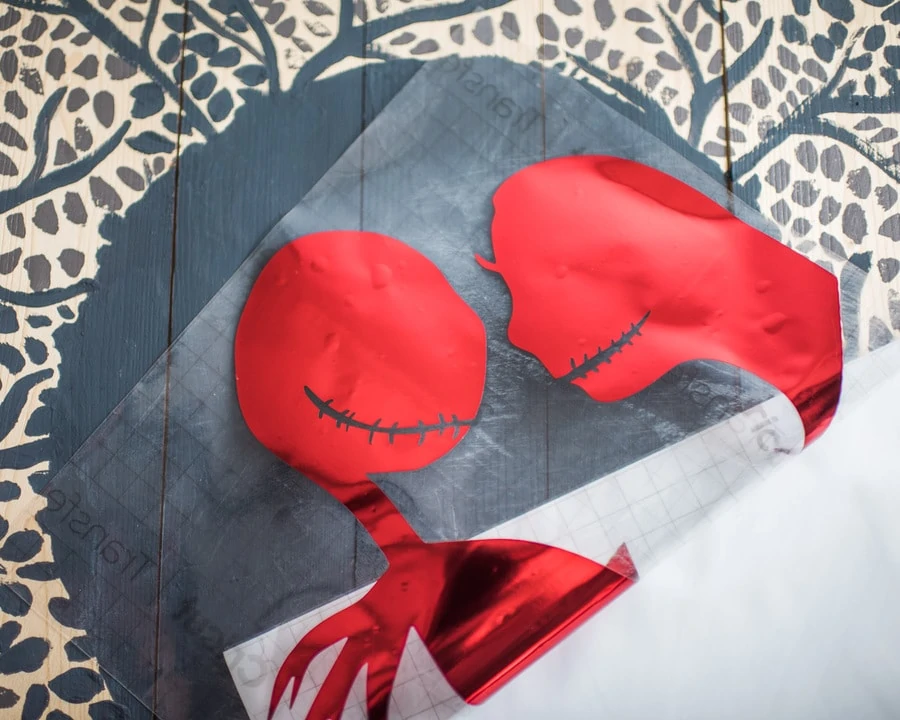
Once you've picked the silhouette up, lay that design down on top of your sign.
Rub hard, then pull away the transfer paper and VOILA!
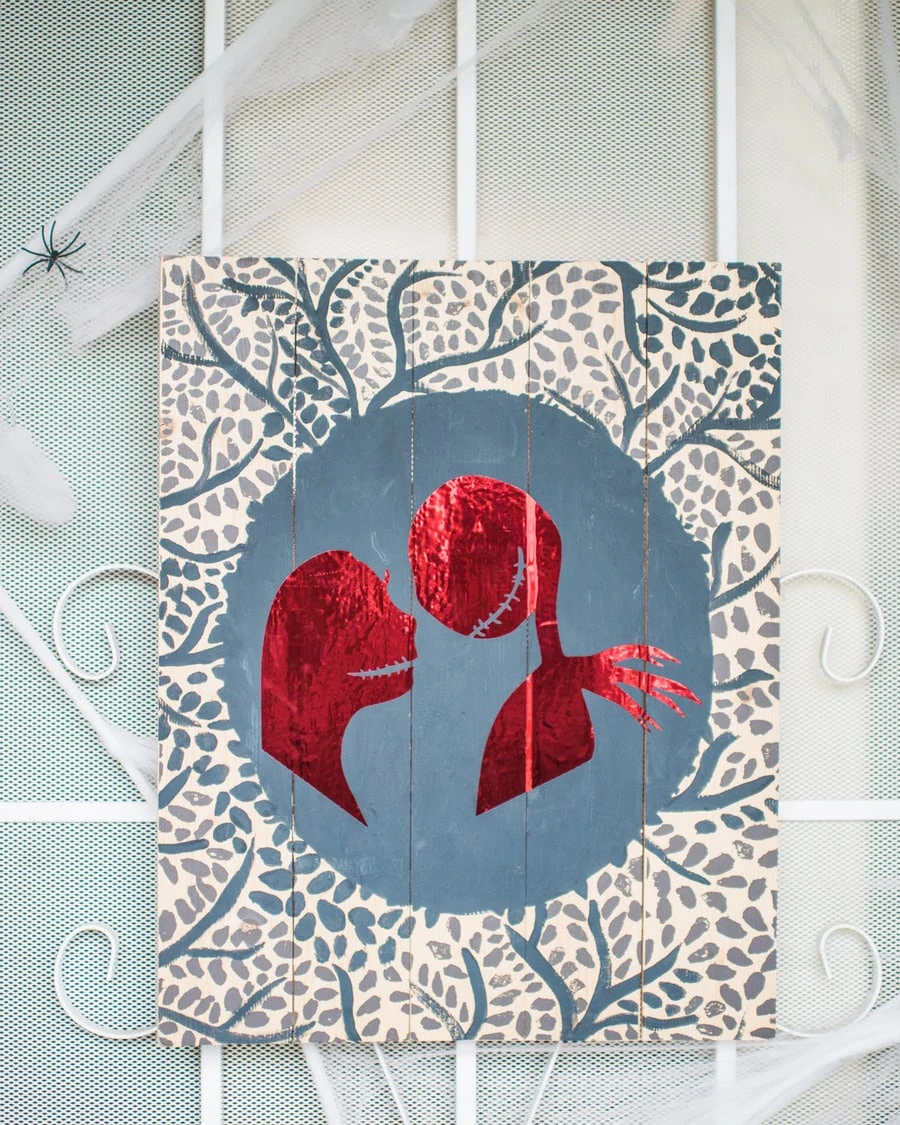
I love the way adhesive foil looks different in varying lights, different angles, and throughout different times of day. This Nightmare Before Christmas sign catches the light so that people from the sidewalk comment on it all day long!
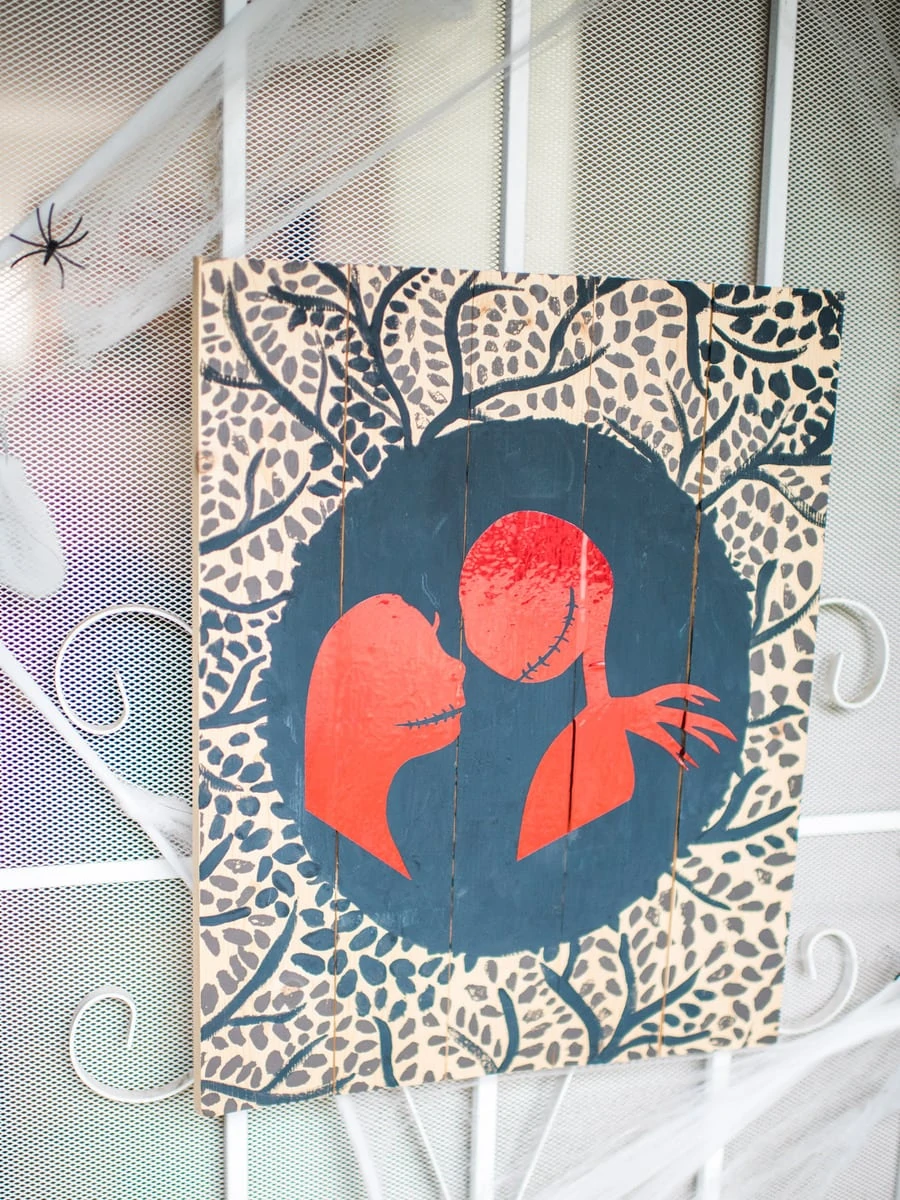
See what I mean? Totally multi-dimensional.
Have you decorated for Halloween yet? Would a Nightmare Before Christmas sign fit in with your decor?