In case you guys haven't picked up on this yet, I'm kind of obsessed with customizing stuff lately. I used to customize things with stickers and labels, and now it's all Cricut all the time. This crayon box idea can be done either way, but the Cricut Maker is my pick for a long-lasting back to school must-have that will keep up with your kids creativity!
Customize your Crayon Box
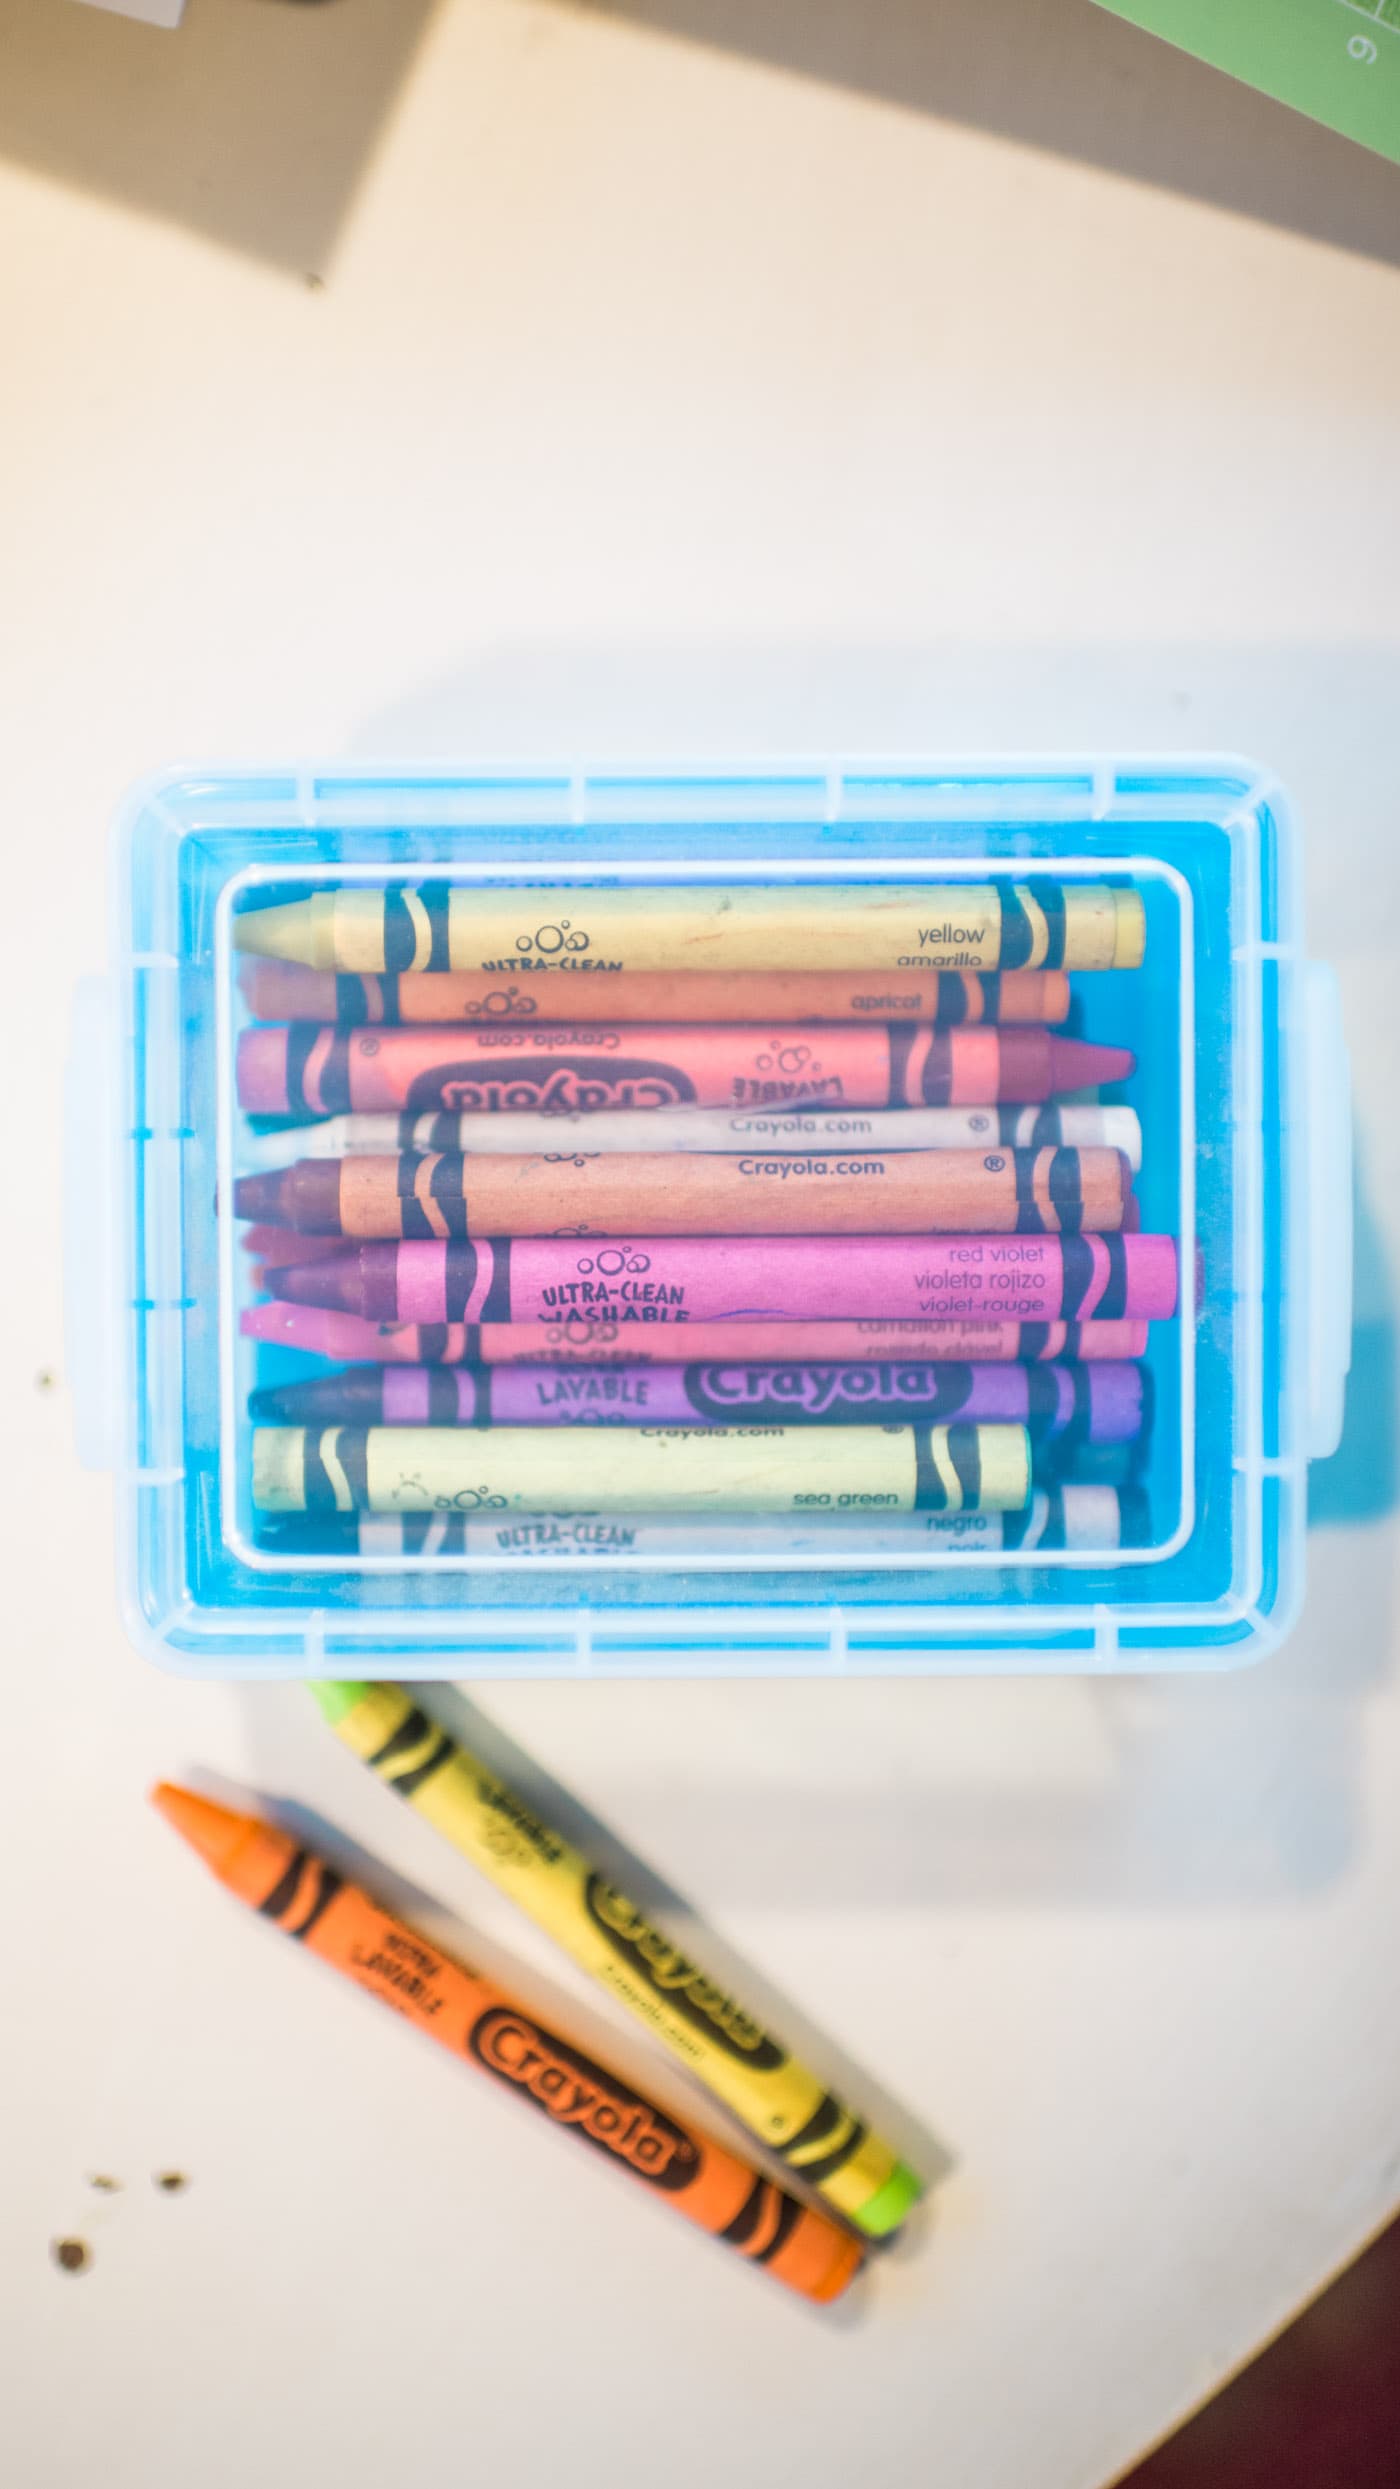
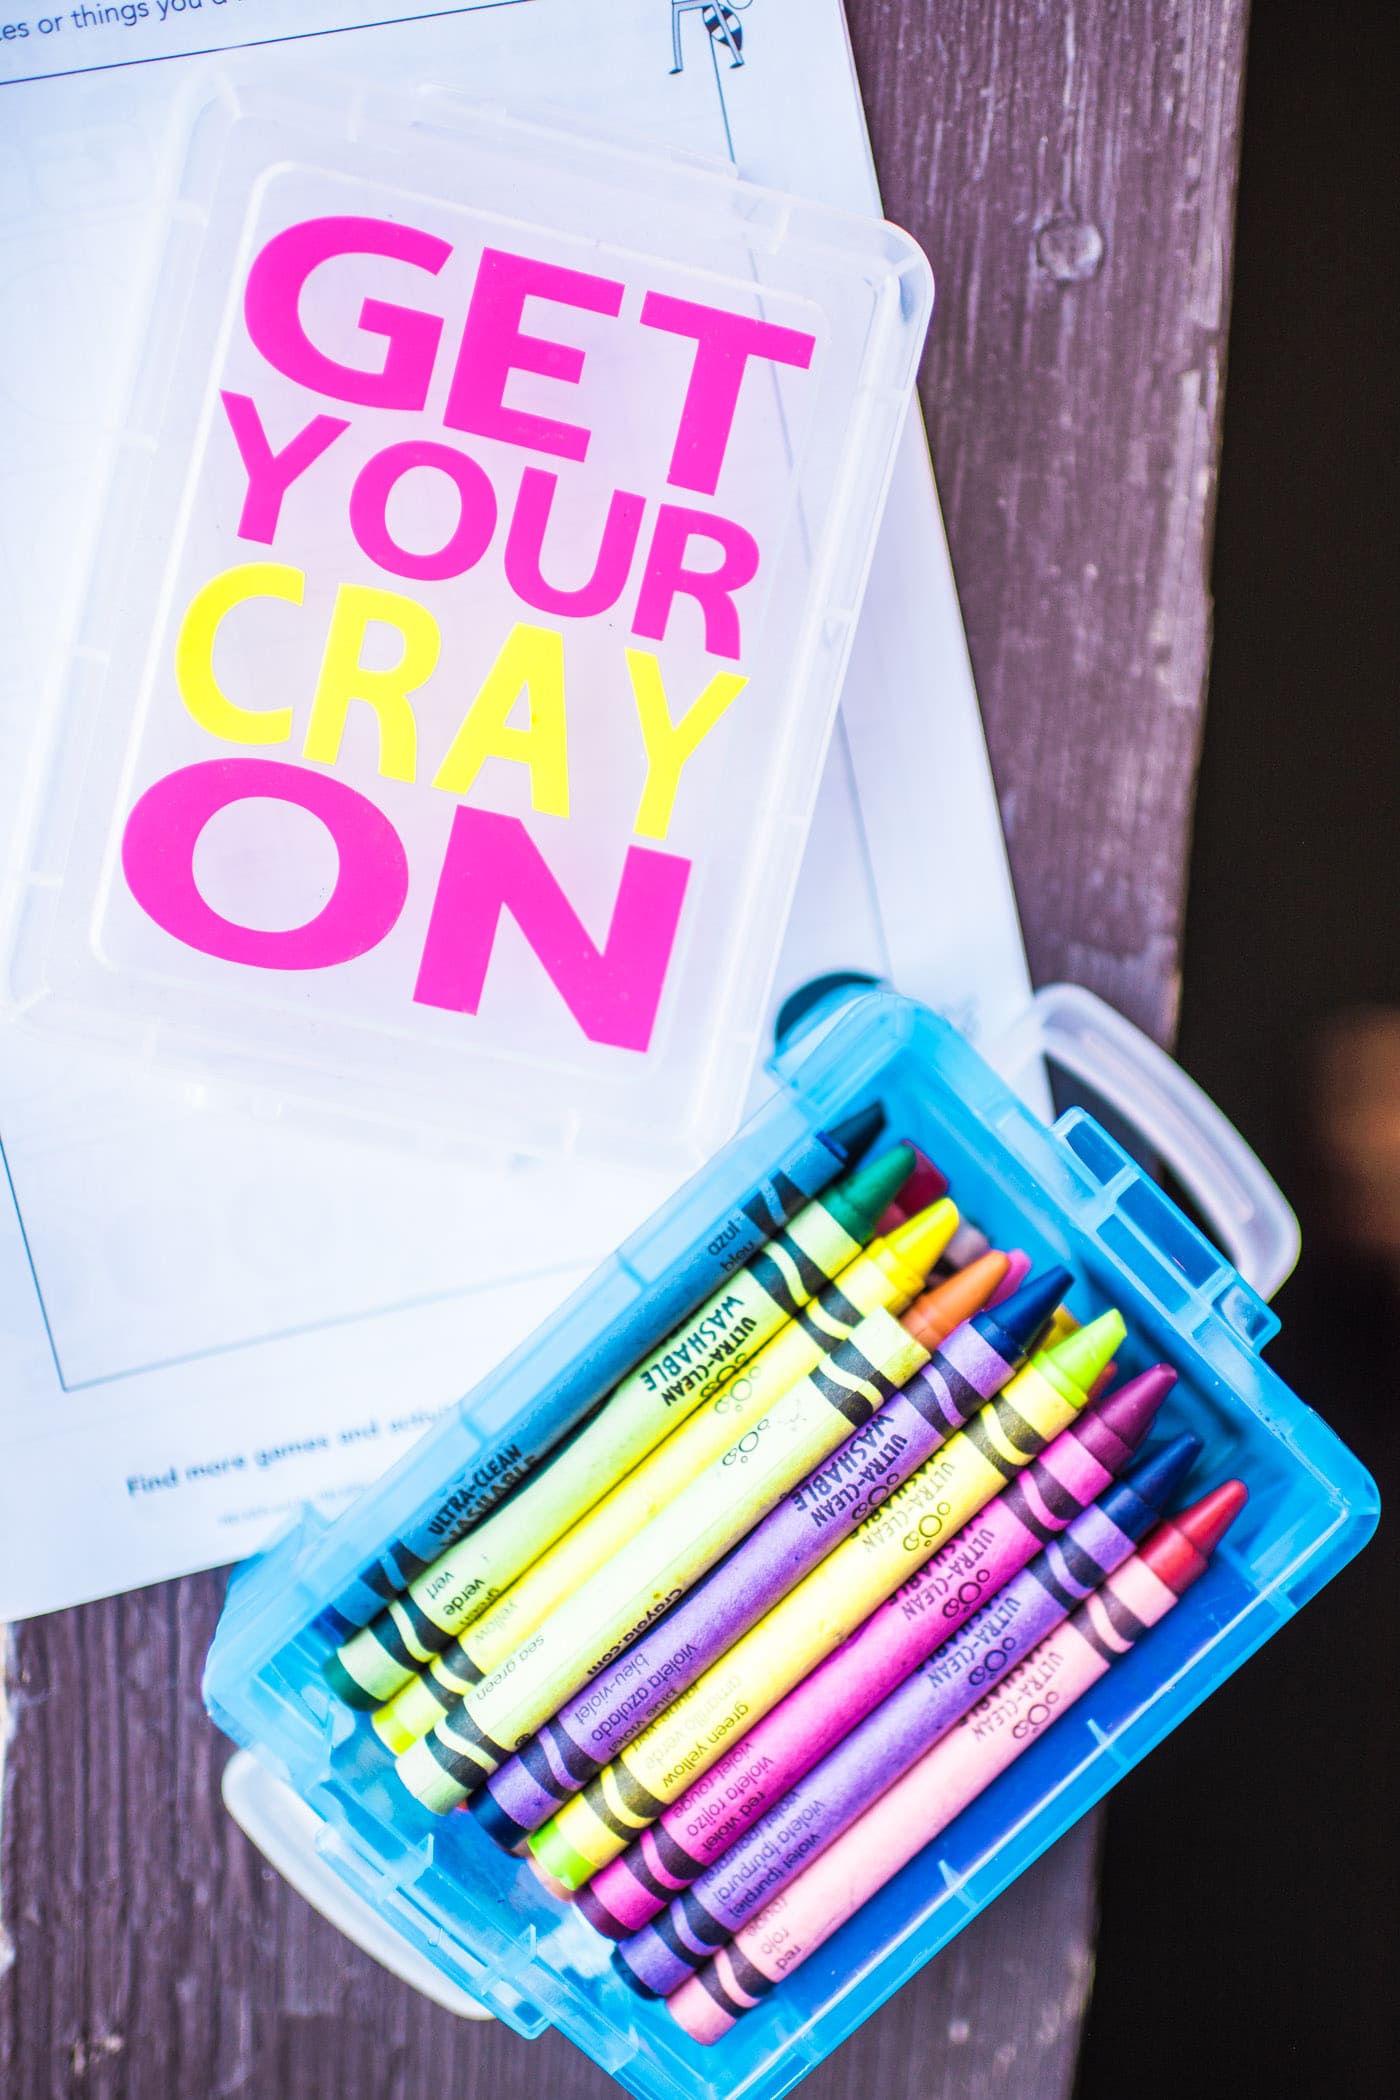
I like to buy the kids each a new crayon box annually. We usually do fun new backpacks and some custom t shirts, while we're at it. Even though we're homeschooling now, we still like to keep things fun and indulge in a little celebration! Crayon boxes like this are available at any big box retailer, especially this time of year. Fitting a standard box of 24 or so crayons, they are the KEY to keeping your crayons in tact so your kids don't wind up with a million random colored wax shards rolling around the bottom of their backpack. I buy a crayon box that gets stored in one of those binder pouches and voila! No more mess.
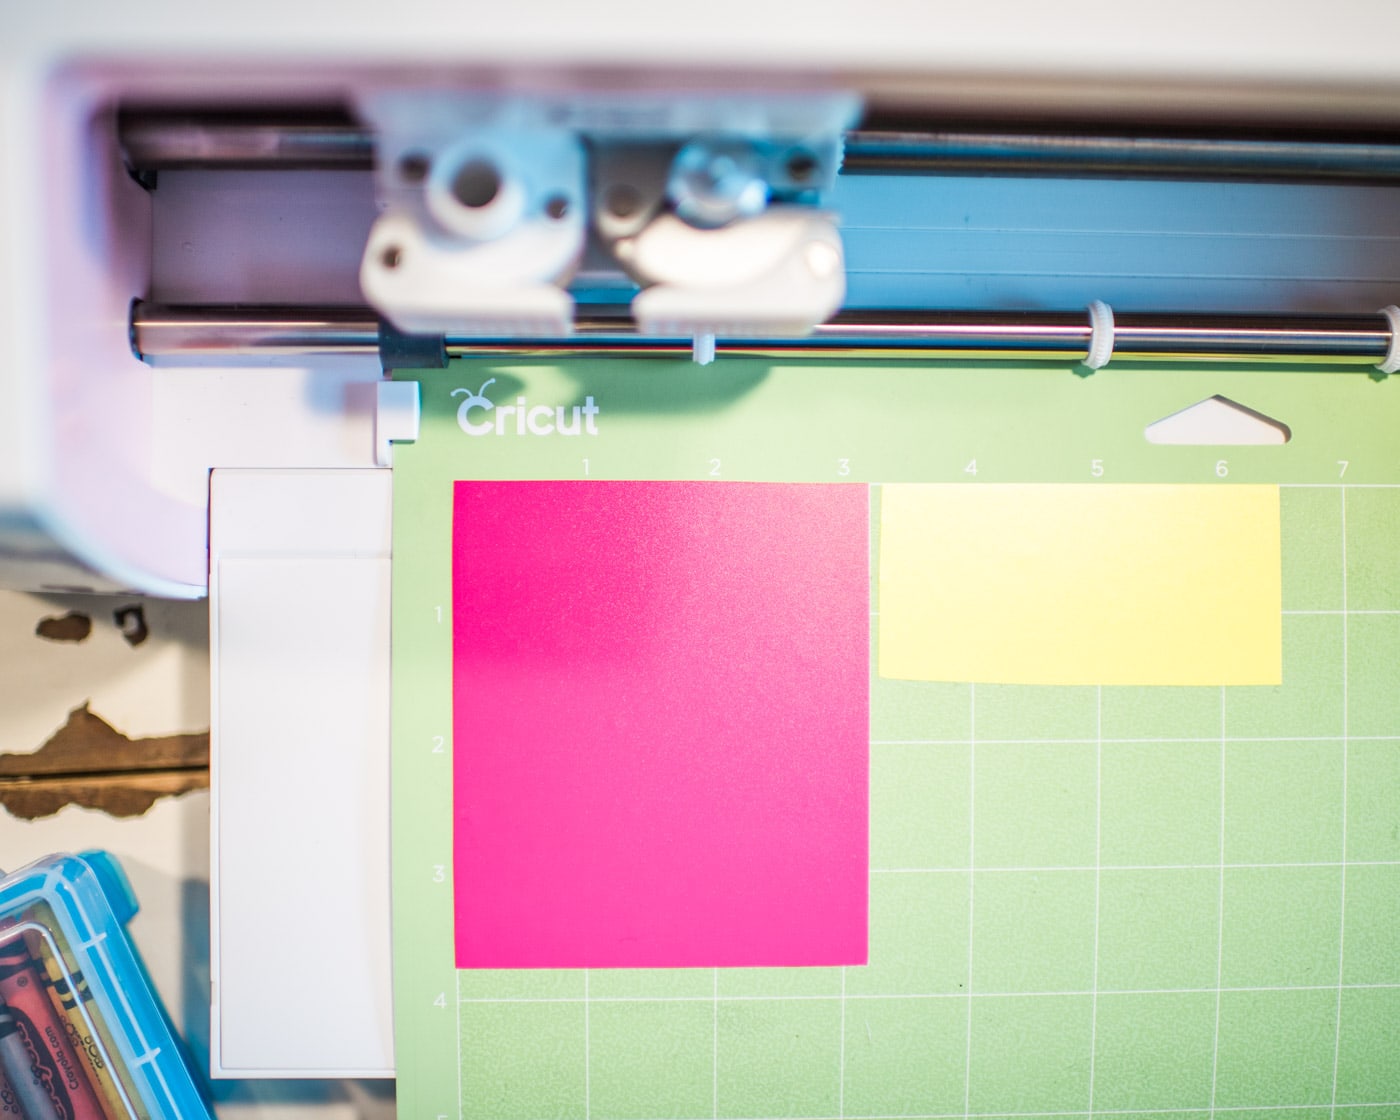
You've all heard me rave about my Cricut Maker repeatedly. This can also be done with a Cricut Air machine. It can cut WOOD, you guys! And vinyl, fabric, paper, cardstock, leather and more. I hesitated before pulling the trigger on a machine and this is THE ONE to get. I like it so much that I bought two: one for the farm house and one for the RV. I may have problems. Anyway, for our crayon box project I got some premium permanent vinyl for my Cricut Maker machine and set up a quick and easy template.
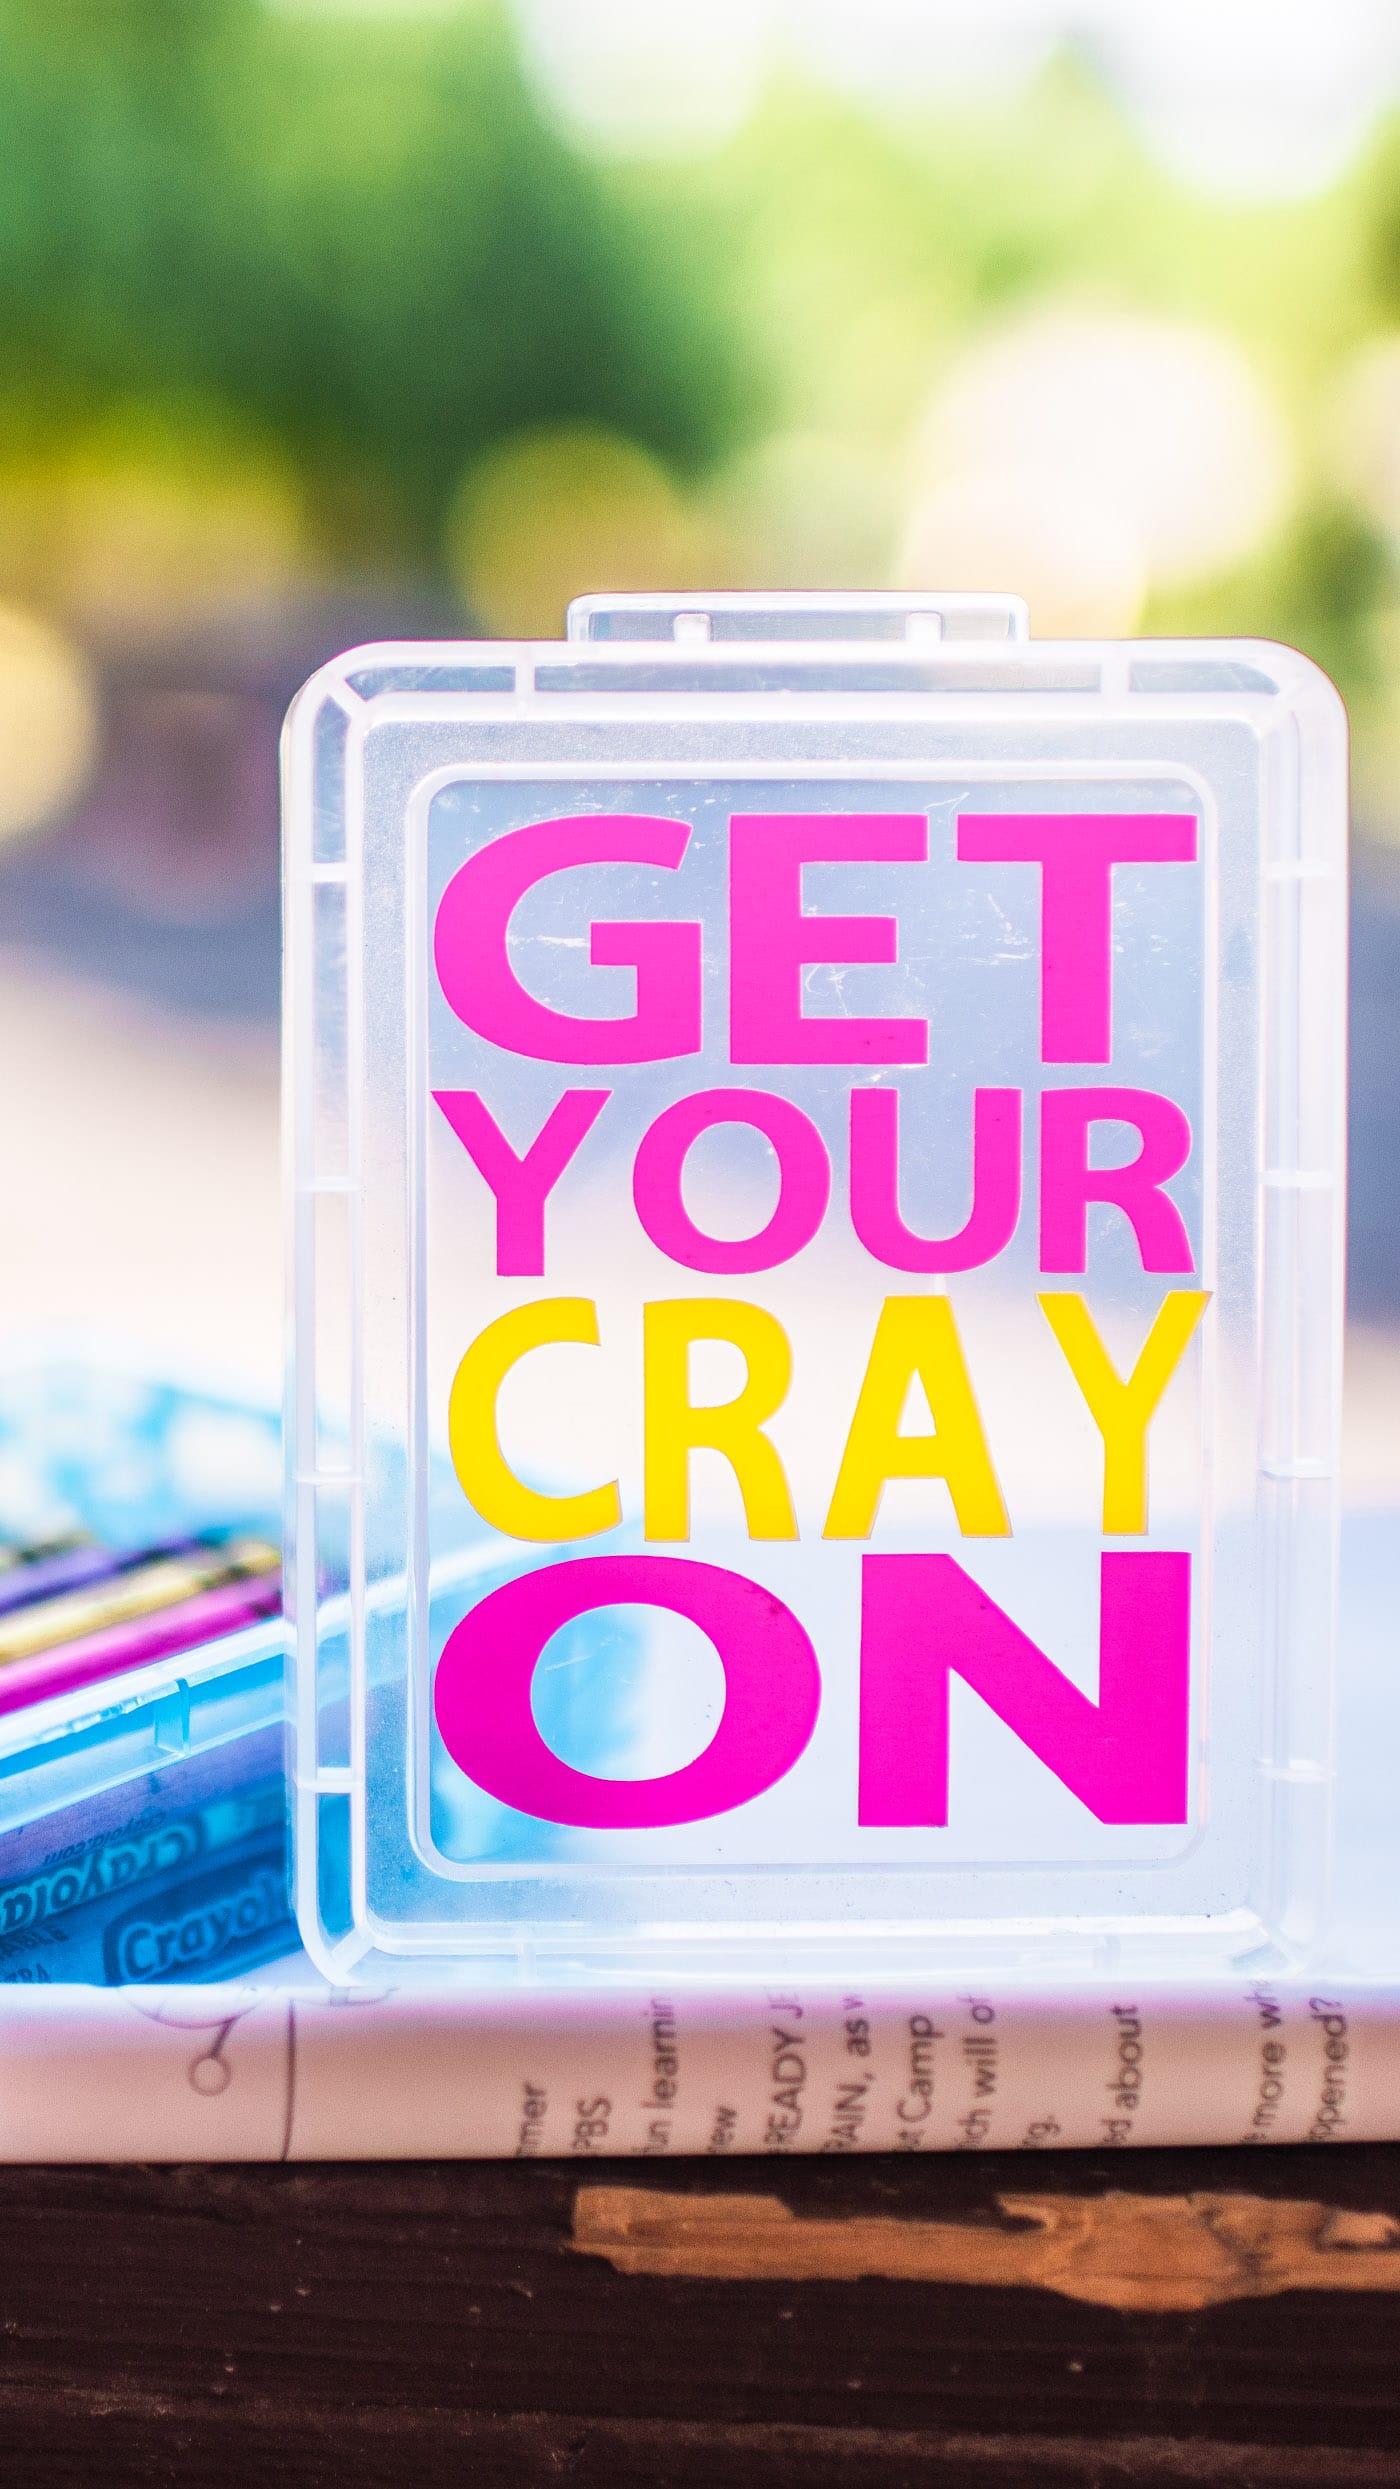
Nab the GET YOUR CRAY ON template to customize your own crayon box with a Cricut machine!
Lay out a 3×4″ block of pink vinyl (or whatever color you want to say “GET YOUR ON”) and a 3×1.5″ block of vinyl (or whatever color you want to say “CRAY”). You can see above how I squished them right up next to each other to print all at once.
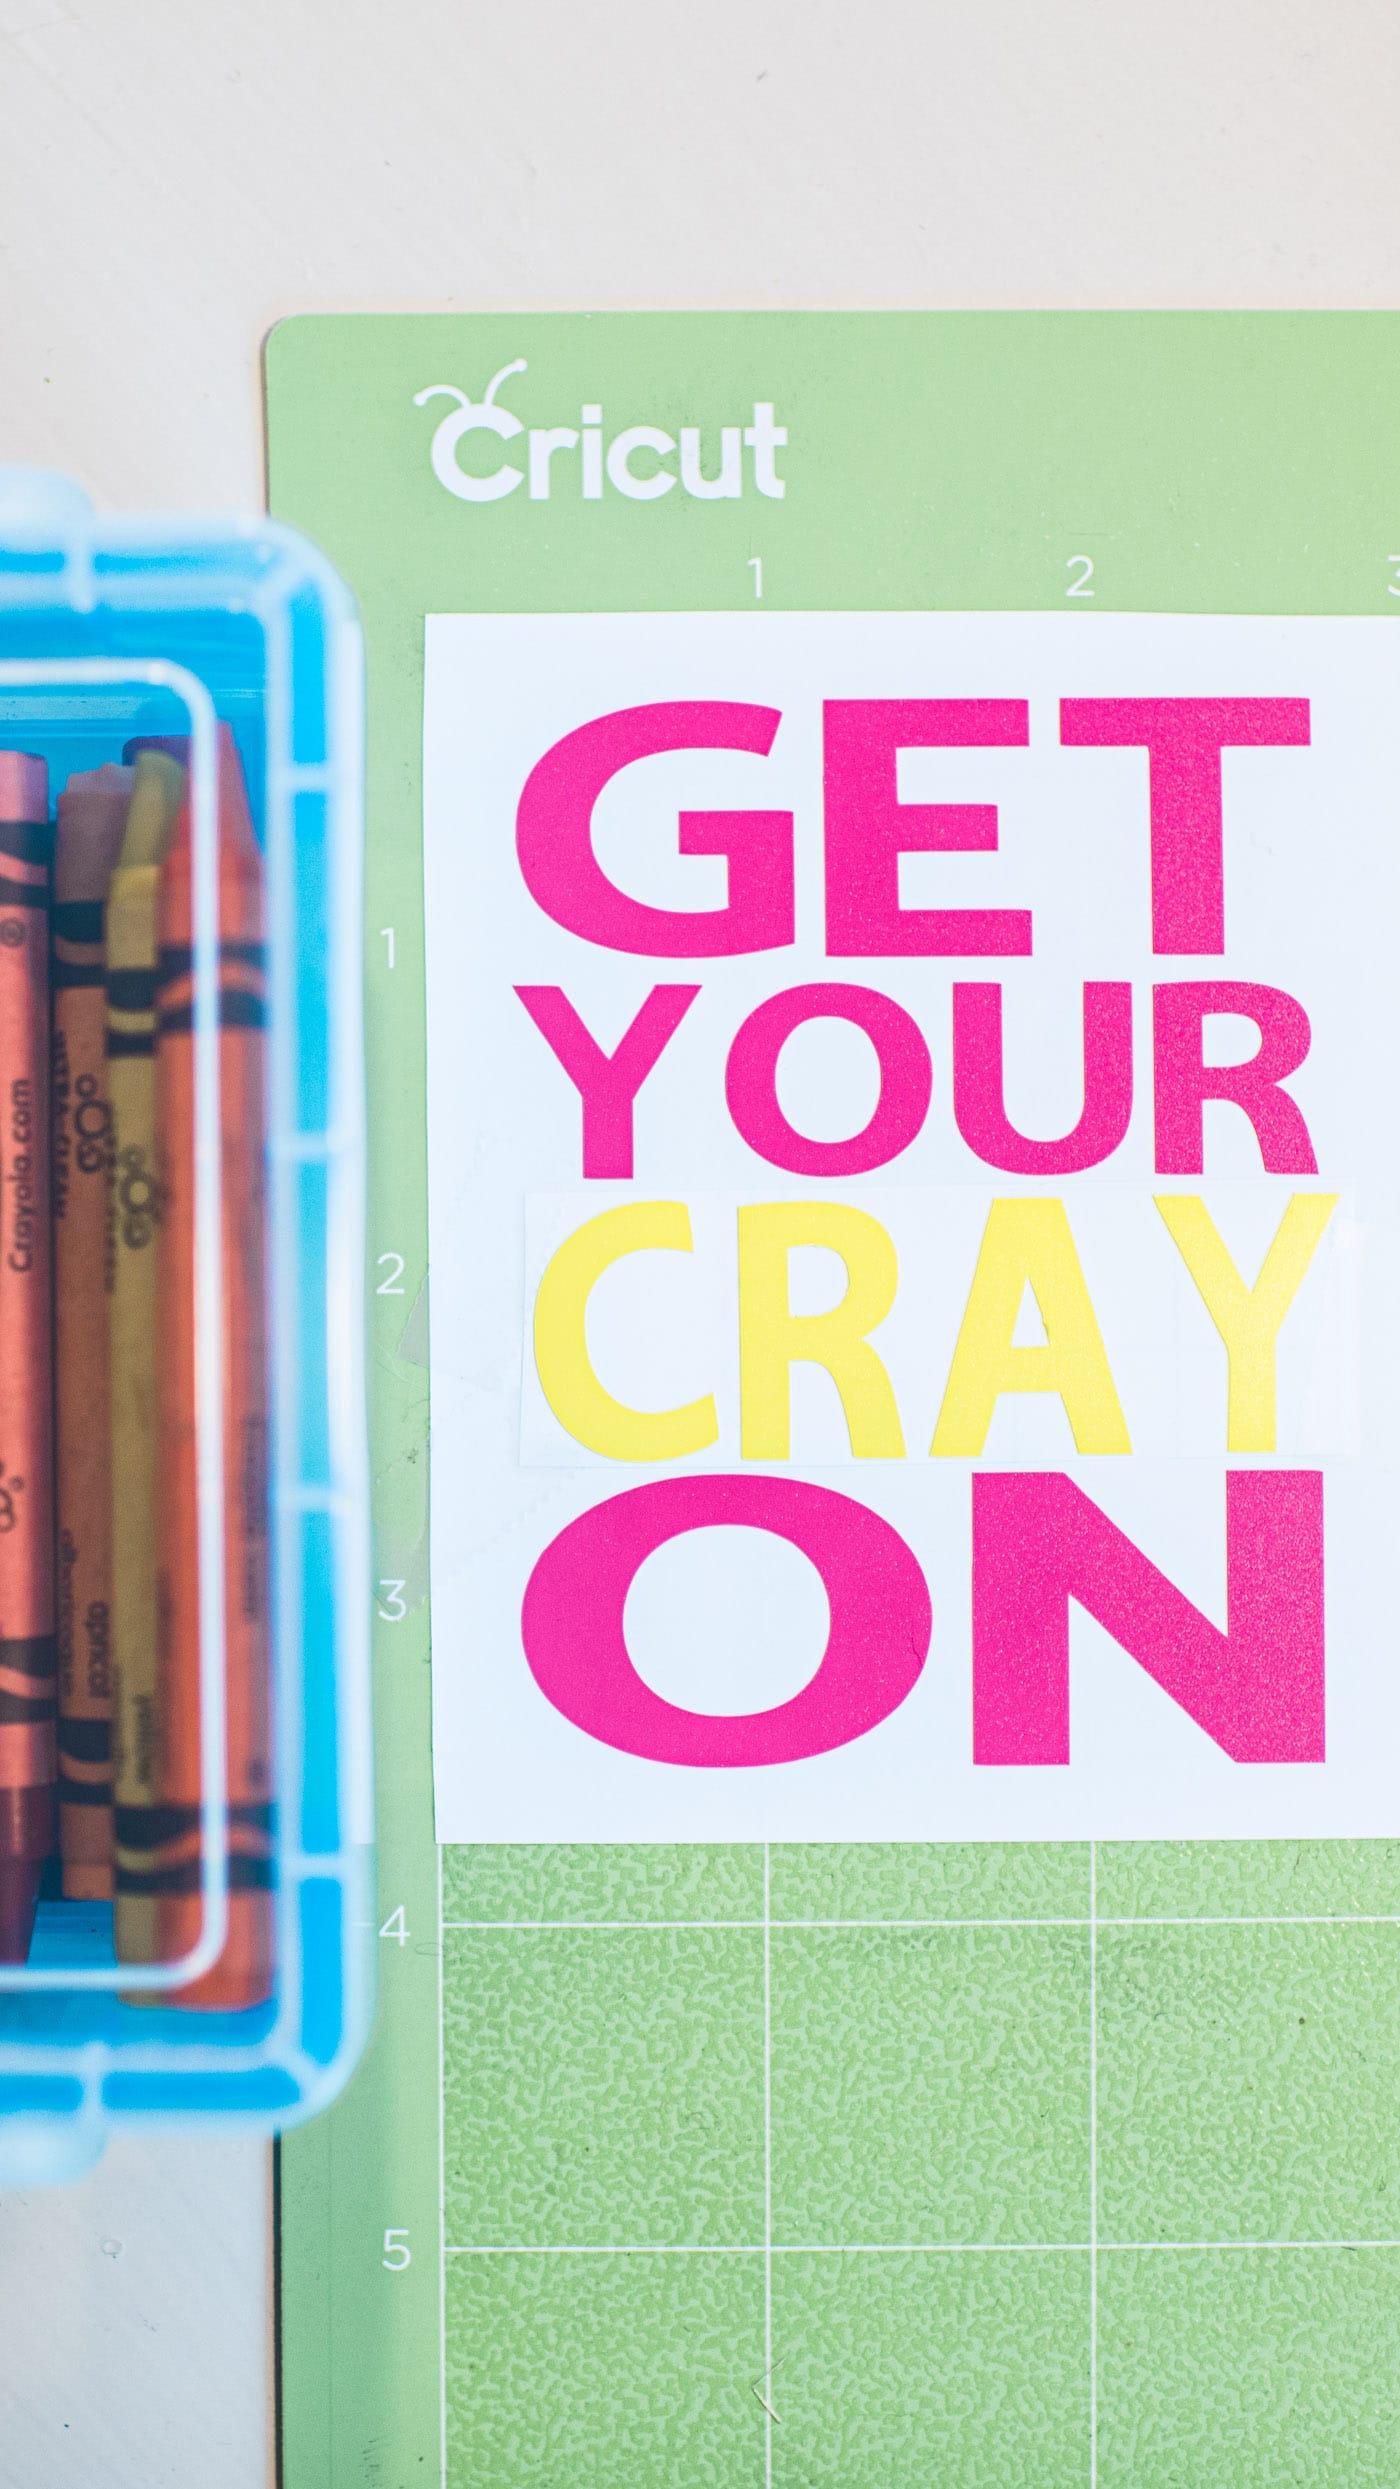
Cut, weed, and you're ready to make your crayon box extra-special. I cut out the “CRAY” portion and taped it down in between “Get Your On.” Get your CRAY on! Get it?

Lay some vinyl transfer tape over your letters to pick them up…
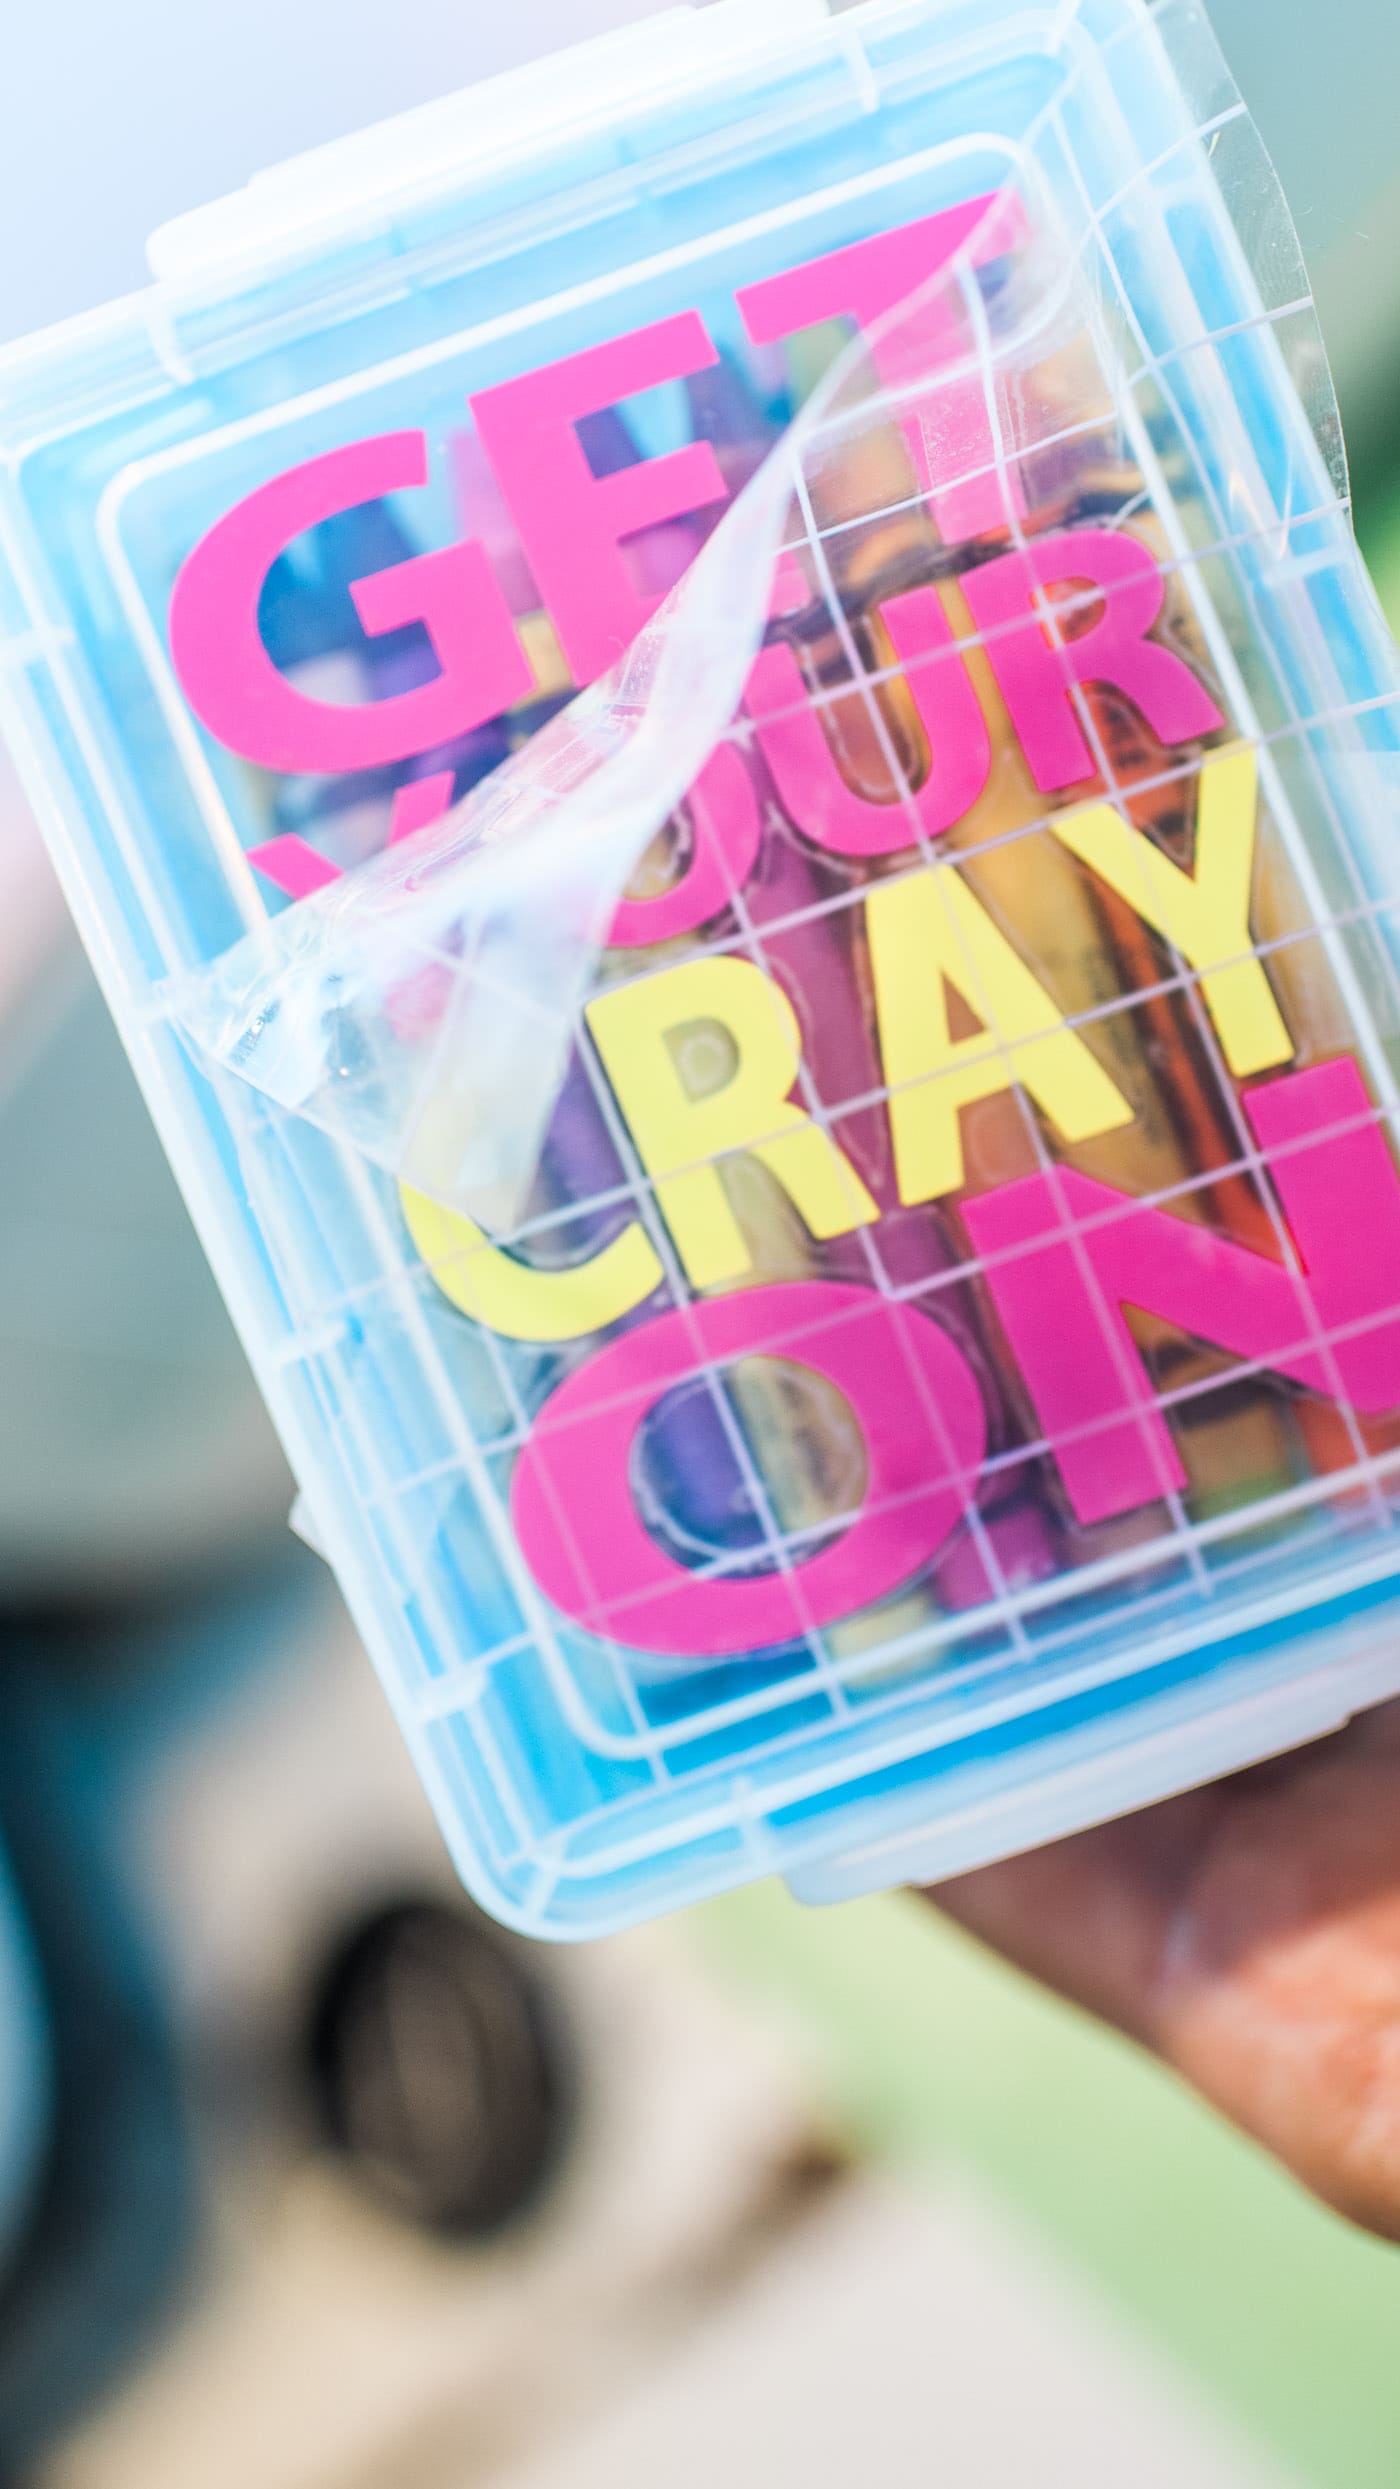
…and press to transfer onto your crayon box. That transfer tape sure is aptly-named, huh? A helpful trick to save on materials is to always trim down to just the size you need. If I have extra, awkward space around the edges, I often squish random designs in there when I'm printing. I can later use them as stickers for the kids, Easter egg designs and other extra craft stuff. Especially when you're doing a transfer that's being cut out and the edges don't matter (as opposed to stencils or fabric cuts) it makes sense to maximize your material.
My 6-year-old and 4-year-old both kind of cocked their heads to the side when they saw our crayon box. The 8-year-old read, thought for a minute, read it again, and then cracked up as it hit him!

The 2-year-old just wanted to color, of course. As long as I'm offering up allllll the crayon box tips, I'll go ahead and put it out there that the washable ones are totally worth the investment. Take it from a mom (and former teacher) who has spent way, way, way too many hours scrubbing waxy color off of the walls. If you do happen to wind up with crayon marks around the playroom or dining room, magic erasers and rubbing alcohol are your friends.
Do you like to customize things for your kids? Would you ever make a crayon box like this?