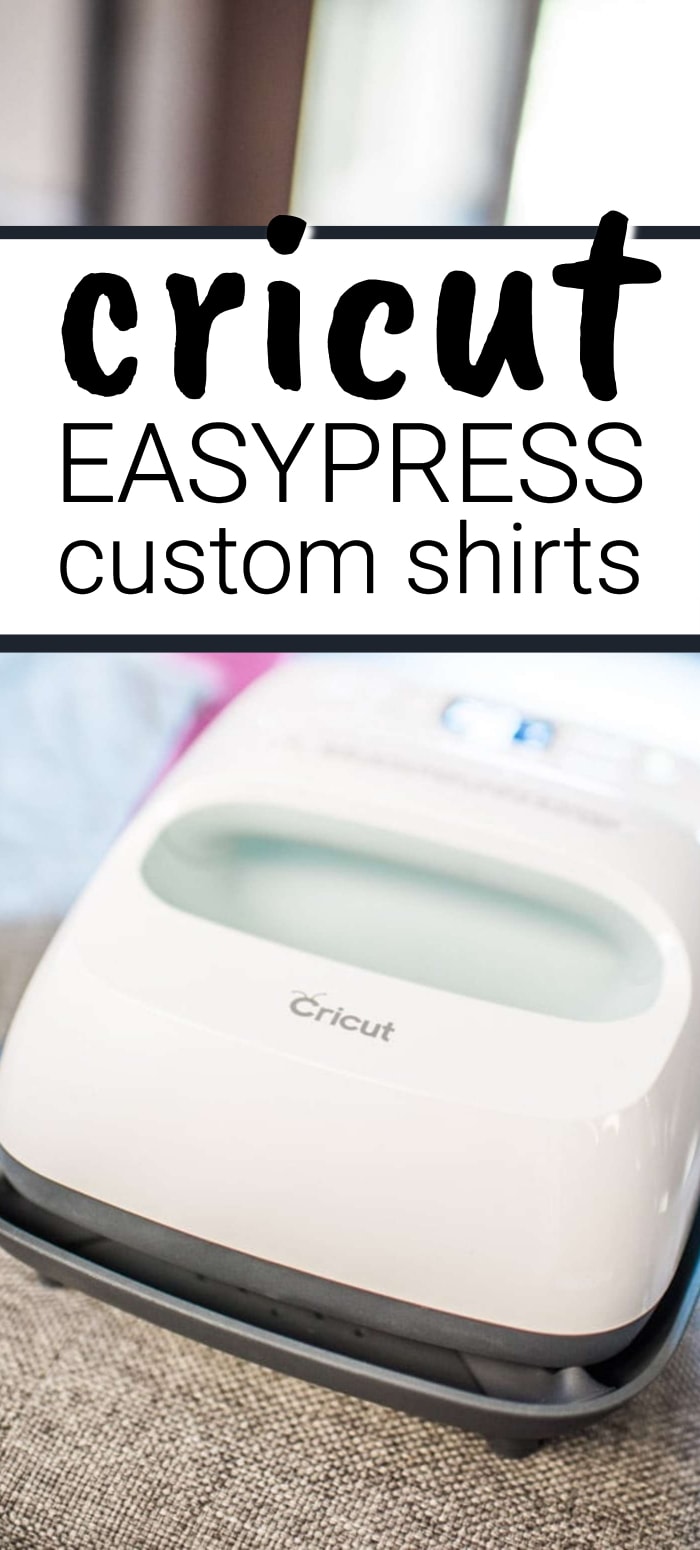
Last week I showed you guys my favorite die cut machine. This week I'm sharing a tool that can help level up your vinyl cut-outs. It's time to express your thoughts and moods with custom t-shirts for every occasion! Here's how the Cricut EasyPress can help, and how to use it.

Prepping to use the Cricut EasyPress
You'll want your Cricut Maker machine, EasyPress 2, iron-on vinyl and some clean shirts in a contrasting color. The Cricut Access program will easily walk you through the creation and cutout of your design.
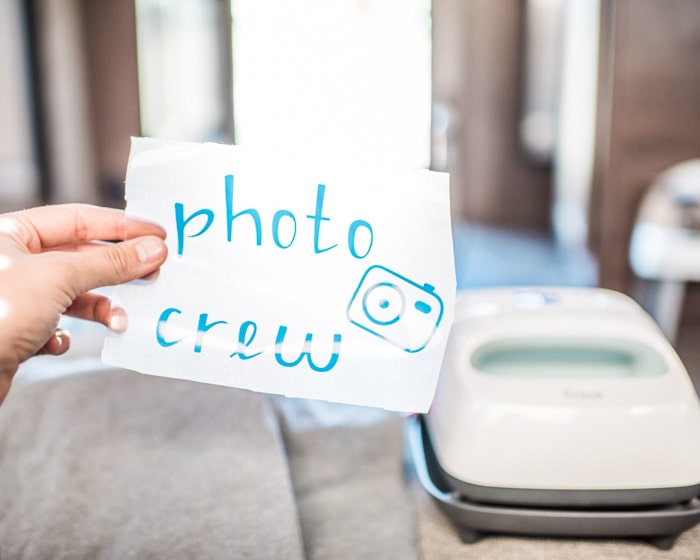
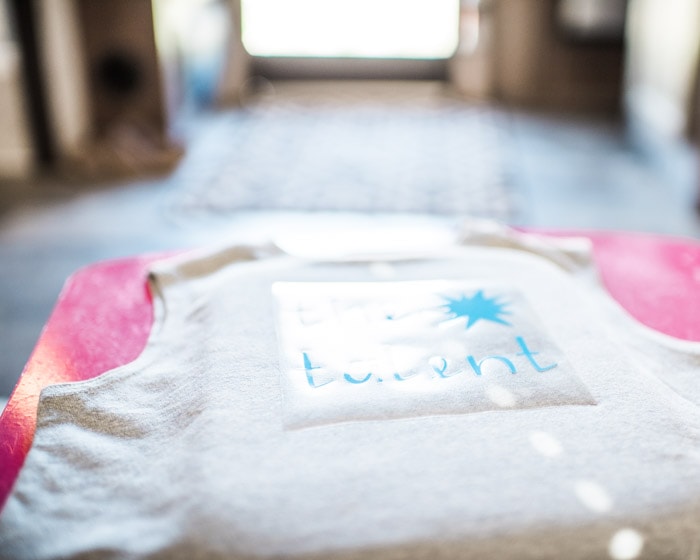
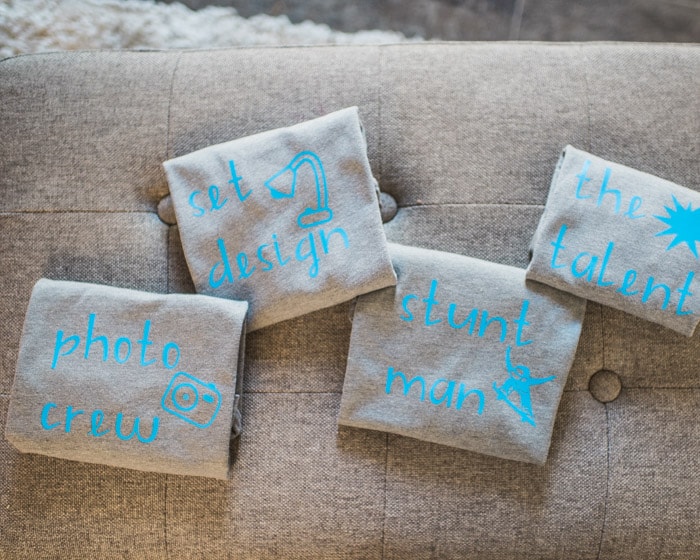
The custom design for our shirts – including a stunt man, camera crew, set design and “the talent” – can be found over on Cricut Access.
I simply laid out some cute wording and little graphics and BAM. We're in action.
Using Cricut Access
The Cricut Access program walked me through cutting out the vinyl, mirroring the image so it would print correctly so I could lay it onto my shirt and iron it straight off of the carrier sheet. I simply weeded the extra vinyl away from the design with a weeding tool and was left with the design ready to iron on. No transfer sheet needed.
Designing On-the-go?
The remaining piece with the iron-on design is sticky, so I actually laid a bit of saran wrap on it, cut to the size of the design, so I could transport it and press my shirts in our RV while we were traveling to a conference. Such is life when our schedule's busy! This worked perfectly to preserve the work for when I was ready to use it.
Different Sizes of the Cricut EasyPress 2
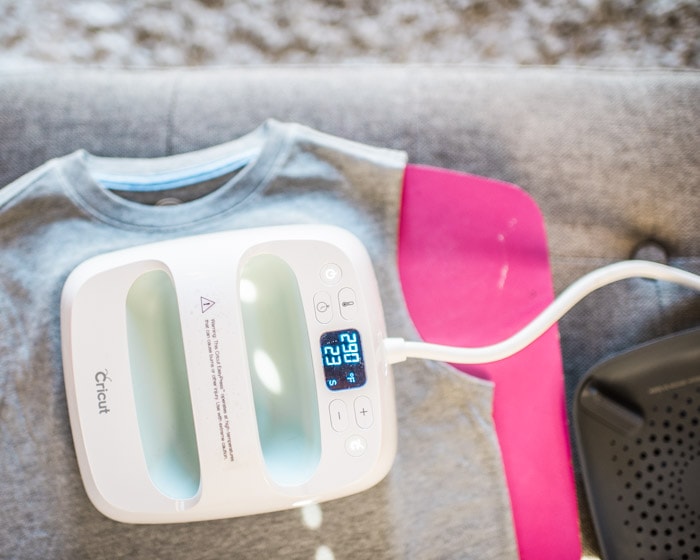
The Cricut EasyPress 2 is the tool we used to actually press the vinyl design onto the shirt. It's basically a big iron that comes in three easily-transportable sizes: 6×7″, 9×9″ and 12×10″ to make everything from napkin designs to big apron statements. The smallest one was the perfect size for my kid shirts.
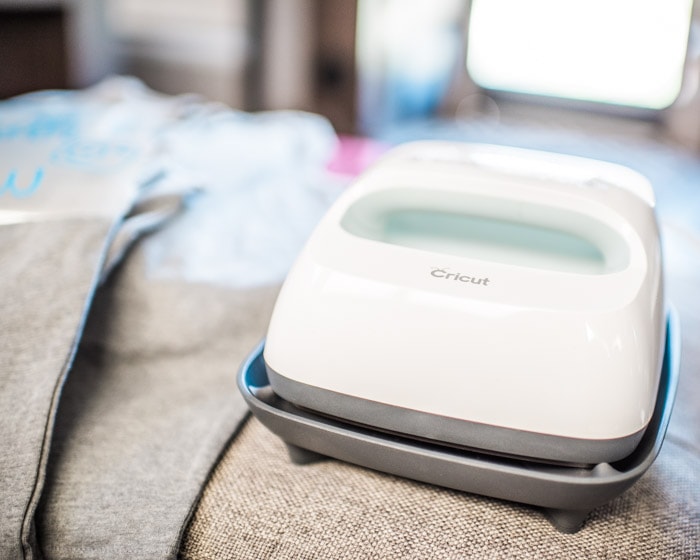
While the Cricut EasyPress 2 does the work that used to be done by an iron, it is SO much more efficient and high-quality. The work that I pressed with the Cricut EasyPress 2 has been through the wash several times and hasn't peeled up at all, looking just as fresh-pressed as the first day.
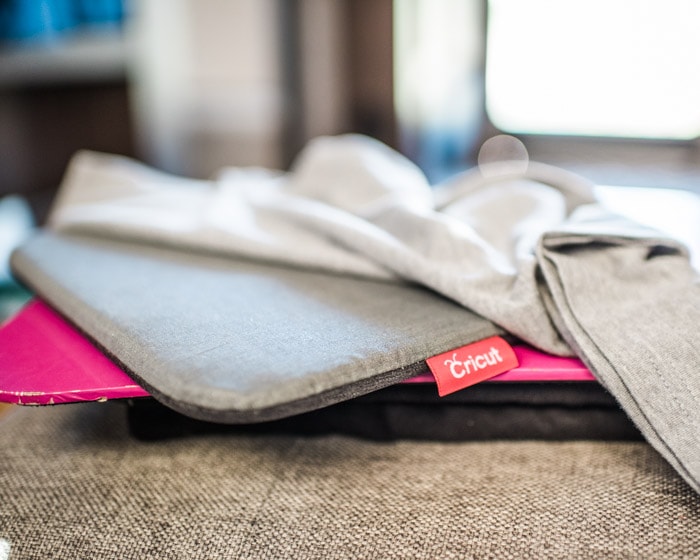
Cricut EasyPress Mat
I use the Cricut EasyPress Mat as my base protective layer when I iron with the Cricut EasyPress 2. It's 12×12″, so perfectly sized to accommodate any size iron-on project. It's specially made with thermal conductive properties to ensure that heat evenly distributes throughout the process, with a wicking liner to deliver dry heat and ensure the smoothest, most effective transfer.
Using the Cricut EasyPress 2
This thing is SO much better than an iron because you can set the exact temperature you need (depending on your fabric). The heaviness of the pressure ensures even heat distribution and proper setting of the whole design, The included instructions make it all very simple, and the timer is way more helpful than I thought it would be…having everything all in one compact little design is the BEST.
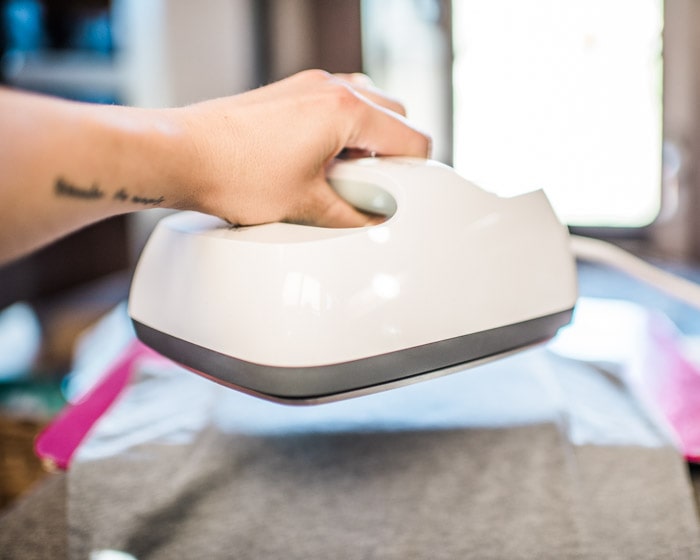
As for image placement, I basically just eyeball where the design should land…
…press it on there for the prescribed amount of time…
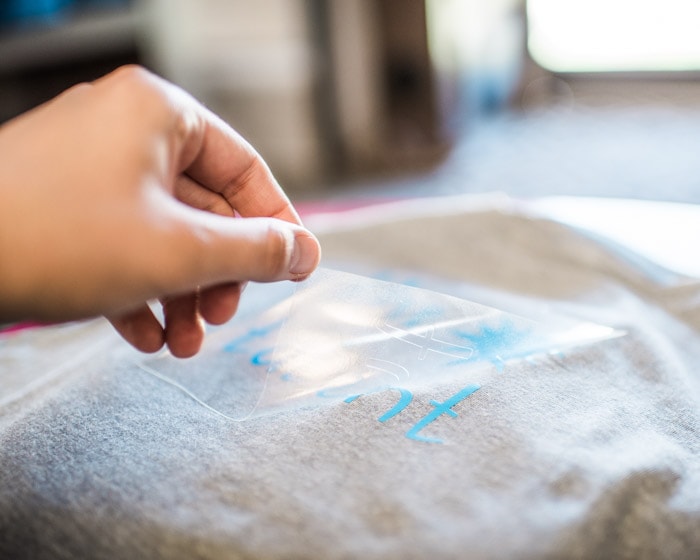
…and peel away the transfer sheet.
Voila! Care for your custom shirts made with the Cricut EasyPress 2 is super-straightforward. Just wash and dry as usual.c Look super cute as your whole family matches all around town. And maybe setup an Etsy shop for when all the people want to buy all the shirts and stuff.
Do you have a Cricut EasyPress 2?