Hosting a backyard carnival? This DIY bean bag toss game is so easy to create, and it can last through family get-togethers for years to come!
DIY bean bag toss – also known as DIY cornhole – is a totally easy and fun way to keep kids busy during any season. Us? We're giving it a go during our 31 Days of Halloween!
This'll be set up out in our front yard to keep the whole family busy while we monitor the candy bats for refill needs during trick-or-treating. We love doling out candy one-on-one, but we also like the idea of keeping the kids busy with a hands-on activity while they keep a safe distance from neighbors. And this activity is a ton of FUN!
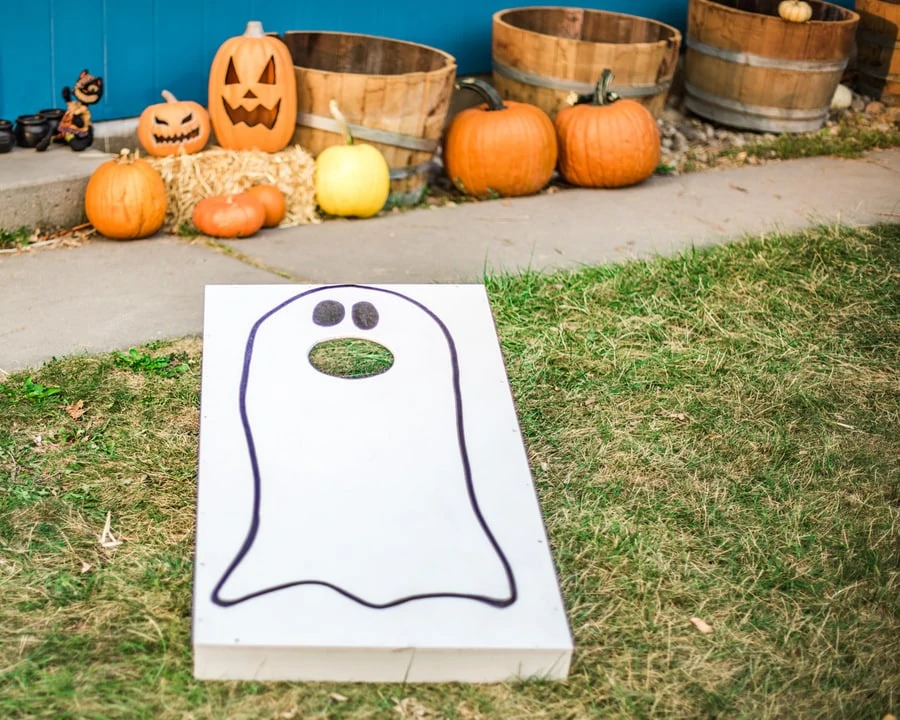
Best of all, it's easy to make. This is a simple slab of plywood, laid on top of four long boards cut down to size to prop the thing up, along with some short stands down at the end. Nate then used a jigsaw to drill the mouth, honestly, before I even had plans for exactly how this DIY bean bag toss would look.
Setting Up A DIY Bean Bag Toss
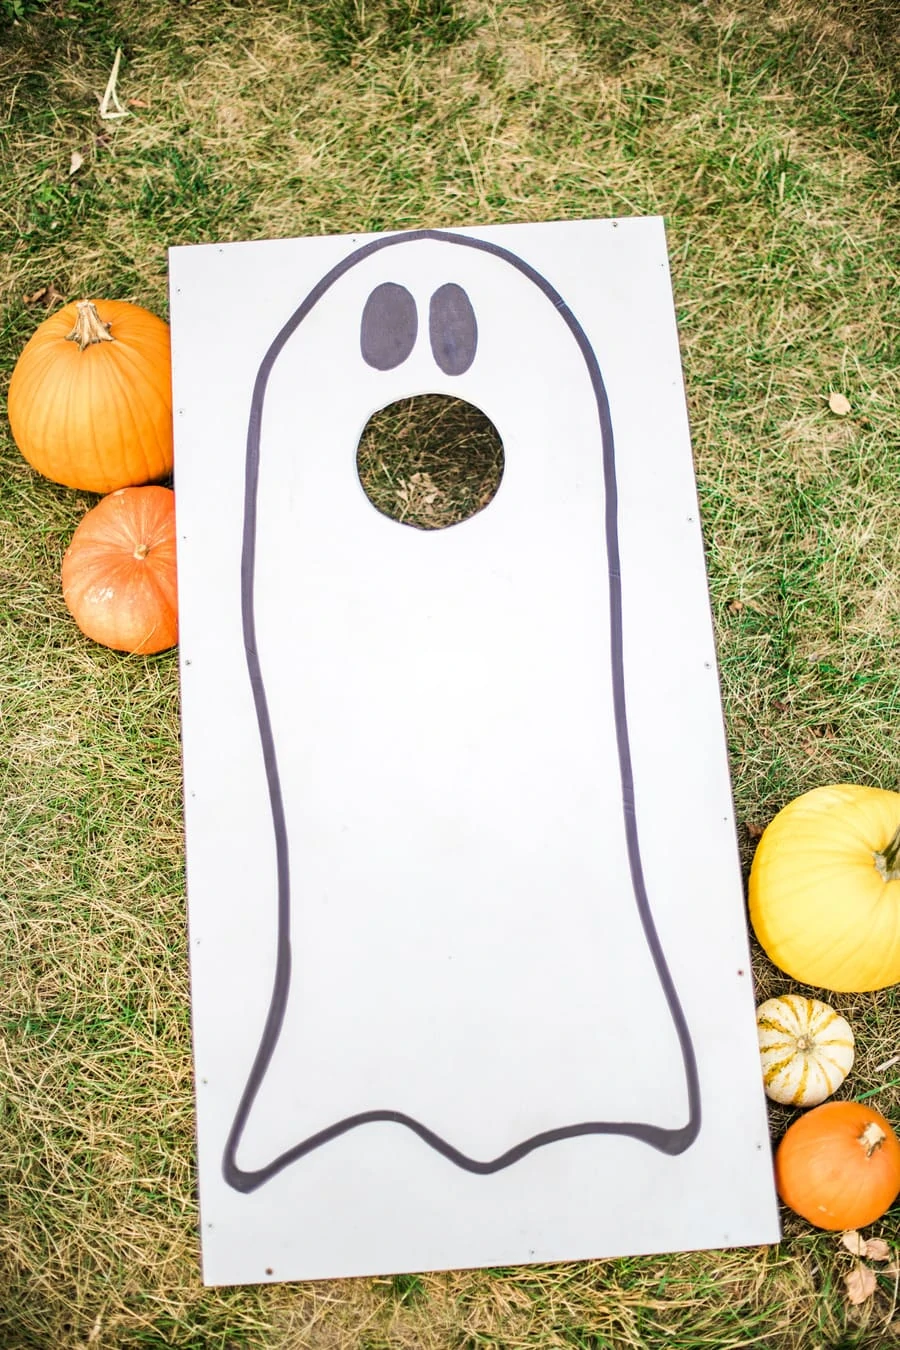
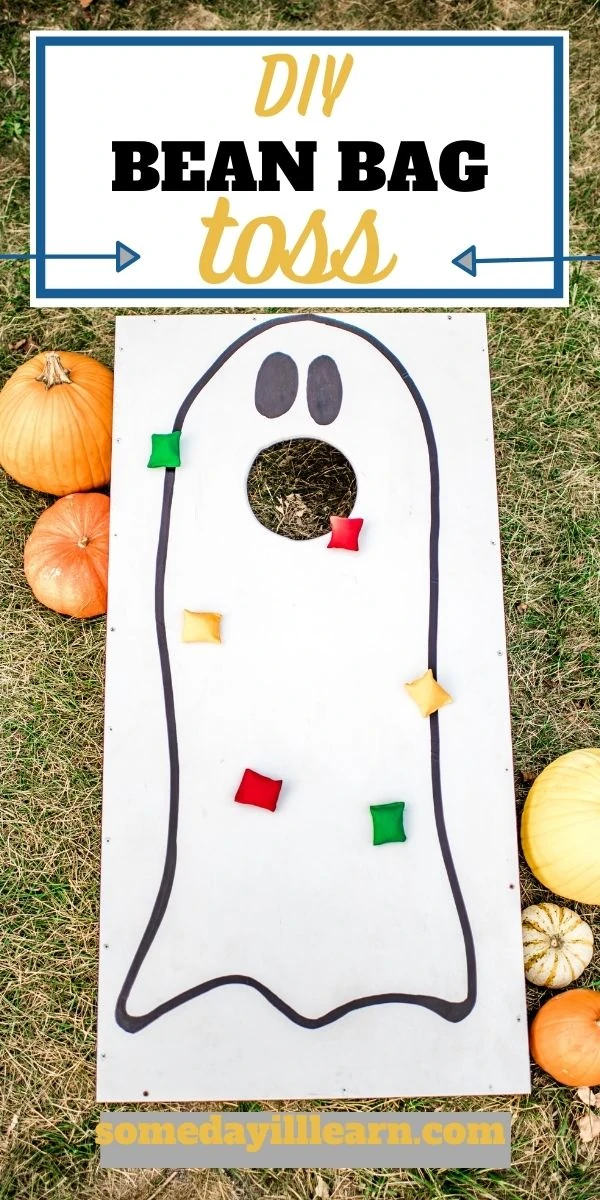
I told Nate, “Just cut a hole in it, I'll figure out layout later.” I assumed the hole would eventually be some sort of elaborate piece of a big Halloween design, but once he'd drilled it I could ONLY see this Halloween ghost. The piece was absolutely begging to be turned into this. I painted the whole thing with the same paint I used when we were picking white paint for our exterior trim. Then, I used a giant Sharpie to outline the ghost. Easy peasy.
Got a Sharpie handy? Give our alphabet balls a go!
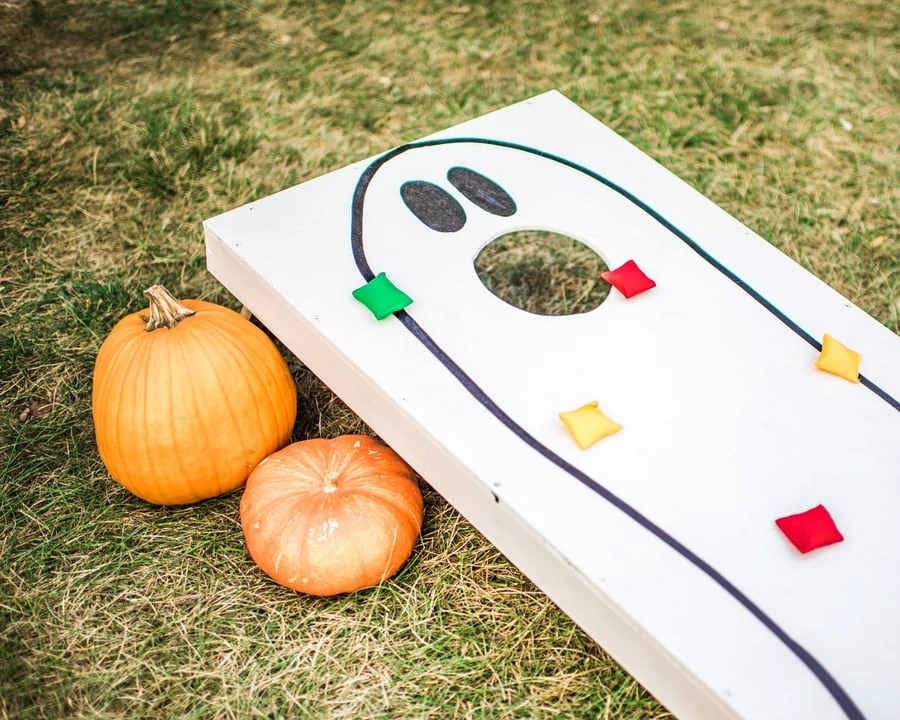
The bean bags for our DIY bean bag toss came free with the rings we bought for DIY ring toss. Gotta love a double-pack! If you want to sew your bean bags, I bet you could do that by hand or even with a sewing machine and some scraps of fabric and rice. It's a lot of fun to get creative, once you're on a roll!
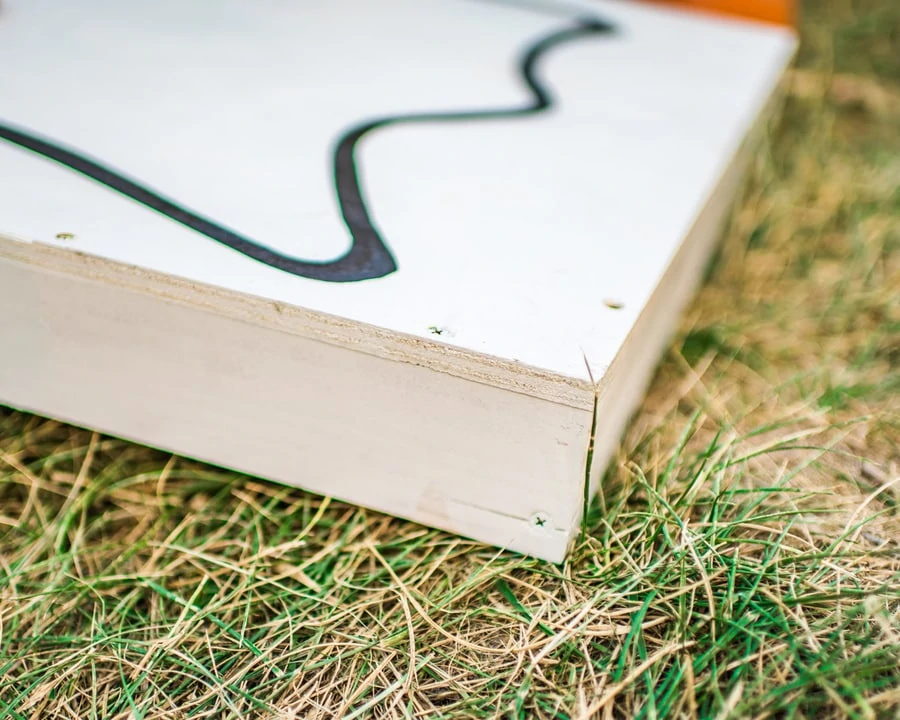
As for more detailed construction instructions, Nate said he just “cut the top, cut the sides and then put them together” with the staple gun he used on our chicken wire frame. It looks really simple, just a matter of bringing the side of the box together with nails or staples. It's easy if you know how to drill a hole! That's where it all starts. Just learn the basics, and go from there.
We've also used our very rudimentary sewing skills to make a crib bumper and DIY baby mobile cover in the past. Start with any old sewing needle and thread, and see where it takes you!
DIY Bean Bag Toss

This DIY bean bag toss is a simple, fun way to keep the kids busy any time of year!
Materials
- Plywood board
- Edge boards
- White paint
- Sharpie
Tools
- Staple gun
- Jigsaw
Instructions
- Cut a hole in the plywood with the jigsaw
- Cut side boards to fit along the edges of the plywood board.
- Use staple gun and/or nails to affix the side boards under the plywood.
- Paint the whole thing white.
- Add a ghost figure with the Sharpie.
Our DIY bean bag toss has been SUCH a hit with the kids as we've attempted to keep them busy during this crazy time. Their grandparents are coming to visit for Halloween, and our plan is to keep them busy in the front yard with a ton of of carnival activities while trick-or-treaters get their fill. If it gets cold, this is an activity that can easily be pulled indoors while they stream their will of Halloween movies.
Would you play DIY bean bag toss with your family?