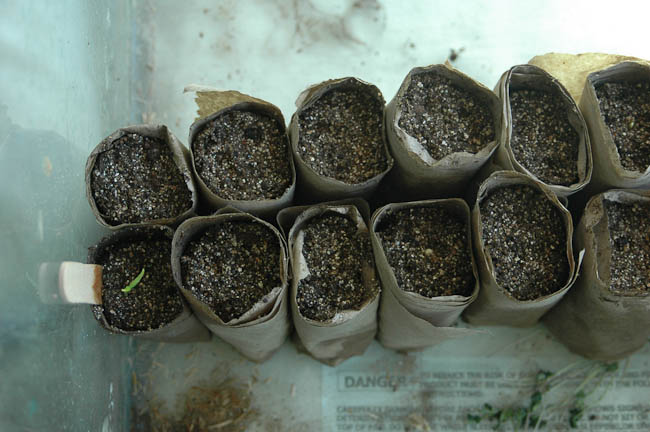
Many of our readers have gotten their spring garden going with our toilet paper roll seed starters and have been anxiously awaiting the next step. We're getting emails trickling in like, “Um, hello….what now?” Honestly, we really should have started hardening seedlings last month to get them ready for the intense heat of the summer. But if you're like us and you're running a little behind, now's the time!
I find it's a good practice to go through the steps of hardening seedlings with just about any little plant, whether you've grown it yourself or gotten it from the local nursery. This is the part where people usually rush and often wind up killing their plants, which is a shame because it is SO important for the health of your garden. A well-raised plant is a resilient plant. Just like we wouldn't plop our kids out into the cold, cruel world without a little tender love and preparation, we shouldn't do that with our plants either. Hardening seedlings is a critical step!
It helps acclimate the plant to your outdoor atmosphere and weather that can be rather harsh after an extended stint in a greenhouse. Here's how to do it.
Hardening Seedlings Gently and Gradually
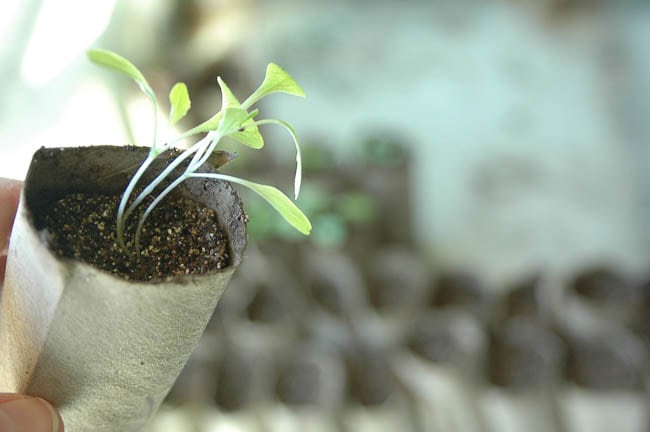
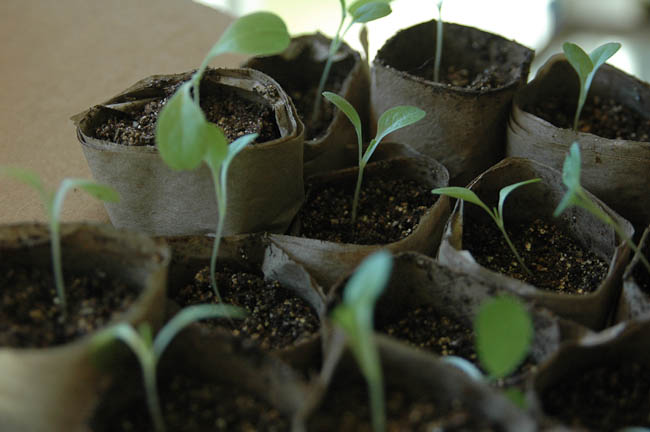
If you've grown multiple seedlings per starter, snip back all but the strongest one.
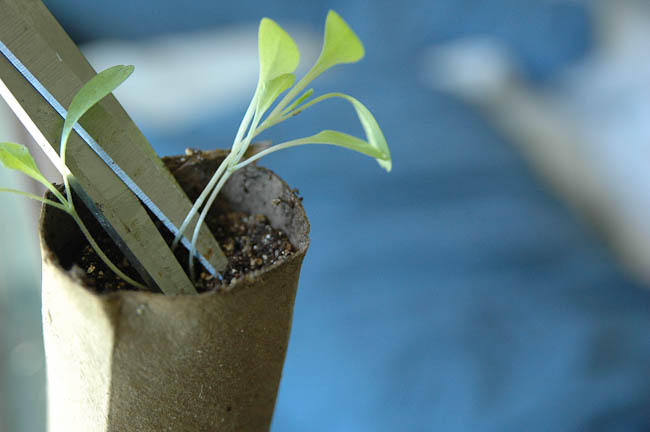
I just take regular craft scissors and cut the weaker-looking plants as close to the soil as I can get. This gives the other one room to stretch its roots. Some people think that logically, three plants have better odds of survival than just one. The truth is, these three little seedlings will fight for nutrients and water and ultimately starve each other if I don't pick the best-looking one and let it have the soil space it needs. Survival of the fittest, you guys!
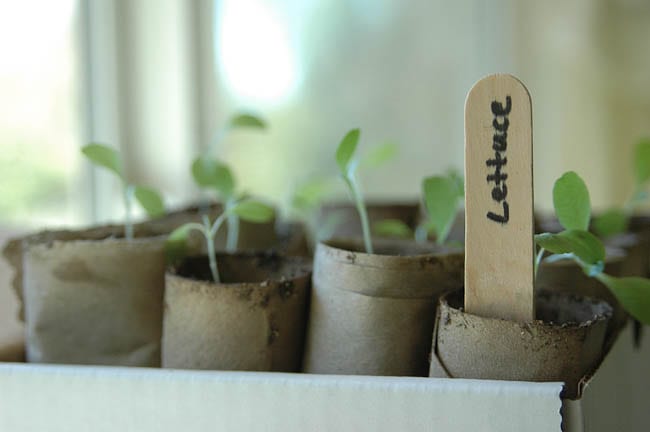
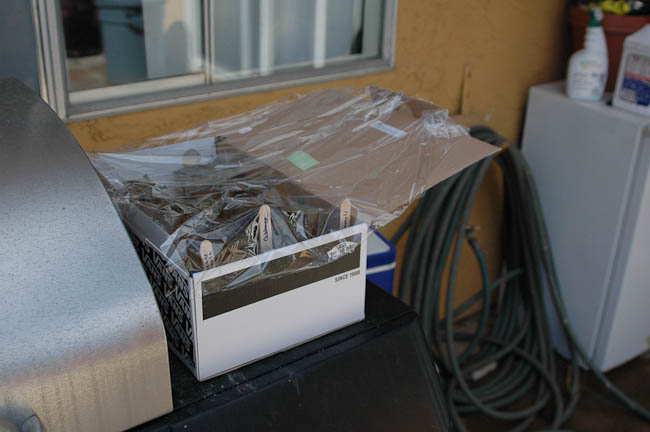
Load them up into a cardboard box (with a little room around each one for healthy air circulation), mark it accordingly and take it outside into a shaded area.
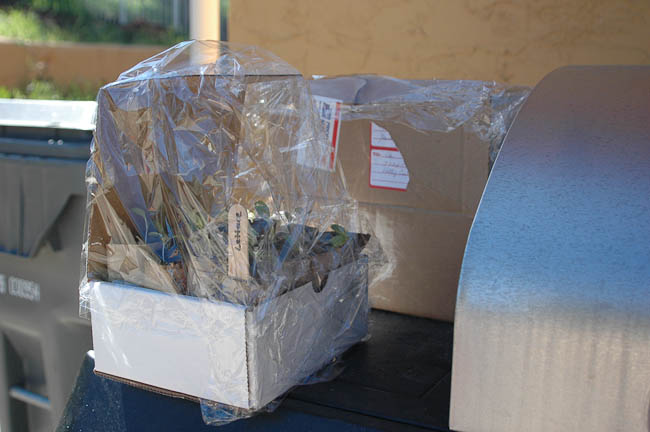
Cover them with plastic wrap the first couple of days to protect from wind, and slowly start easing them into the sun. Start with 3 hours per day, gradually increasing over a 10-day period. Water them well throughout this period. Not TOO well, we don't want to drown the little guys! Continue the basic process from when you put them in your seed starters, spritzing them with dechlorinated water.
Next you'll prepare your soil, eliminating weeds and getting it nice and soft before transplanting these babies! I always go through with a garden ho and remove big clumps and rocks that can crowd out our poor little seedlings. You'll want to use a weak fertilizer solution to encourage them to grow, and then back off on that once their roots are well-established. It's a lot of work, but it's so worth it when you have a bountiful garden that can feed your family for months!
What gardening projects are you currently working on? Do you have experience hardening seedlings?
This is a really important step many gardeners forget. You cannot just plant them and hope they survive.
Well you CAN, but it probably won’t work out very well.
My kids would love doing this! I’ve never had a green thumb but you make it look doable! I’ll have to try it out!
It’s really not as hard as it seems! A little trial and error, you eventually figure it out.
Great tips! I didn’t know that about transitioning them outside.
It really helps lessen that “shock factor” for little plants. If you think about it, you don’t just go out into the blazing sun without getting a bit of a base tan going first. Same idea!
great tips! ours are all hardened and in the ground for the summer. i have to keep watering and i’m crabby about it!
Ours really SHOULD be in the ground by now. I blame the babies. They keep distracting me! I want to get a sprinkler system on a timer. That’ll be the day…
I never knew about doing this. I’m bookmarking this, thanks.
You’re welcome. Thanks for stopping by, Tiffany!