Few things bring a backyard space together like a wood deck. You can enjoy it as a family, a BBQ loving bachelor, or just someone looking for a wonderful, clean, and quiet place to sit and read a book. Here's how to go about installing a deck.
There are many ways to consider installing a deck, and many materials to use. From traditional wood decking to composite decking material, there's a ton of options to love and choose from. In the end, when making your plans, try to stick with a deck construction plan that you can manage.
Planning is Half the battle when Installing a Deck
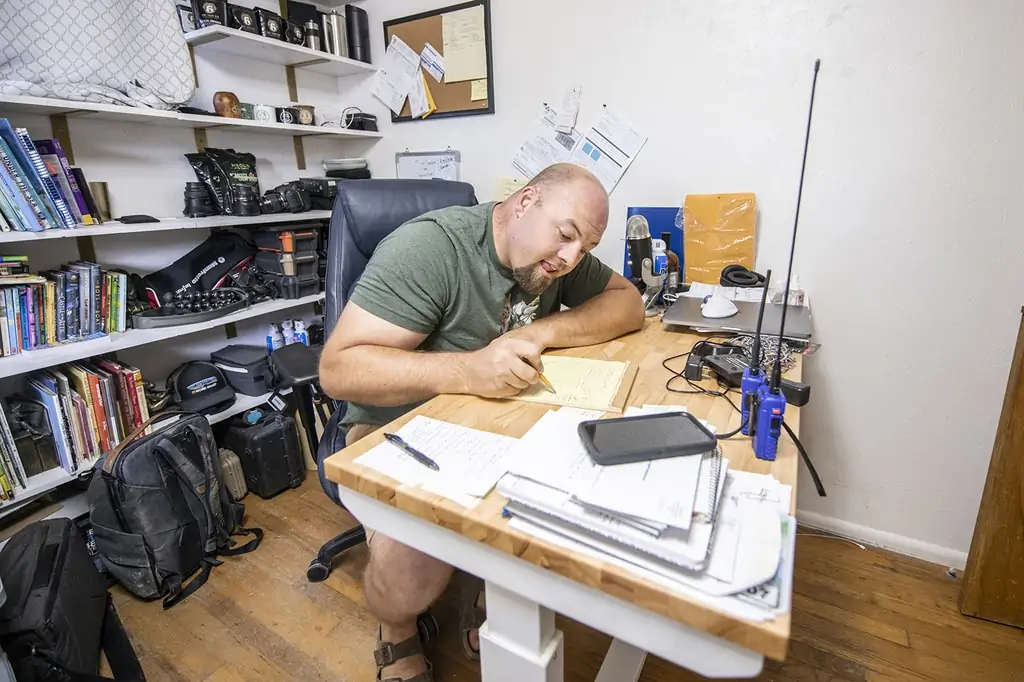
Before jumping to STIHL earth augers, chop saws, nails, or drills, sit down and make a simple sketch. First, gather the measurements of where you want the deck to go along the house and how far out you want it to extend. Take a look at the yard area and determine if installing a deck will require material from local building suppliers or from special material suppliers.
Making these measurements will allow you to determine your deck designs and calculate how much material you'll require. For our deck, I decided that I wanted to build a floating deck with a pressure treated wood frame and Alaskan Yellow Cedar decking.
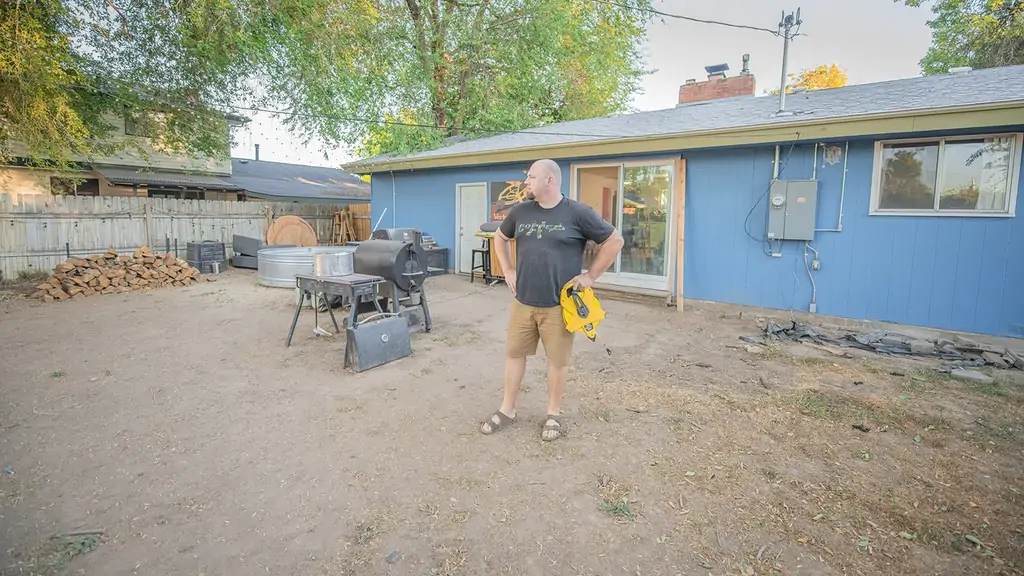
Demolition Starts Somewhere
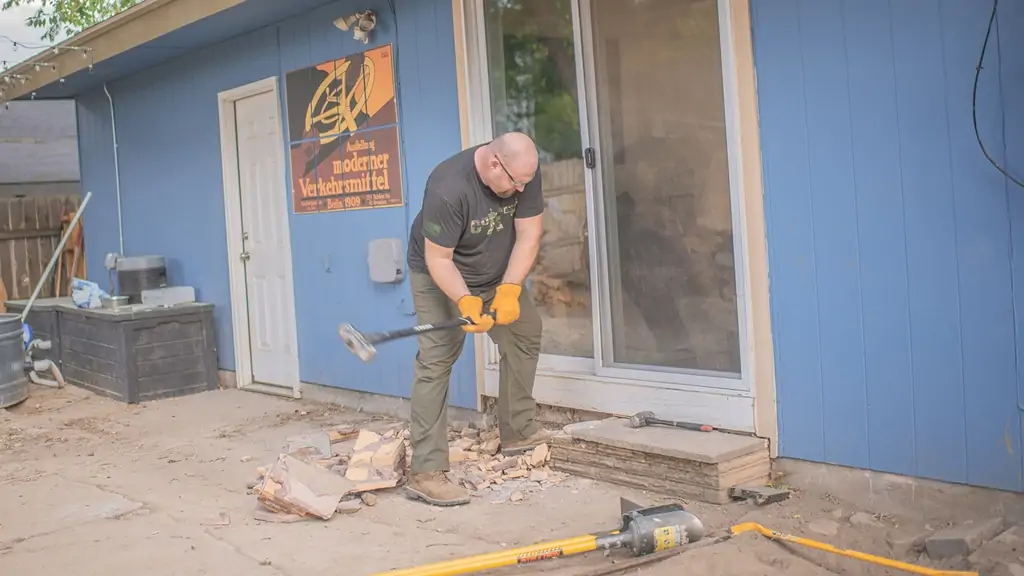
The first thing that had to go was an ugly and really old brick step that used to lead into our living room. This step was in the way of the ledger board, which fastens the wood to the home for stability when you're installing a deck. This is also the part of the deck that connects all of the joist beams.
The next thing I had to do was remove the old broken concrete patio so I would have easy access to the dirt. Anyone installing a deck should know that quality decking requires a good post base. In my case, I set the beams directly on the concrete footers to build the deck frame from there. So no tall posts.
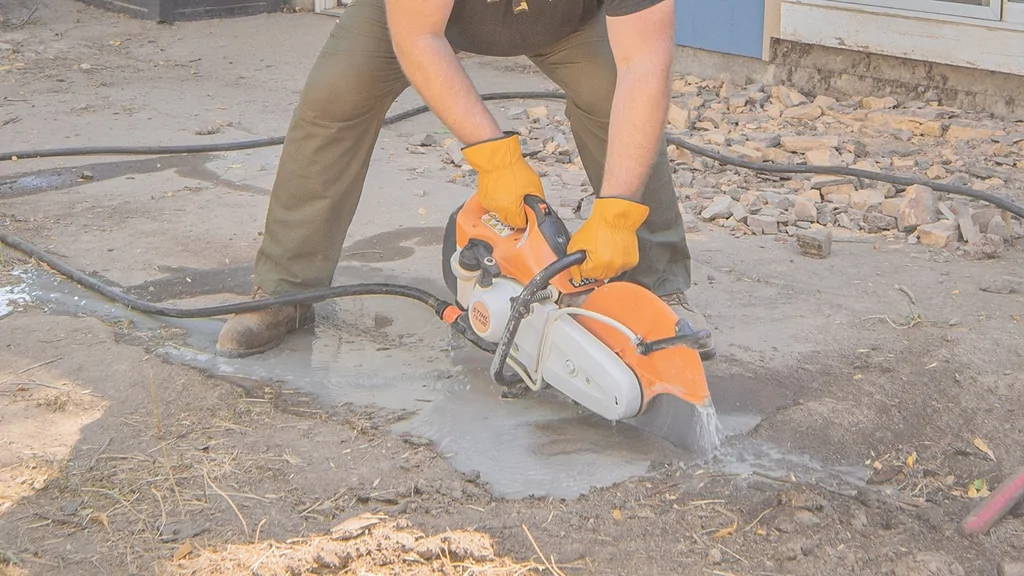
My goal was to keep this deck as low as possible. Using a chalk line, I used the STIHL TS 420 cut-off machine to cut just the right amount of the concrete patio away to gain clear access for the STIHL BT 131 earth auger to dig the foundation holes.
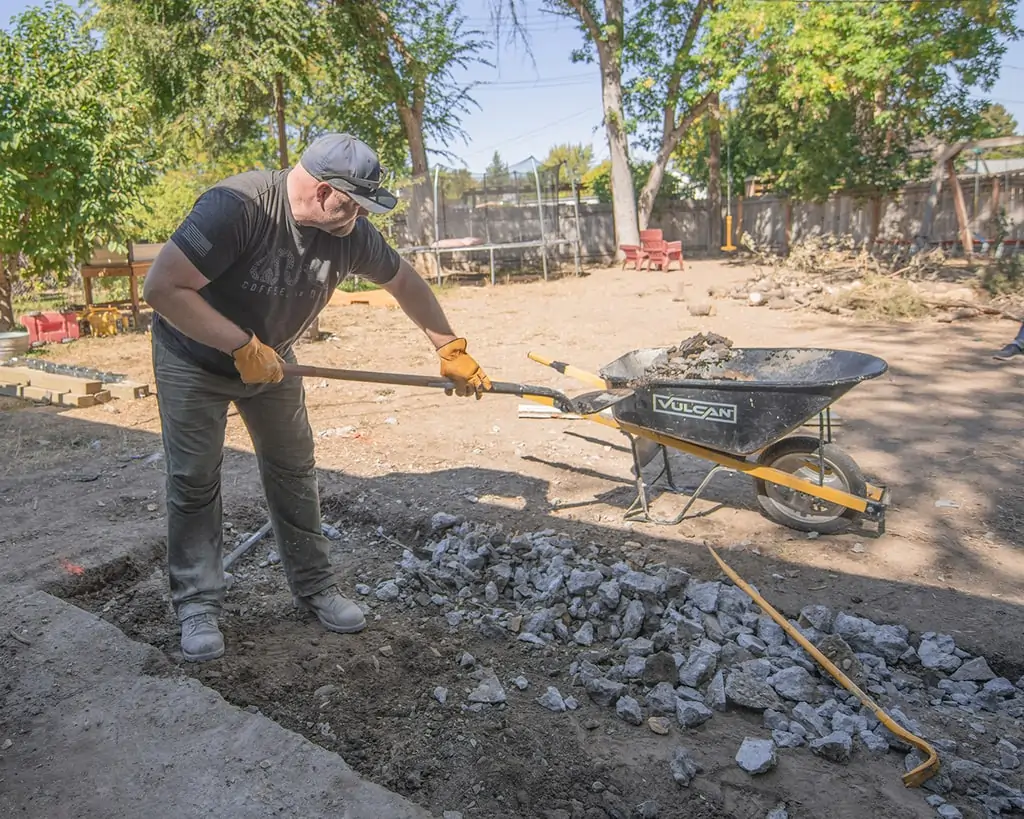
Then, it was simply a matter of breaking away the designated concrete. I used a sledge hammer to break the chunks cut with the STIHL cut-off machine and tossed them in a wheelbarrow. From there, I put them in my dump trailer and later took them to the local landfill.
A Square and Level Deck
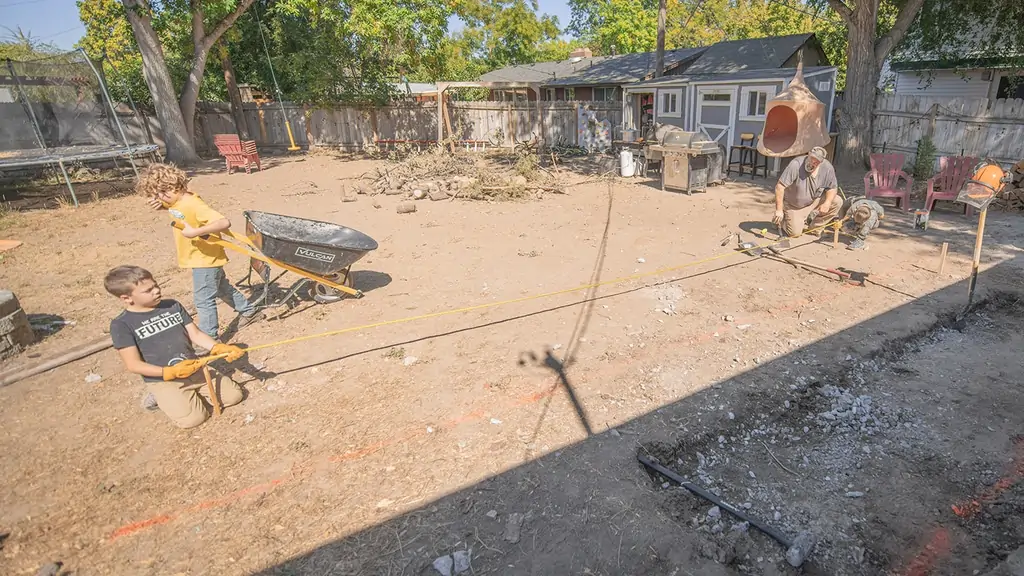
One important factor to realize is that the ground doesn't have to be perfectly clear or smooth. The most important thing to ensure is that the deck is square with the house AND that it is level. In this case, we start with square because that will also help us determine where to place the footings or ‘post holes.'
You Spin Me Right Round
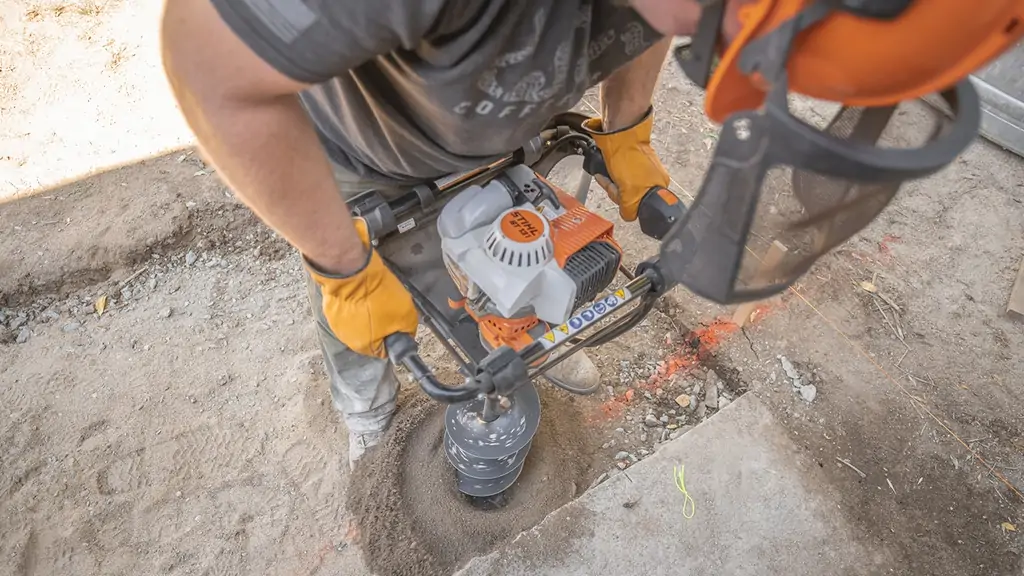
Once the deck area is squared out (which includes staking out and stringing the corners), we set forth with our auger and dug the footing holes. I love my STIHL BT 131 earth auger and have used it for a ton of projects recently. I dug my footings down about a foot and a half.

This auger not only makes the work easy, but is a lot of fun to work with. I mean, look at all that dirt coming up! You can check out more about the STIHL BT 131 here.
Beam Me Up
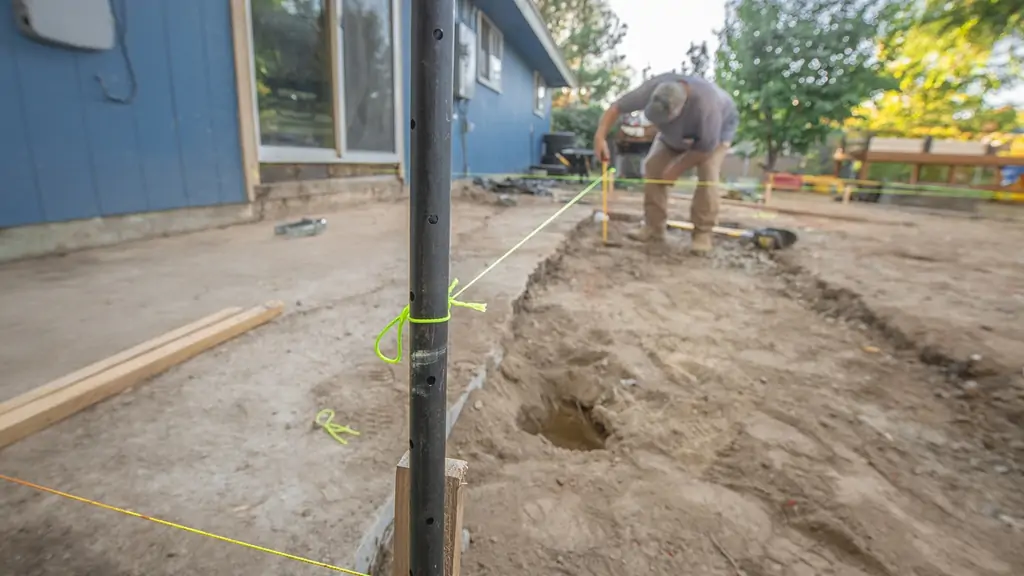
Yet another crucial step in installing a deck, it's time to set the elevation. We knew we wanted the top of the platform to be 2 inches under the bottom of the sliding glass door. With that in mind, we used string and measured down the total height of the structure materials – per our drawing plans – to the bottom of the beam.
This gave us the ability to know exactly how high the beam's brackets would need to be set in the concrete footers below. Using a steel stake and string, we set the elevation of the top of the decking directly over and centered on the footing holes and measured the deck thickness down. You can use segments of sonotube to help increase the elevation of the concrete if the dirt hole is below where the bracket needs to be placed.
Mixed Feelings
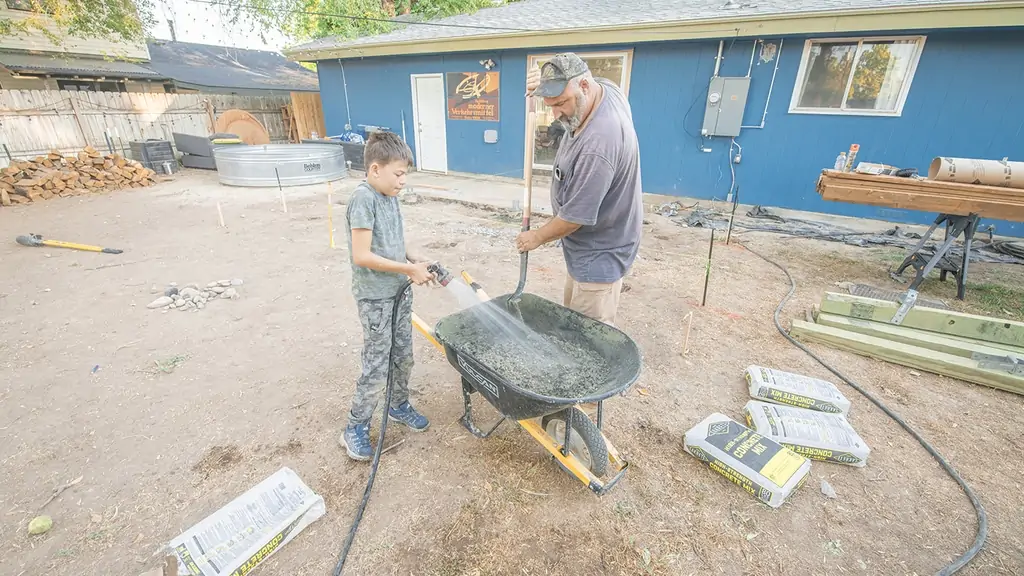
I enlisted the help of my dad for this project as he really likes to use a tape measure. He, in turn, enlisted the help of Olin, who really likes to mix concrete. Of course, as a dad, I know this is something that will teach Olin something new, enrich his life, and help build strong family relationships.
The Joy of Joists
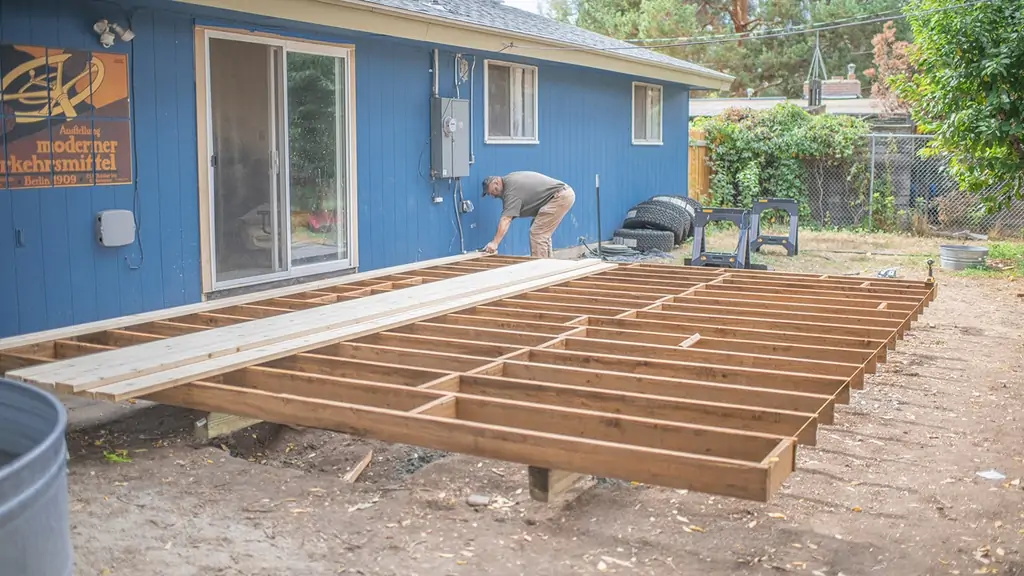
Once we had our concrete, brackets, and beams all in and to the correct elevation, we came back the next day to set in our joist beams. We used joist hangers on the ledger board and set all of them to 16″ on center (one every sixteen inches). We cut 14.5″ sections to use as blocking and ran two rows of that; one 30 inches from the house and the other between the beams.
We nailed the joist beams to the main beams to keep everything from moving side to side. We also left off the rim joists until the end as we wanted to make sure everything was straight first and then make adjustments on the length.
Decking 'till the End
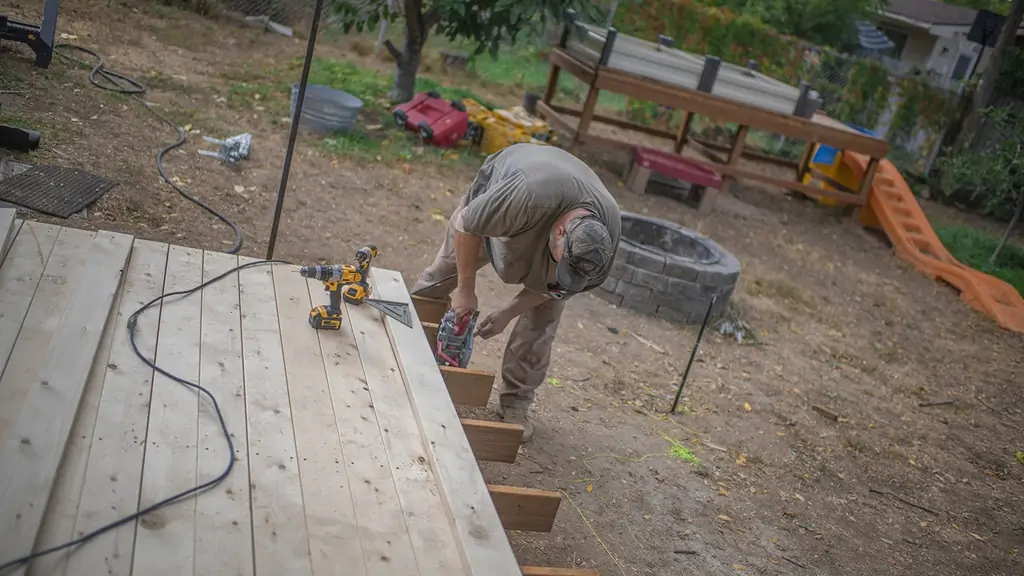
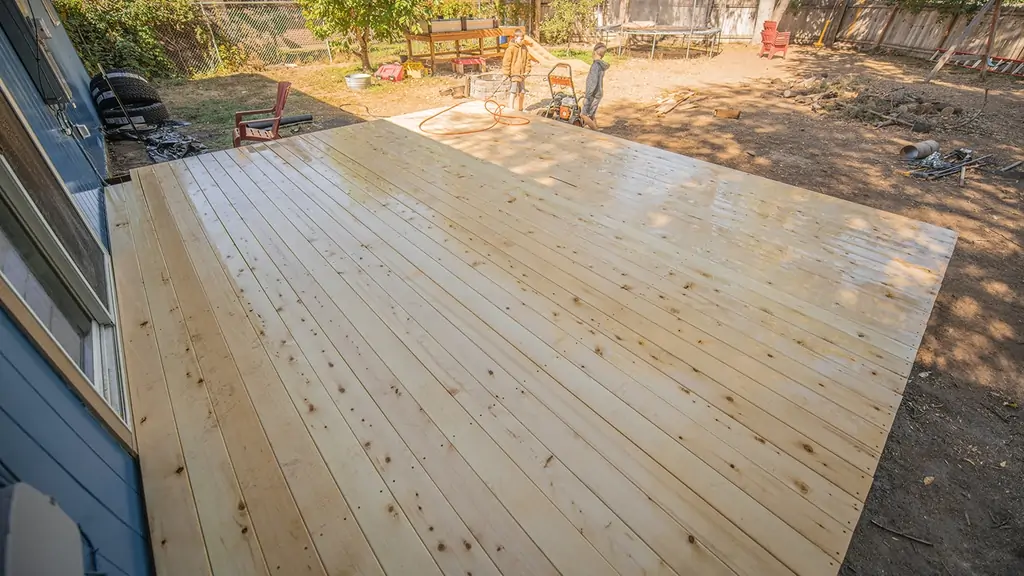
Once we straightened and blocked all the joists, we laid out all the decking. This Alaskan Yellow Cedar (AYC) is a very light colored cedar, and the quality of the wood was phenomenal. We took our time and screwed it down from left to right, pre-drilling each screw hole to ensure we didn't cause any cracking.
It's very important to make sure the first deck board is square to the house and with the deck. Installing a deck is a lot of work and making a mistake at this point is just a needless pain. As we got to the end, we cut the joists to match in length and added the end cap (also known as a facia or rim joist) with a piece of AYC and left a slight overhang with the top decking.
Blown Away
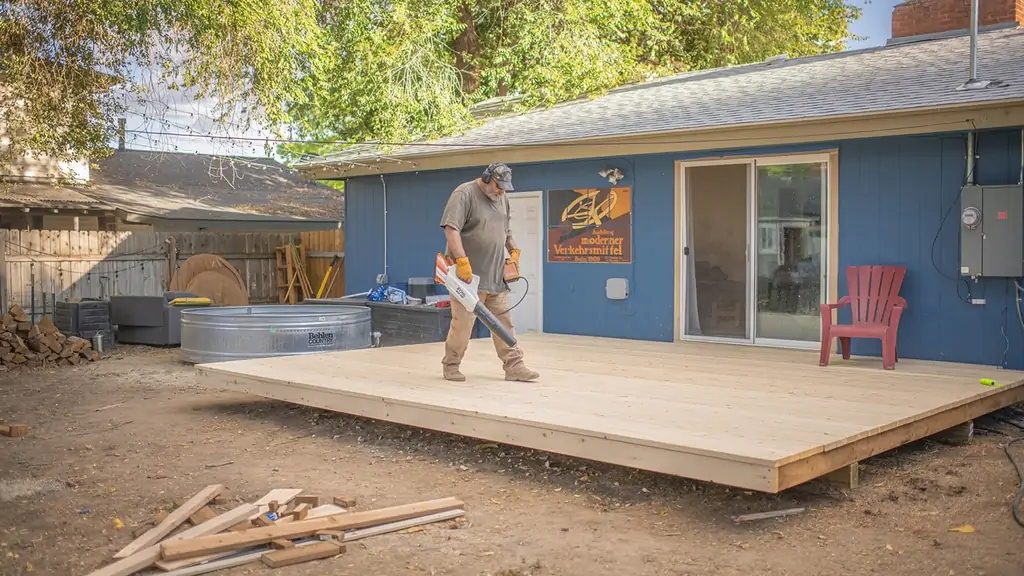
Now it's just time to tidy up! We used our STIHL BGA 100 battery powered blower to clear off all the sawdust and leaves that fell while we were working. Of course, that thing makes quiet work of this type of cleanup. I'm sure the neighbors appreciate it.
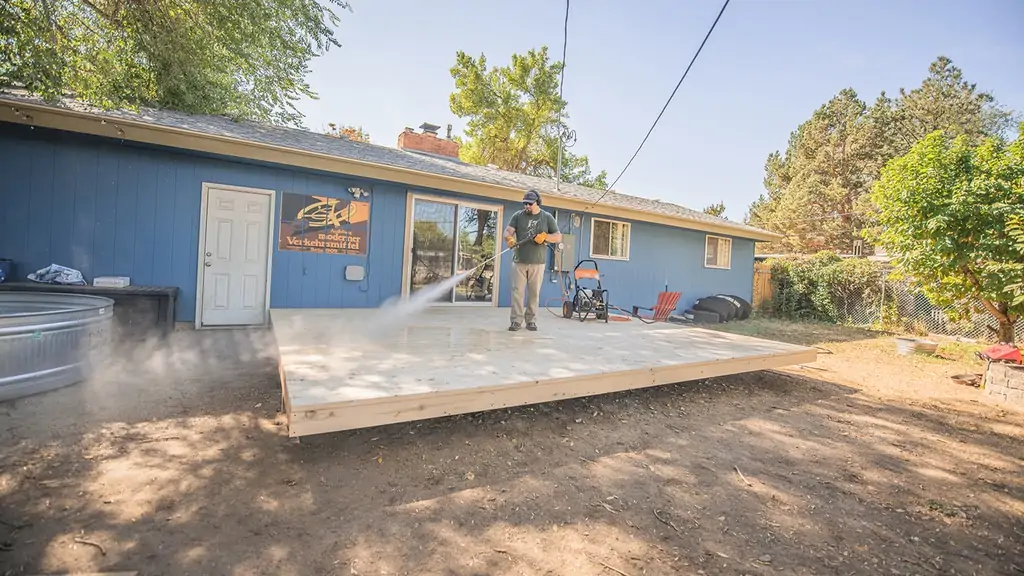
Lastly, with all the footprints left behind by the eager dogs, boys, and even myself, I whipped out my STIHL RB 600 pressure washer and washed both the deck and the house wall. I had inadvertently sprayed concrete dust grinding water on the wall and door and Chelsea wouldn't like seeing the new “spackle” job. Remember how much she disliked paint overspray? Yeah. Not a fan.
Also, see that metal tub to the left of the deck? OH YEAH. We'll tell you all about our little DIY hot tub in a future post. You may recall how much we loved our hot tub in San Diego. We'll also be looking for fun ways to decorate around the hot tub, as well.
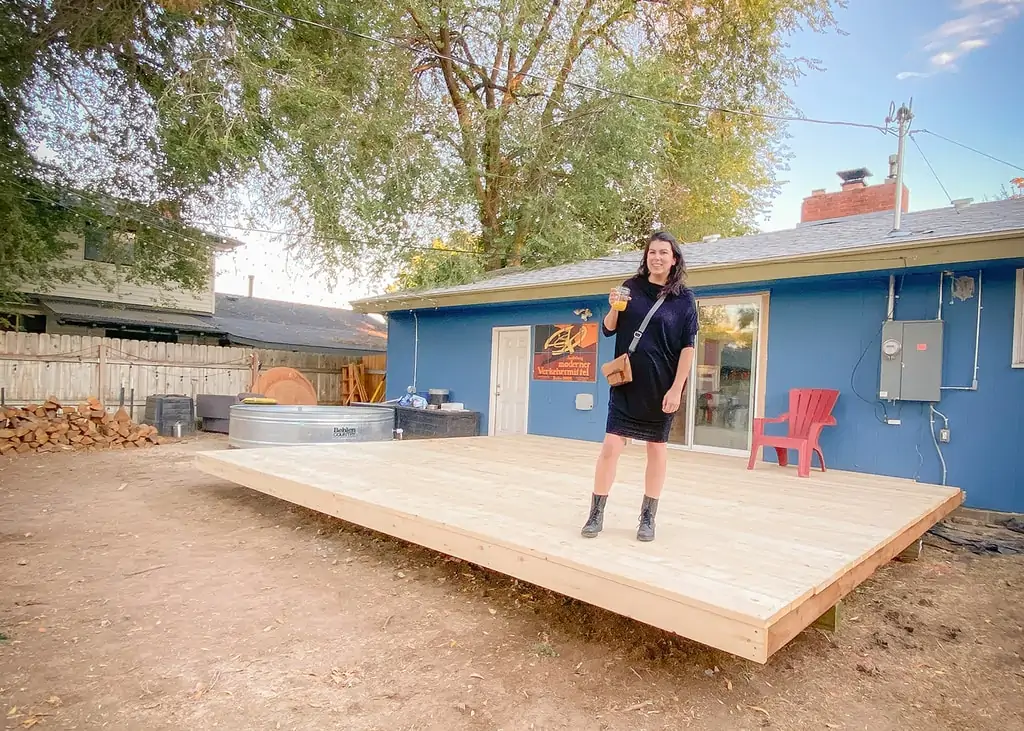
The Finished Product
With all the work we put into it, this deck turned out amazing. It's rock solid and quiet. With the help of my special STIHL tools, my dad, and the boys, this thing is going to last for a long time. It'll also help add to our family gatherings and experience.
Have you ever tried installing a deck? How did it go?