Are you interested in creating an ombre wall? It's simple to accomplish! All you need are three paint colors in similar shades, and some brushes. And if you're really in the mood to make a statement, you can take this look up a notch by adding stencils!
You loved our DIY wallpaper so much, I decided to give that same method a go on a larger wall with our sponsor, Cricut. They just came out with the Maker 3, which is capable of cutting Smart Materials up to 12 feet long. And it cuts twice as fast as the previous model! I'm SO EXCITED about this, I can barely contain myself.
DIY Wall Stencil
Armed with about a dozen rolls of vinyl, lots of transfer tape and a couple free days, I set about my task of making an EPIC stenciled ombre wall.
You'll need:
- Cricut Maker 3
- Cricut roll holder accessory
- Cricut scraper
- Cricut brayer
- Enough rolls of Removable Smart Vinyl to cover your wall
- Enough Transfer Tape to transfer all of your vinyl
- My mod wall strips template
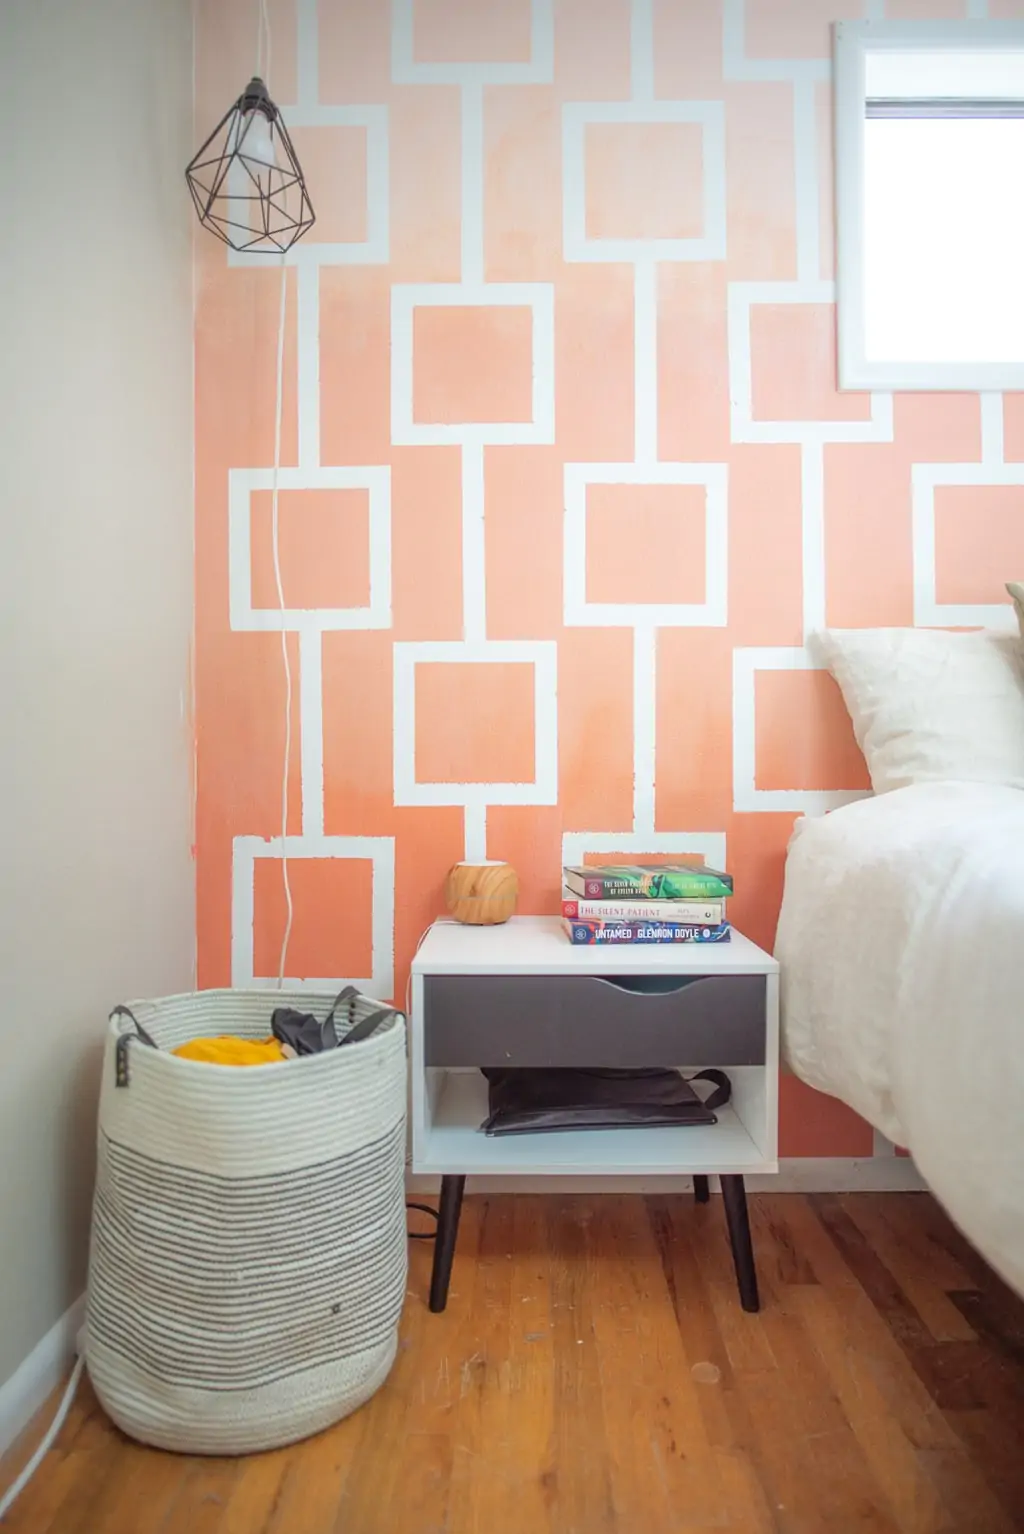
- Three paint colors, each about one shade apart (I used BEHR in Peach Sachet, California Coral, and King Salmon)
- Three rollers
- Three sash brushes
- Two 4″ wide natural bristle brushes
- Four large painting sponges
- Three paint trays
- Two empty paint mixing buckets
- Drop cloth
- Level
- Thumbtacks
- Razor blade
Cut the vinyl strips with your Maker 3. The roll holder comes in handy here, helping corral that massive length of vinyl. The holder does a great job of helping the long strips roll back into themselves, but I stood around to help keep it all neat and tidy.
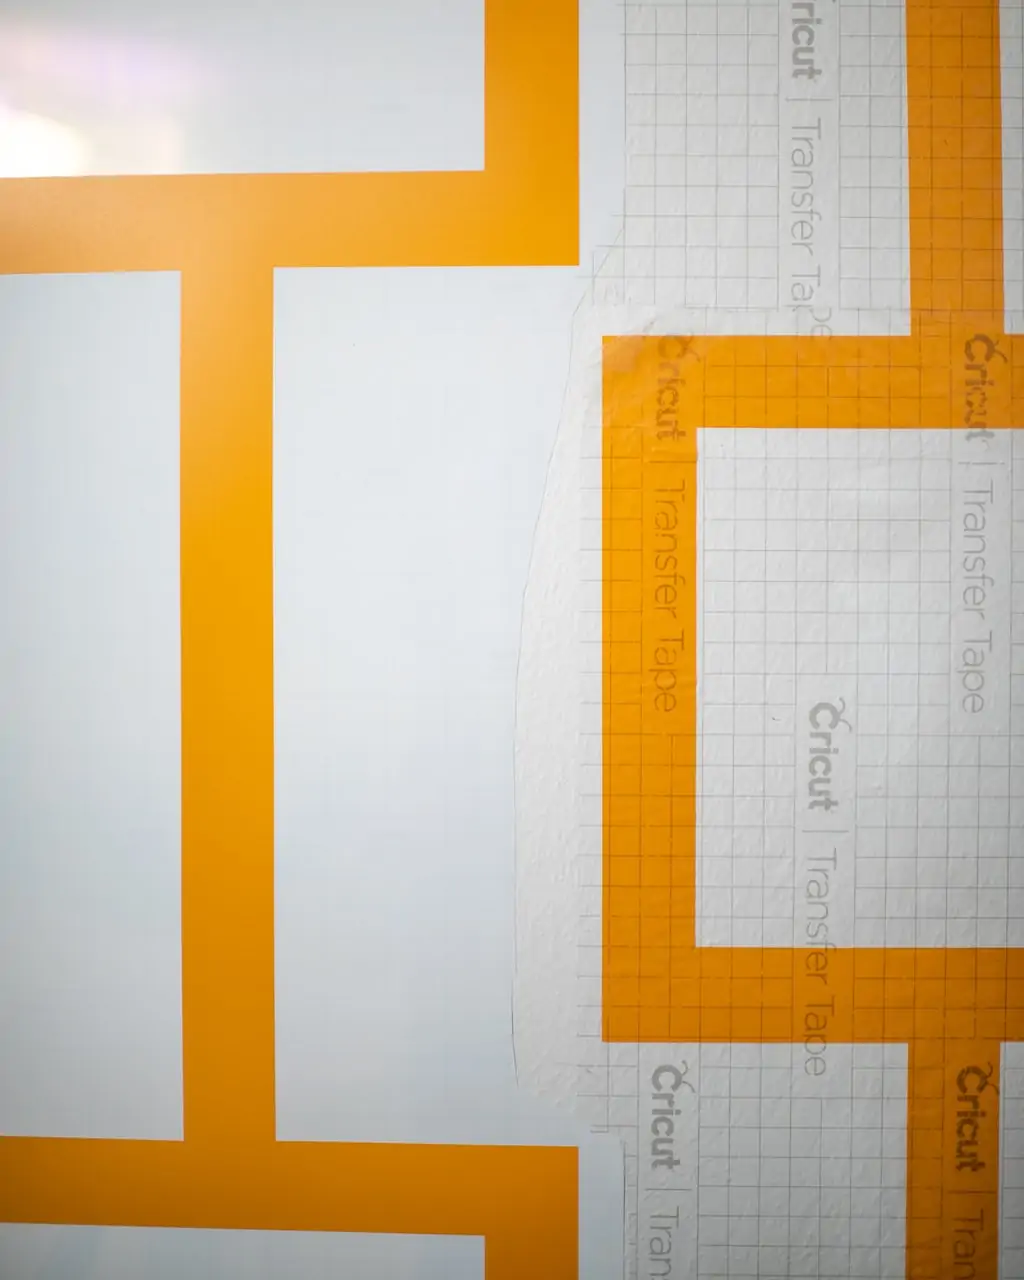
Apply transfer tape all the way along the length of each of your vinyl strips. Use the scraper to affix the transfer tape securely to the vinyl.
I actually made the mistake of pinning the mod wall stencil up before putting the transfer tape on it, and it was a huge hassle to apply transfer tape vertically. Put the transfer tape on RIGHT after cutting – on a hard, sooth, flat, horizontal surface. Trust me. Don't do this ^^^
Do this instead ^^^
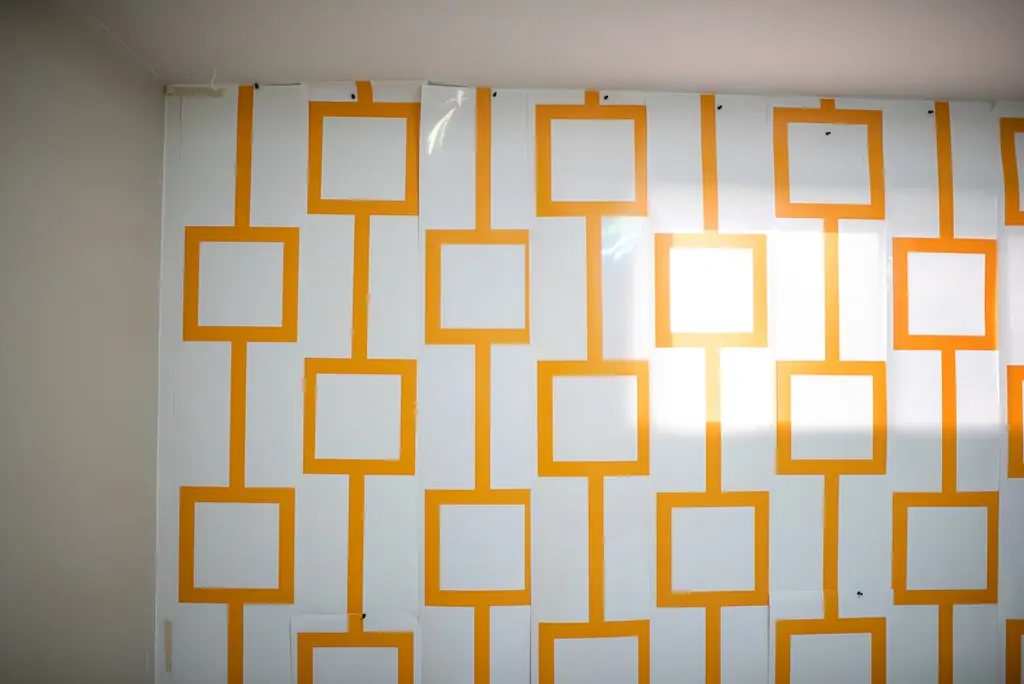
On the top and bottom of your accent wall, measure and mark spots 12 inches apart. This is where you'll hang your strips with thumbtacks. Start at the top, using a level to make sure it's straight up and down as you go, securing it with a thumbtack at the spot you've marked at the bottom.
Before you start hanging, it's a good idea to cut the excess transfer tape and edging around the “skinny” part of the pattern so that the transfer tape will press up against the wall instead of against the adjacent pattern. The overlapping situation I'm trying to describe can be seen in the photo above.
In the thumbtack photo two photos up, you can see that the strips wind up being an alternate pattern. Simply cut your Smart Vinyl strips at the bottom or top of your wall to make it all fit like a jigsaw.
Once they're all thumbtacked up there, slowly remove the transfer tape backing off each strip and affix your vinyl to the wall, working from top to bottom and using a level to ensure that you keep it straight up and down throughout. I honestly kind of winged it here, stepping back to see the whole picture after applying each strip to make sure I hadn't accidentally veered too far right or left in the middle of the strips. Since we're using removable vinyl, you can reposition it if it doesn't look right.
I also relied heavily on the measurements at the top and bottom of the wall, making sure I was working straight between each one as much as possible.
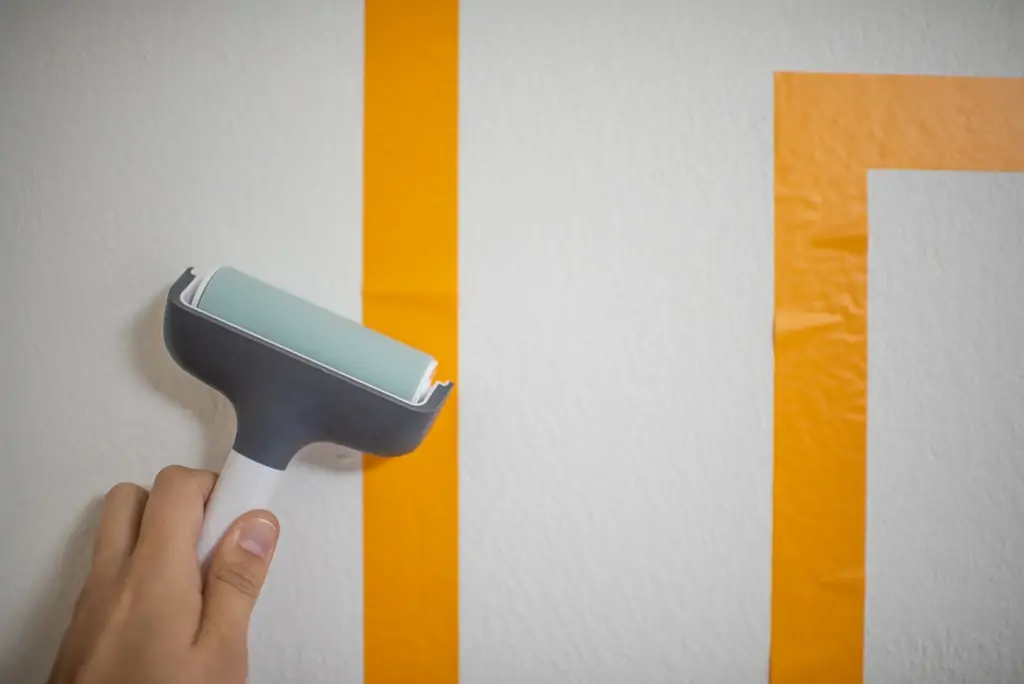
Once it's all laid out where you want it, use your brayer to get it nice and securely fastened in place, smoothing out any bubbles.
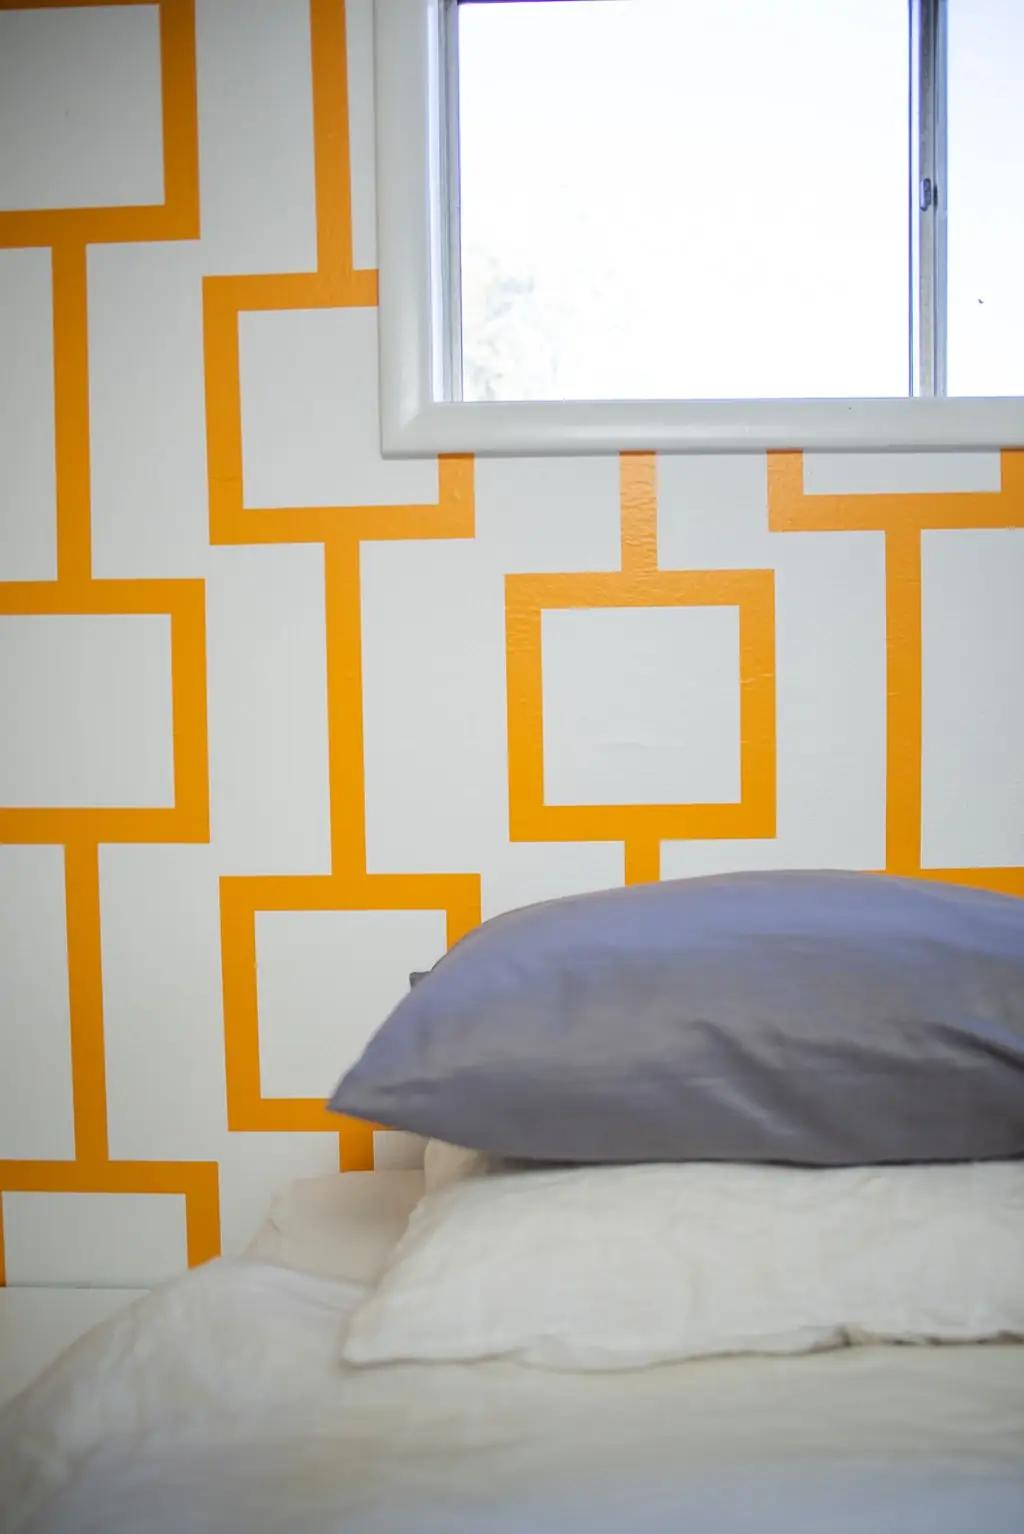
Now, this is a pretty lovely spot to stop – if we just wanted to do Cricut wallpaper strips. This mod pattern is large and in charge, and I love it! However, we're making a stenciled ombre wall. We still have quite a bit of work ahead of us.
Painting an Ombre Wall
Divide your wall into three equal sections, using a yardstick to mark a line all the way across where each section ends. Mine was exactly 90 inches tall, so I simply measured and made pencil marks 30″ up from the bottom in intervals a couple feet apart, and used the yardstick to connect those pencil marks. I then measured 30″ up from that line in intervals a couple feet apart, and connected those pencil marks by spanning the distance with the yardstick again.
I'm not a math gal, so this was my least favorite part of the whole thing. At least the numbers I was working with were really tidy. I couldn't have gotten more lucky, having a ceiling at an evenly-divisible height.
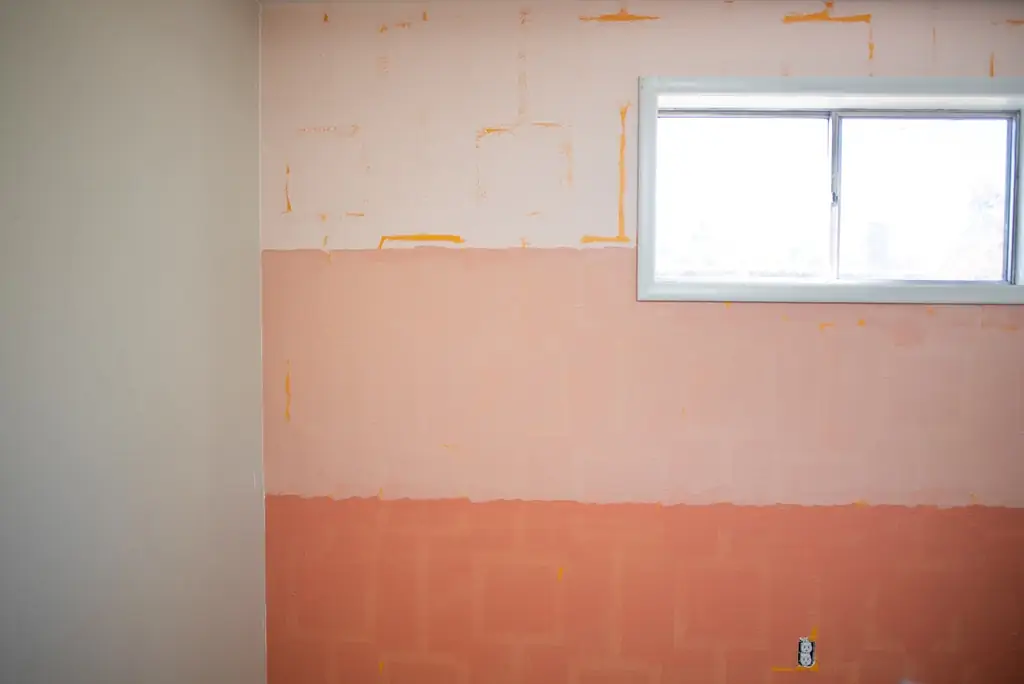
Pour your three paint colors into your three paint trays. Paint from the top section down to the bottom, starting with the lightest color, followed by the middle color in the middle section, and ending with the darkest color at the bottom.
You could start with the lightest shade of paint at the bottom and the dark color on top, but that will make your room appear shorter.
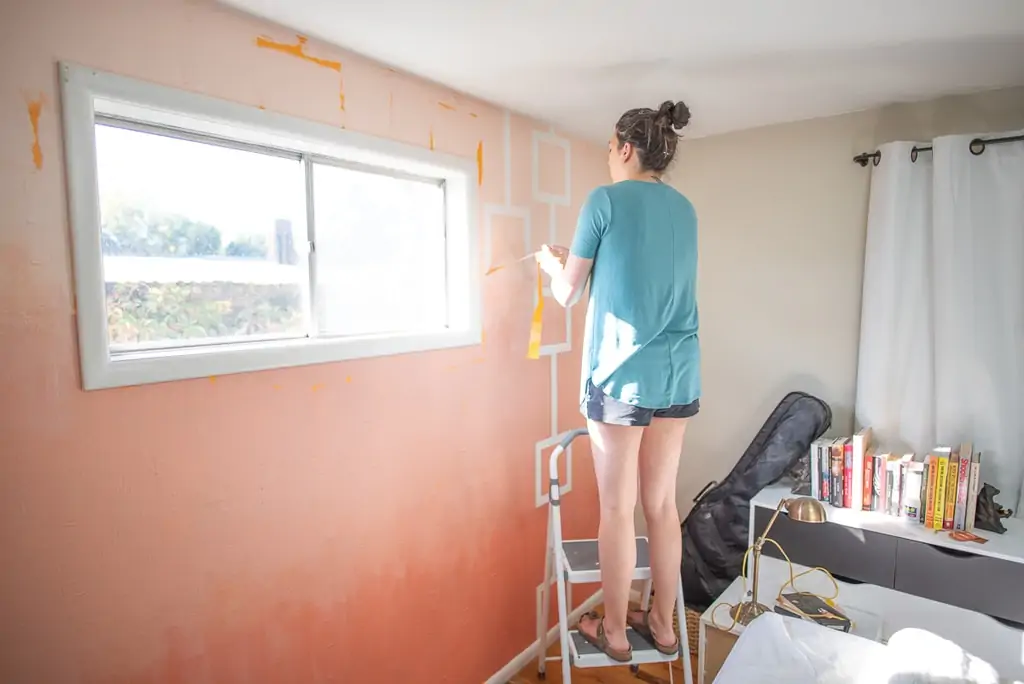
Use the sash brush to cut in the edges, and use the rollers for the middle parts. Let the paint dry fully before moving on to the next step.

Now comes the tricky part. Using your two empty paint mixing buckets, blend the middle color with the darker color in one, and blend that same middle color with the lighter color in the other bucket.
Clean your brushes and then lightly brush the appropriate color blend over where the two colors meet, overlapping by about 6″ onto either color. With the large dry brush made of natural bristles, deftly sweep that color up and down to create a feathered ombre effect. Then, wet one of your sponges and sweep it over the area, from darker to lighter color. Sweep the other direction with a dry sponge.
Much like with all wall murals, your own personality and preferences will go into how the transitions are made. You can sponge more or less, and make more or less abrupt transitions. Keep at it, adding more paint and alternating with the sponges and dry brushes until your ombre transition is as smooth as you want it to be.
Now comes the moment of truth! Gently cut around your Cricut vinyl with the razor blade so that none of the paint pulls up, and pull the vinyl away from the wall.
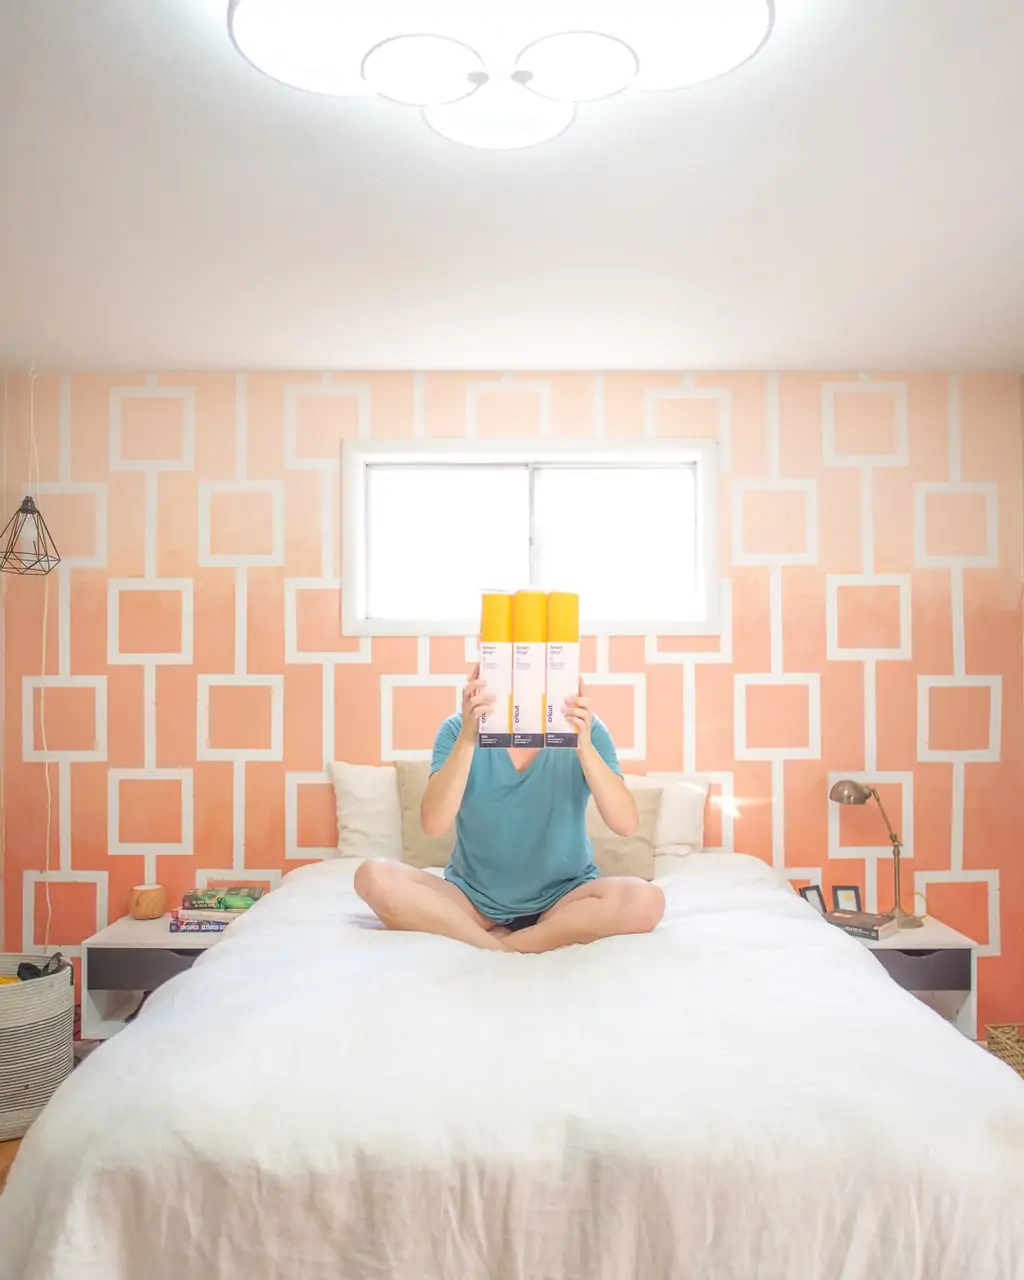
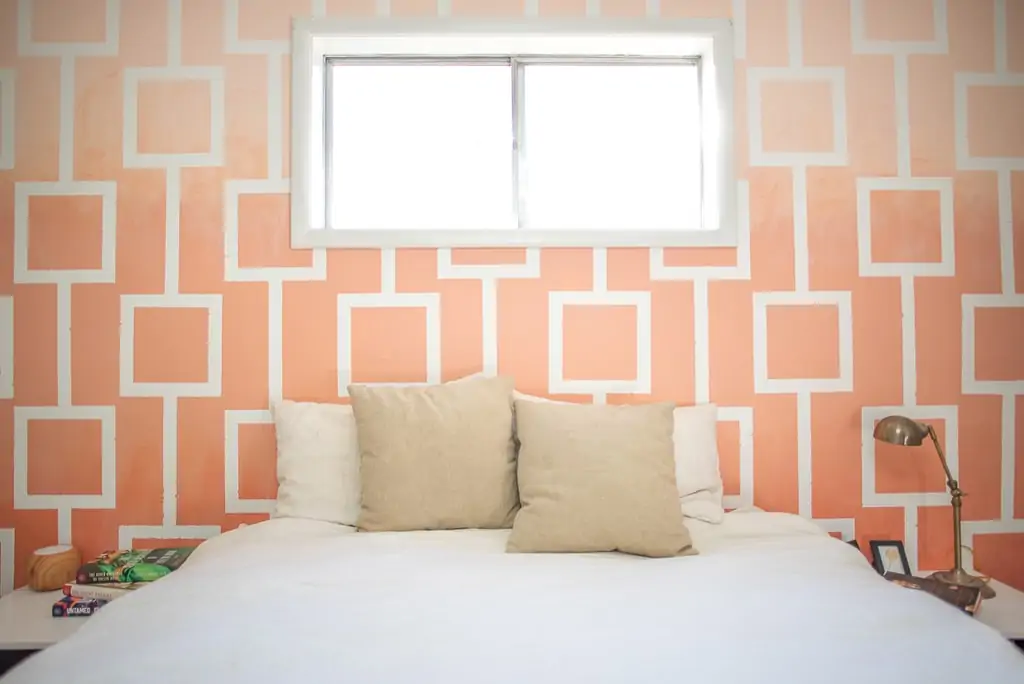
Voila! I can't believe I managed to turn some Cricut vinyl into this massive stenciled ombre wall. It turned out exactly as I had envisioned.
You can see that there are a few spots where the paint seeped under the vinyl, because my walls aren't completely smooth. I personally don't mind the imperfect little areas, but I could easily touch those up with a sash brush and white paint if I wanted to.
Next up: painting the adjacent walls white and figuring out what to do with that tiny window! Shades? New trim? A row of window plants? Only time will tell.
Would you ever put a stenciled ombre wall in your home?