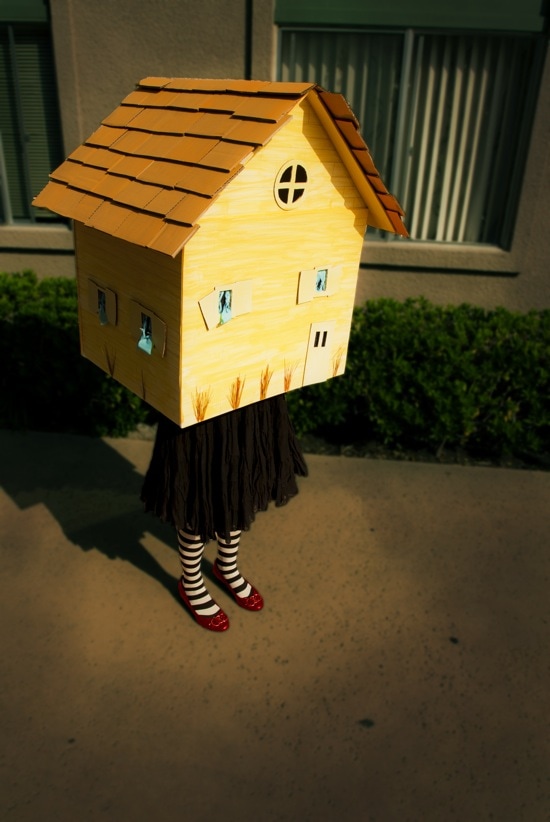
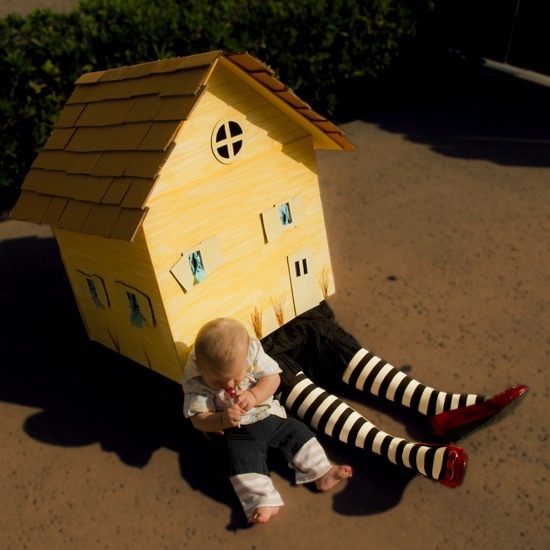
Why be Dorothy or the Tin Man when you can be the house that fell on the Wicked Witch of the East? I made this with some foam board, Krazy glue and a bunch of stuff that was laying around the house. Altogether, it cost less than $20!
Wizard of Oz House Costume
Eight 20×30″ Elmer's Foam Boards
Large piece of thin cardboard (I used an Elmer's Display Board)
Krazy Glue
Approximately 12 square inches of scrap fabric for curtains
Fabric ribbon for curtain ties
Paint (ideally in colors like brown, yellow, beige and/or orange to accent the house)
Peet moss, dried grass or small fake flowers
A thin black Sharpie and a thick black Sharpie
X-acto knife
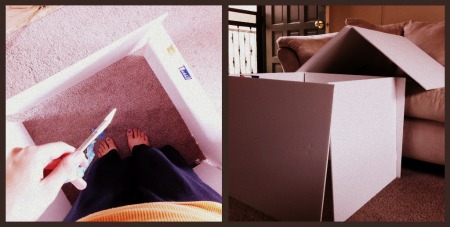
Using the x-acto knife, cut four of the foam boards down to form the sides for the house. I cut the front and back boards to 25×20″ and the sides to 22×20″. Cut two other foam boards down to 26×20″ to form the rooftop pieces.
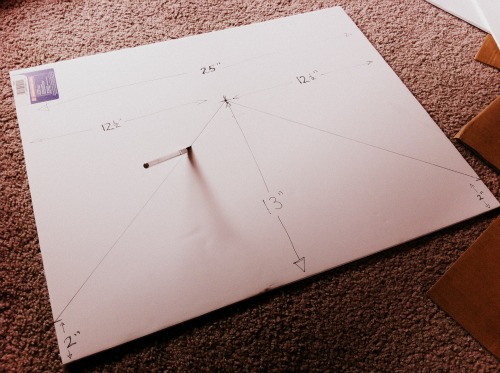
Cut two triangles for the attic area from two of the foam boards as shown above. The triangle pieces should be 13″ at the peak and 25″ wide with an extra 2″ edge at the bottom (this edge is to overlap with the front and back pieces of the house so you can glue it down later).
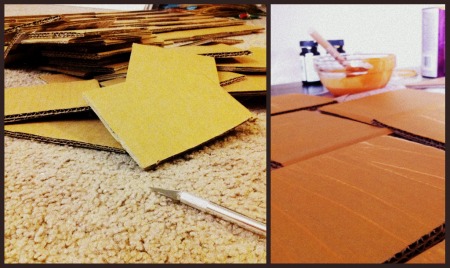
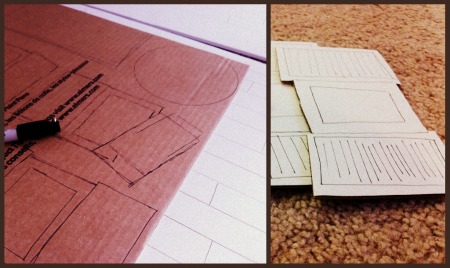
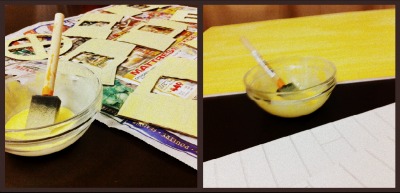
Cut shingles (approximately 4×6″ or so) from the cardboard box and paint with thinned paint to give them a weathered look.
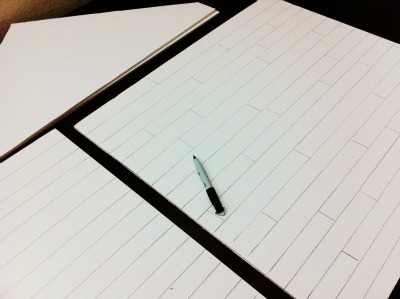
Use a straightedge and the thin Sharpie to trace horizontal lines to represent wood planks on all of the sides and attic pieces of the house.
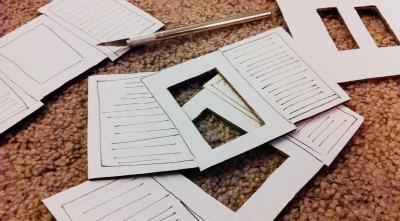
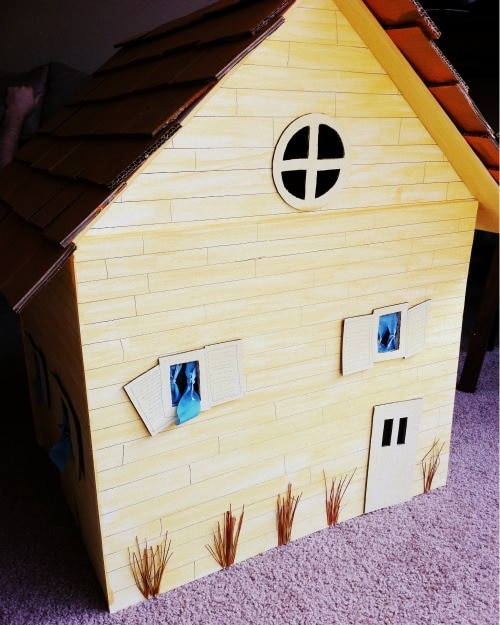
Draw six windows with shutters, each approximately 4-5″ wide and 3″ tall, a round attic window with a cross pane and a door approximately 4×8″. Cut them all out using the x-acto knife.
Draw the shutter slats and a box for the window pane. Cut out the window areas on the door and windows.
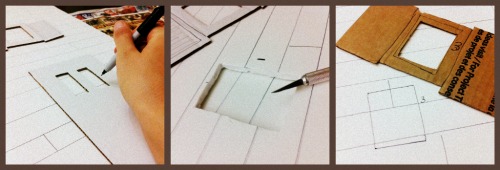
Place the windows and door on the house (two windows on the front and two on each side with the round window on the front attic area), trace the opening window spaces with a Sharpie and cut out the window areas. The cuts don't have to be really precise, since you'll be covering up the cut with the window panes. I numbered the back of each window and put the corresponding number on the foam board so I could easily remember which one goes where.
Using different colors of thinned paint, paint the windows and door and all the sides and attic pieces of the house. Let dry.
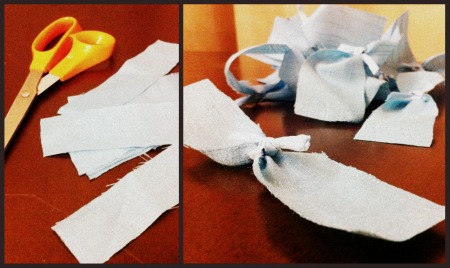
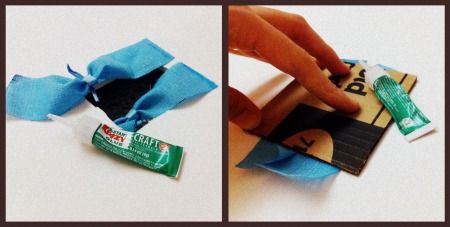
Cut six pairs of tiny curtains (approximately 1×6″) from your scrap fabric and tie a small ribbon piece around each one.
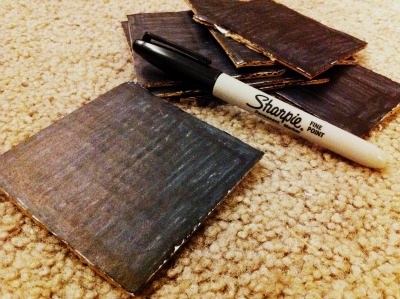
From the thin cardboard or Elmer's display board, cut seven squares approximately 3×4″ and black them out with the Sharpie. These will serve as backings for the windows so the house looks black inside.
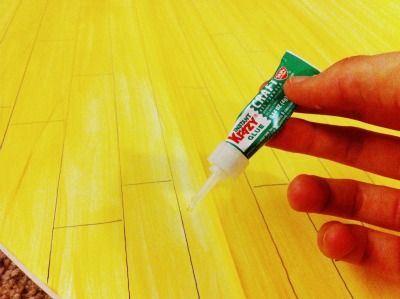
Glue the attic pieces to the front and back house pieces using the Krazy Glue.
Glue the curtains into the windows and glue the black squares behind them.
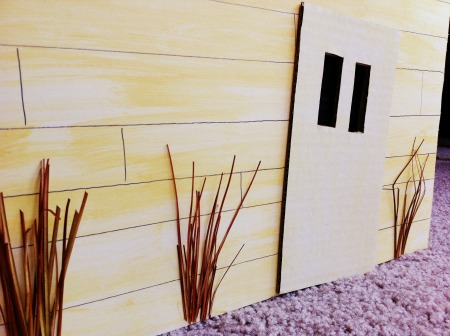
Glue down the doors and windows, and add the peet moss, dried grass or decorative flowers as accents around the base of the house.
Glue all the sides together, glue the roof on top and add the shingles on top of that.
Play the part of the witch with striped tights and red shoes. Any girl SHOULD have a pair of red shoes in her closet. Seriously, they're a necessity. I found the striped tights at Walmart.
Add a baby in a dorky plaid shirt with a lollipop and you've got yourself a munchkin! We're on our way to having the whole Wizard of Oz cast here. I'm currently working on making a “Man Behind the Curtain” outfit for Nate. He's such a great sport.
I love this idea! How creative and original!
Thanks Heidi!
This is so super creative! I have three kids that want to make their own costumes this year- and all involve wearing boxes! One wants to be a vending machine (and pass out candy to his friends), one wants to be a Jack-in-the-box, and one wants to be the yellow Angry bird!
I love the idea of being a vending machine and passing out candy. How fun!
That is just too funny! I love how creative you are.
Thanks Laurie. It really does look totally surreal in person.
I love this idea! LOL that is just so great!
Glad you like it, Tonia!
Love this costume! The details you put into it are amazing and the idea was very creative!
I love projects that just sort of run away on their own. This started with such a simple idea and the details popped into my head along the way.
Wow! That is one impressive costume for a young girl. Love it.
I love that the dimensions can be tweaked to make it the perfect size for anyone from little toddlers to full-grown adults.
this is so cute and so creative!
Thank you!
Oh. My. Gosh. I love this, Chelsea! So creative and hilarious! I can’t wait to hear what comments you get when you go out in that 🙂
It’s being featured on the local Fox news channel tomorrow morning in a homemade costumes segment they’re doing! I can’t wait to see what everyone has to say about it.
Oh my goodness. That is so so creative!! LOve it
Thank you! We can’t wait for Halloween.
AMAZING!!! Great idea. LOVE IT.
We’re making a matching outfit for Nate: The Man Behind the Green Curtain. So much fun!
That has got to be the most creative and original costume ever! I love it!
Thank you!
Very cute idea. I love it!
I love that Some Boy’s munchkin addition was super-easy, too.
You are brilliant!
Thank you! I love the projects that are borne out of a few simple materials.
This is amazing!
That is just too cute! I love that idea, it would definitely win some awards in a costume contest!
This reminds me…I get to judge a kids’ Halloween costume contest later this week. Can’t wait!
Oh my gosh I love it! 🙂
Oh my gosh I love it! 🙂
Thanks Monica!
That such a great costume. I made a mini version of something like this for my porch but never thought of making a costume like the house falling on Dorthy! Great job! The segment on Fox was great, so many cool ideas.
We had a blast filming the Fox segment. All the kids were so cute in their homemade outfits. I LOVED the baby sushi idea.
I searched for many ideas on how to make this costume and I am so glad I chose yours. Your instructions were very detailed and easy to follow. This costume was a HUGE hit and I’ll keep it to do it again. Thanks!
My son wanted to go as Flex from Yo Gaba Gaba. Very fun holiday for us!
Great tutorial! thanks for sharing.
Oh my gosh, that is so fun! I just love it!