Welcome to day two of DIY Wedding Week! We're starting off easy today with DIY table numbers. You may remember seeing similar photo table numbers in our post about Amanda and Ken's wedding. We absolutely fell in love with the idea at their reception, so we hijacked it for our own day!
For these, you will need:
- Childhood photos of you and your fiance from ages 1 through however many tables you have – 4″ x 6″ (we had 15 tables, so we have one photo of each of us at ages 1 through 15)
- Black cardstock – 8.5″ x 11″
- White cardstock – 8.5″ x 11″
- Paper in your wedding color (and a printer to print on the paper)
- Scissors
- Ruler
- Glue stick
- Edge rounder, if you want your edges to be round (Fiskars hand punches that round edges are available at most craft stores)
- Number stands/photo stand clips to hold the completed number (available at party supply and dollar stores, or you can simply cut a slit in a cork for a solid base, or bend floral wire into a clip shape)
1) Using a large, simple font set to “Outline” style in Microsoft Word, type out two of each of your table numbers and print onto the colored paper. (We have 15 tables, so we typed out the numbers 1 through 15 two times each). Cut out each number and set aside.
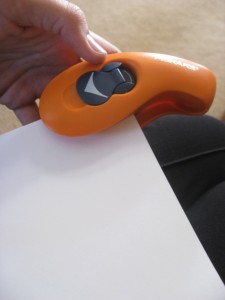
2) Trim the white cardstock pieces to 8.5″ x 5.5″. Round the corners using the corner punch, if desired.
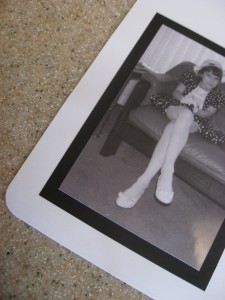
3) Trim each childhood photo to a maximum width of 4.5″ and a maximum height of 5.5″. Cut black cardstock pieces to fit each photo so that there is a 1/4″ black border around each photo (I do this by setting the photo in the corner of the cardstock piece and then measuring 1/2″ inch on the top and bottom). Glue each photo to the corresponding black mount.
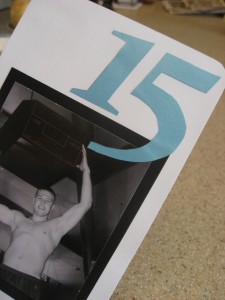
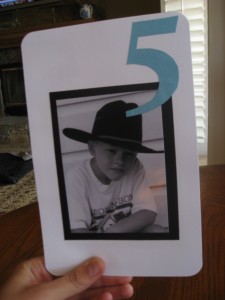
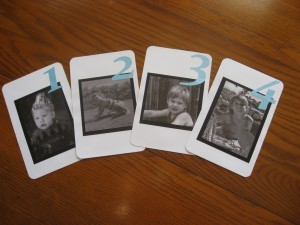
4) Center your age 1 mounted photo onto a piece of white cardstock. Arrange your cut out number 1 in the upper right-hand corner, overlapping the photo and the cardstock. Glue down the mounted photo and the number. Glue the other number 1 and your fiance's corresponding photo at the same age on the other side of the same piece of white cardstock.
5) Repeat step 4 for each remaining age/table number.
DIY photo table numbers are a great way to incorporate a bit of “you” into your wedding, and gives guests something to look at and talk about throughout the night.
um. this is only the awesomest thing ever!
your stuff is really clean and simple. I like it. Check out these wire table number holders I created.
https://diydesignsly.blogspot.com/2010/09/flower-wire-picture-stands.html
simple indeed..a really nice idea
Thank you! We got so many compliments on these at the wedding. They also make for a great conversation starter for people who don’t know everyone at their table.