Ready for a super-simple coffee tray DIY project? I used my Cricut Joy and some permanent vinyl, along with a cutting mat, pastry cutters and frame from the dollar store to whip this up in a flash!

Cricut is a long-term partner of ours, so you guys know how much I adore my Cricut Machines. I've gushed a ton about my particular adoration of Cricut Joy, and my obsession with coffee. SO much so that I even combined the two and made DIY coffee ornaments for Christmas! Crafts and coffee are the ultimate loves of my domestic life, to the point that anyone who walks in the door gets served a cup of joe and asked if they're in the mood to create something fun.
You know where I'm going with this, right? I realized the other day that I don't actually have a proper coffee-serving tray in our Boise house, and that will not do! I had a wood tray at our old place, but I left it when we moved because I wanted to start all over. A DIY serving tray is way cuter, anyway! It is time to once again merge my two great loves into an epic creation, with a coffee tray DIY.
How to Make a Coffee Tray DIY
Grab whatever color of vinyl you like (permanent or not, doesn't matter), along with your Cricut machine and a few dollar store supplies, and you'll be good to go!
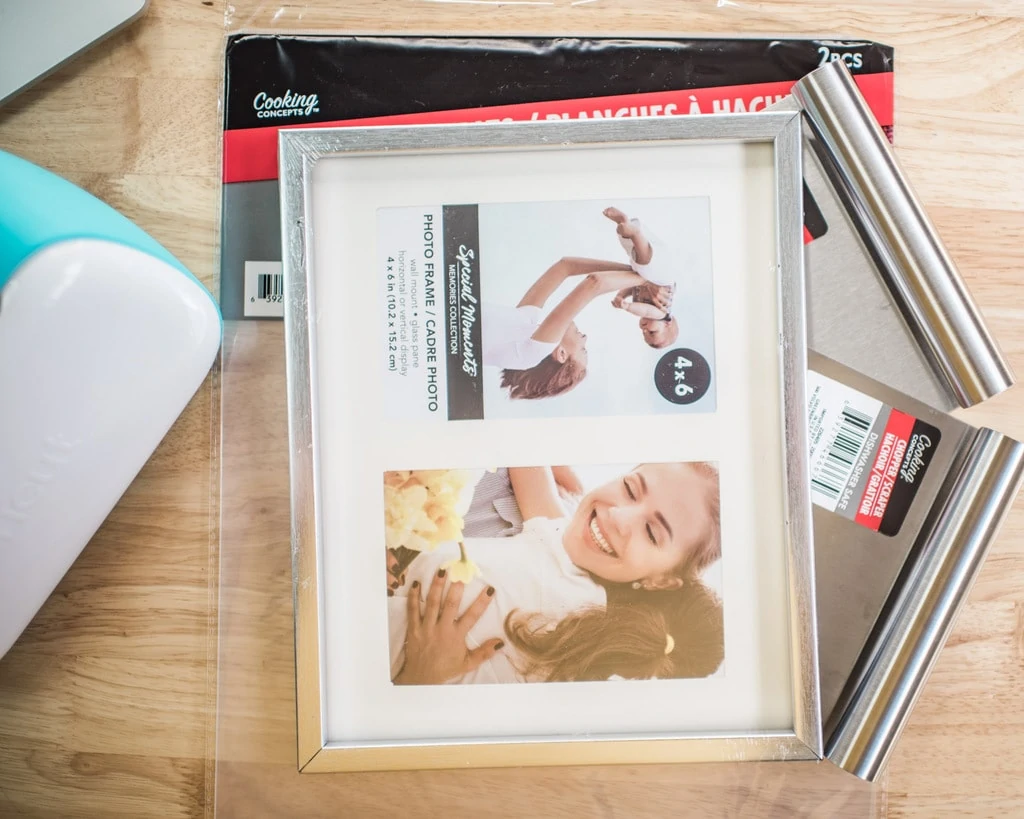
You'll need an 8×10″ frame. 5×7″ will work as well, but that's cutting it a bit close to the design size and there will be significantly less “mat” around the text. Anywhere in that range will work. You'll also want to grab two pastry scrapers (sometimes referred to as pastry choppers) and a thin cutting mat. These little cutting mats are super handy in the kitchen! They also work really well for this project because they're easy to trim down and they're transparent, so you can add any color you'd like behind them in the frame to add a little pop!
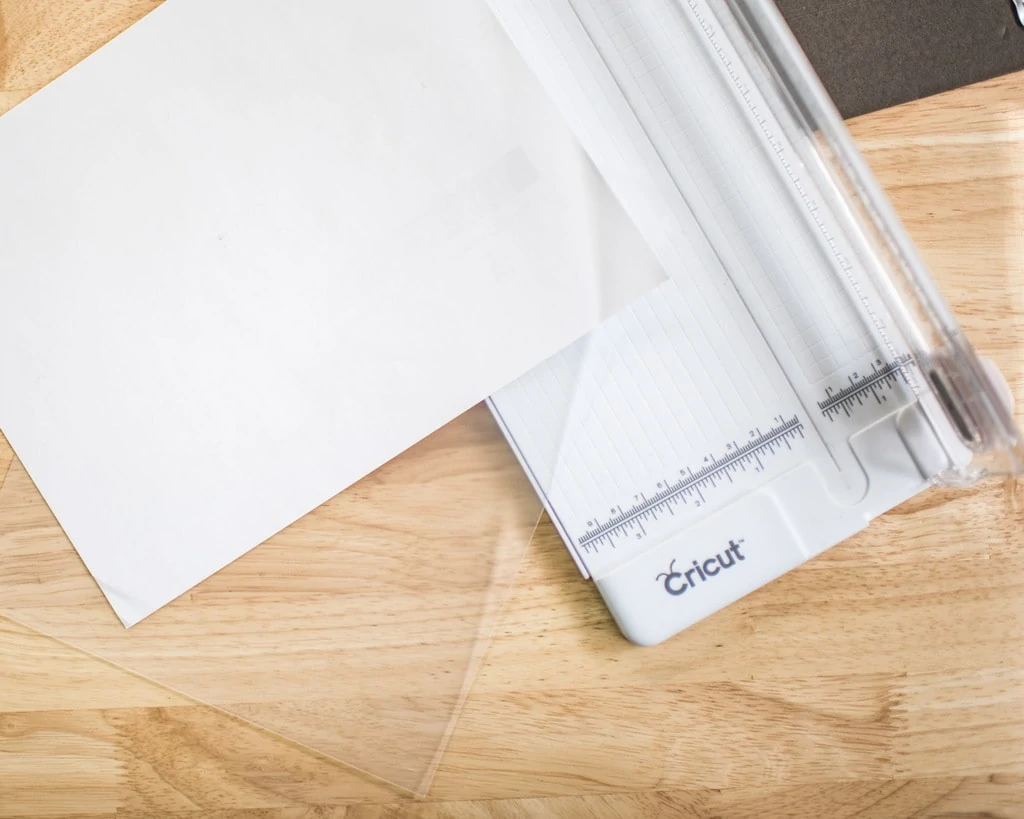
Remove the frame's backing, take the example sheet out of the frame, and use it as a template to trim your cutting mat down to the proper size to fit in the frame.
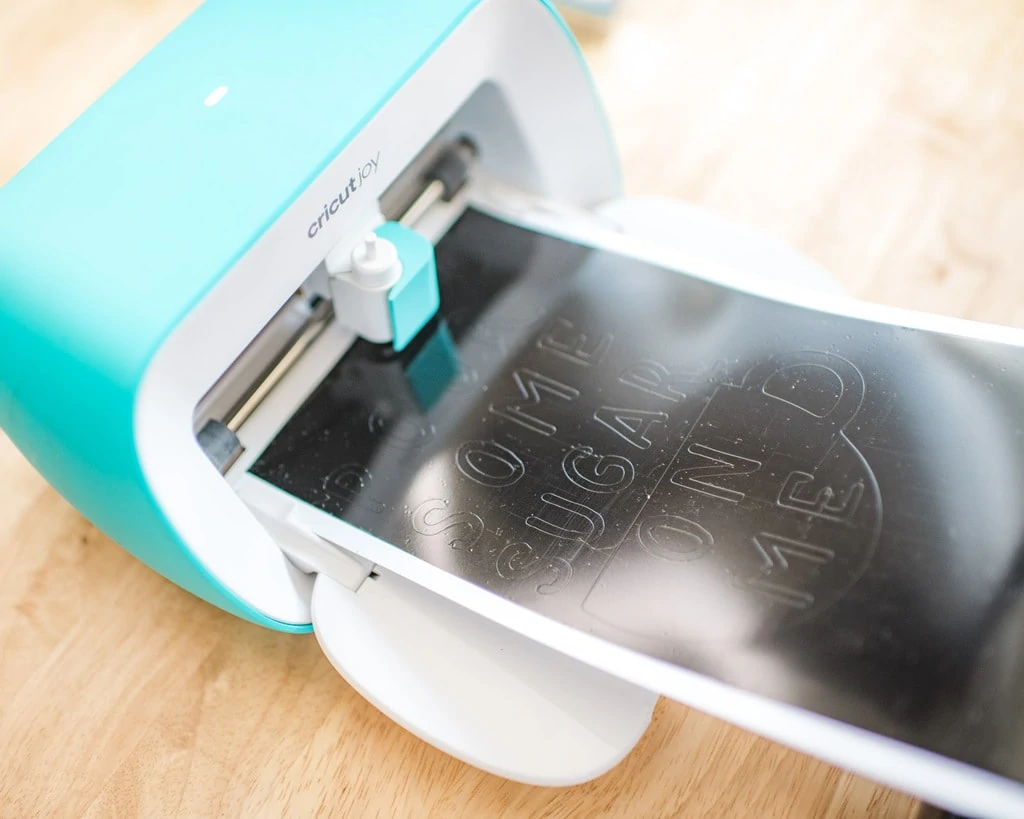
Go on and cut your lettering out on the vinyl with your Cricut! I've linked my template at the bottom of this post. Obviously I used the Cricut Joy with their no-mat-needed vinyl rolls, but you could use whatever machine you have.
Worth noting: my cat refused to leave me alone while I was making this project, resulting in a bunch of her little hairs winding up on the vinyl. It's a dang good thing I'm not a perfectionist with vinyl, but this would never fly if I was using the Cricut Mug Press.
This sort of project lets us be imprecise and kinda messy, but Infusible Ink definitely requires a clean workspace, which I achieve by rolling a sticky roll over everything. Just a heads-up in case you're trying to tackle projects and find that you're winding up with imperfect results, the approach totally depends on the project that you're doing.
Projects like this one are pretty flexible, and they're a great place to start. If you're new to Cricut, my No Hurry No Worry sign is also super-easy.
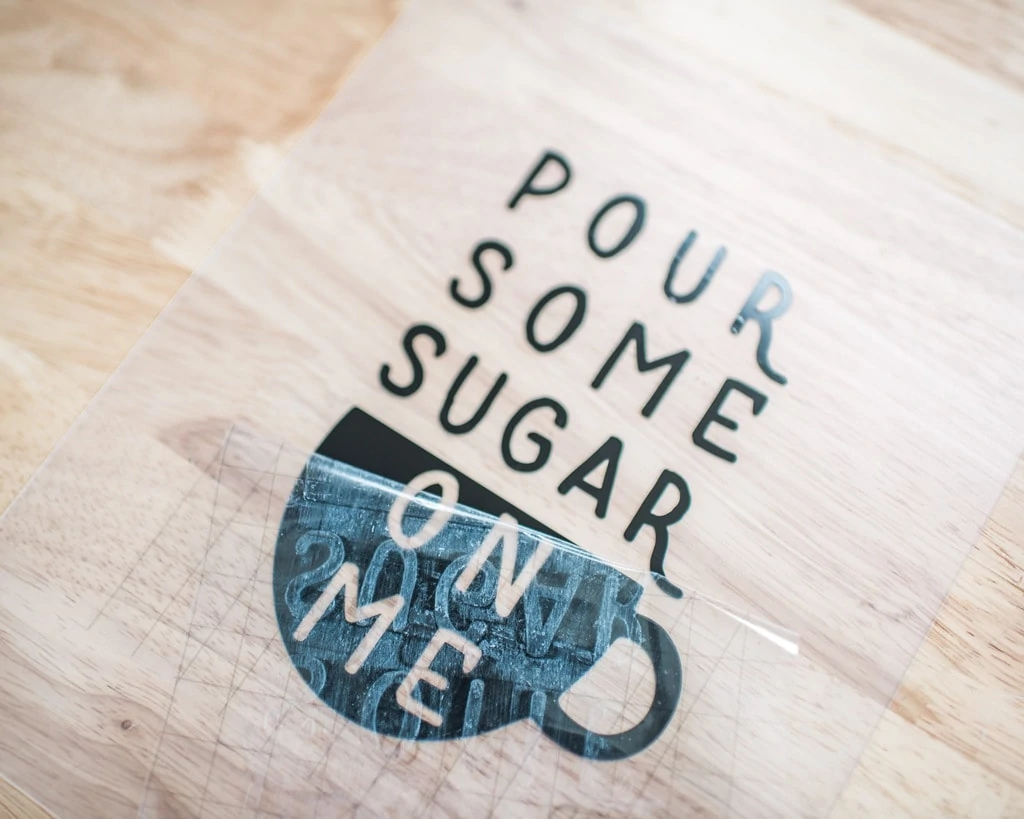
Apply transfer tape, and transfer your design onto your trimmed-down cutting mat. You may notice that the cutting mat has a shiny-ish side and a matte-ish side. I applied my vinyl to the matte side because I prefer the look of that, but it will adhere equally well to either side.
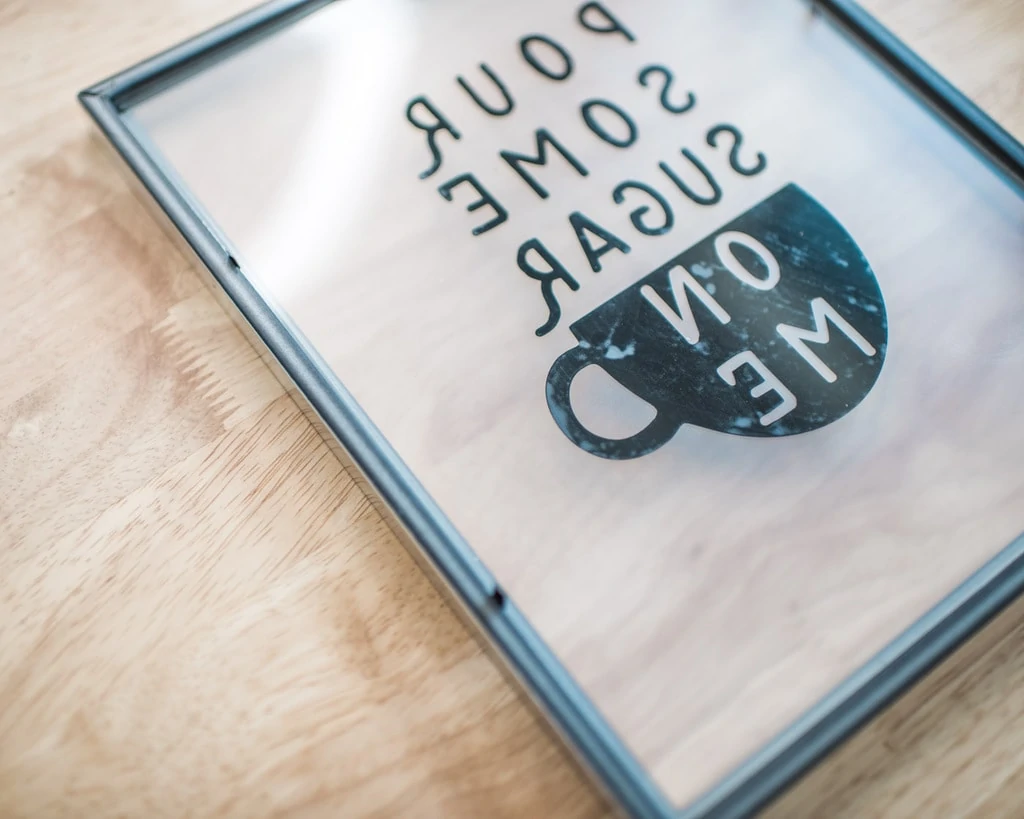
I got a kick out of the fact that I could see the reverse image through the transparent cutting mat. Go ahead and lay that back into your frame, behind the glass, facing outward through the frame.

If you want a color to show through your coffee tray DIY other than whatever color the back of your frame hangy-piece is, go ahead and insert that color now. I grabbed a random piece of my kids' construction paper in this light yellow hue. I'm really embracing color with our new house, and I love having fun with it! A subtle herringbone pattern could be fun back there, too, in a really light color to offer just a bit of contrast.
Finally, I attached the handles by using hot glue to affix those pastry scrapers onto the back of my coffee tray DIY. Depending on your frame setup, there will likely be a hang-piece in the way of the top of the frame. Remove that metal piece and glue it onto your pastry scraper to hang from the wall! Alternately, if your frame isn't the wall-hanging type, you could use small screw heads or a nail gun with short nails to drill holes and add a string back there for hanging. Obviously, you'll want to remove any sort of prop-stand that your frame may have come with, so it'll lie flat on the table for serving coffee.
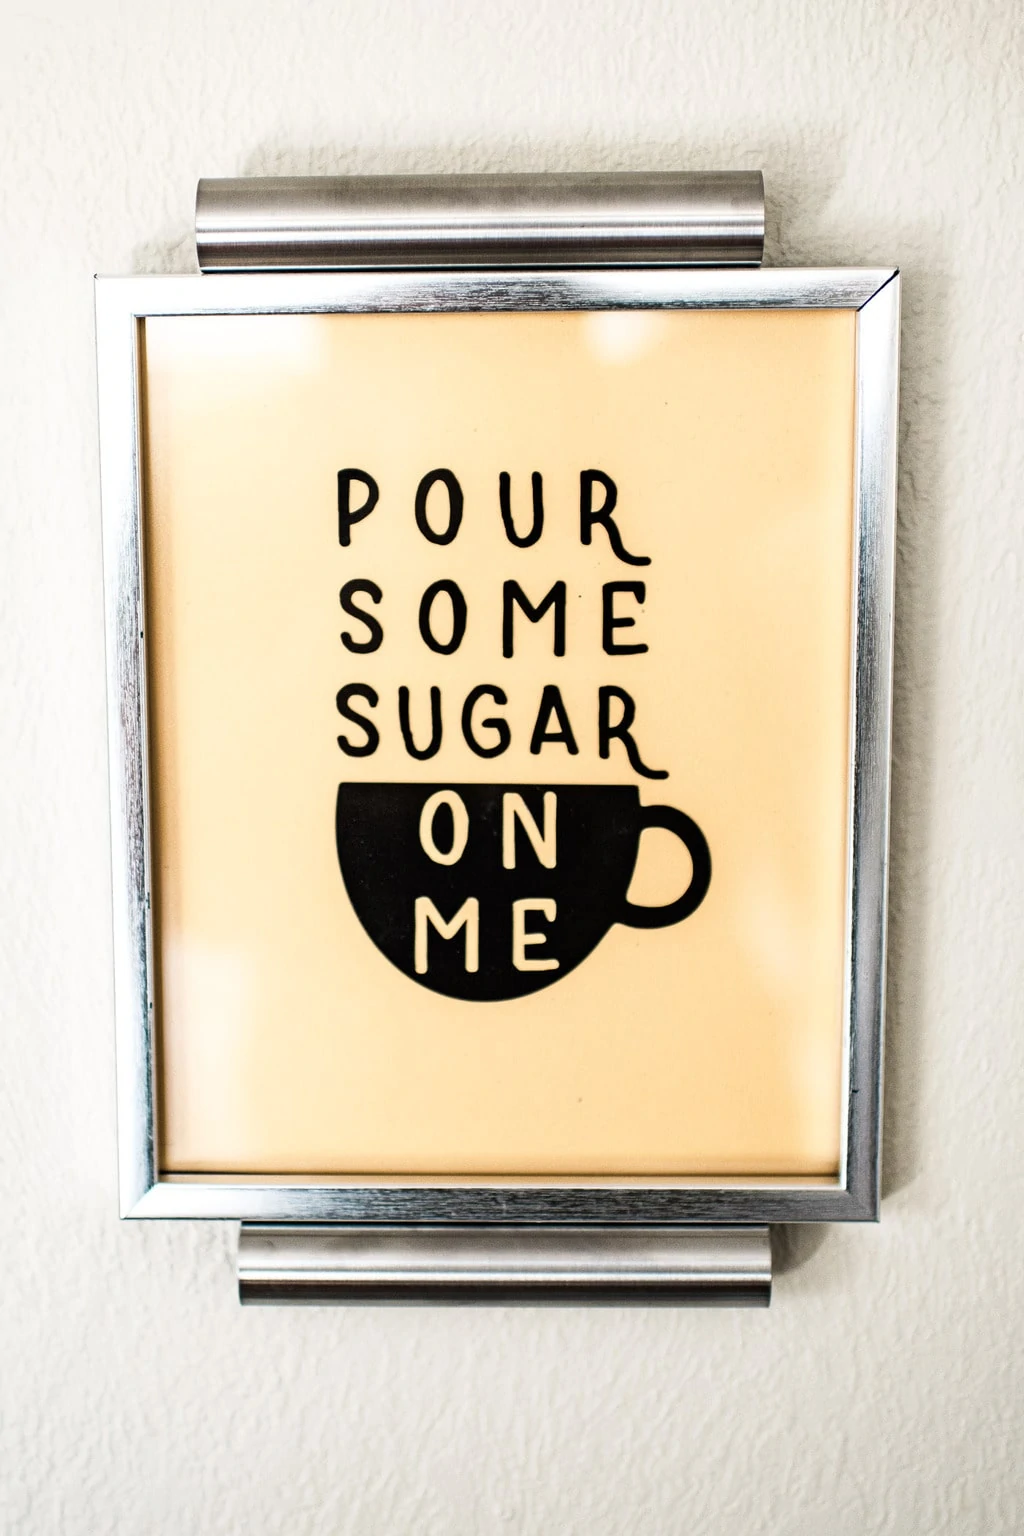
Now you have a cute wall statement piece that doubles as a coffee serving tray. Voila! So simple, and it would make a fantastic gift for the coffee-lover in your life. I bet you could even use a piece of wood to make a DIY wood frame to add a little more do-it-yourself flare to this DIY project. Imagine it sitting on your coffee table, or shuffling cups of coffee to your loved one for breakfast in bed!
Ready to make your own coffee tray DIY? Hop on over to my template in Cricut Design Space!
Here are some handy links to help you execute this project: I love to use my Cricut Joy, this black smart vinyl is my go-to, perfectly-sized transfer tape, a scraper and this weeder.
Have you made a coffee tray DIY? Where does it live in your home?