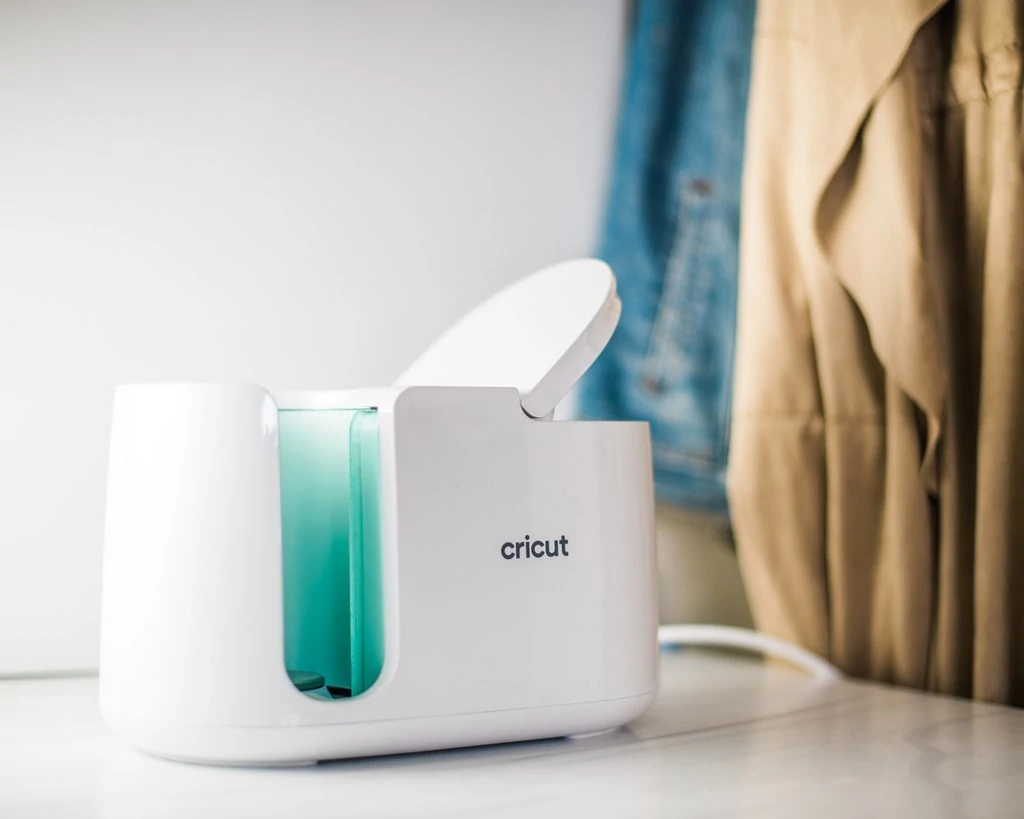
It's heeere! The recently-announced Cricut Mug Press machine has arrived. Yes, it's a whole new machine on-par with the EasyPress. After operating its oh-so-easy functionality you'll have a totally gift-able, custom mug.
We're teaming up with our sponsor Cricut today to share ALL the details of this incredible new release.
As a last-minute gift shopper, I'm always looking for solutions to help me churn out cute items in a flash. I already use the Cricut Joy to make incredible multi-layered greeting cards. It's only natural that I'd use my Cricut machines for the gifts themselves. The Cricut Mug Press machine is every gift giver's dream.
And if you're a fan of a really good Insta shot, or coffee, tea, or hot toddies… you're really in luck!
Why Buy The Cricut Mug Press
First up, a lot of you are probably thinking, “I already make mugs, why do I need a Cricut Mug Press machine?” Well, my friend. Are your DIY mugs totally smooth? Do they last after repeated washing – even in the dishwasher? I didn't think so.
The Cricut Mug Press is heads-and-shoulders above vinyl. With vinyl, even the heat transfer or permanent stuff eventually peels off of a mug's extremely smooth surface. There simply isn't enough for it to adhere to. Also, adhering to a curved surface can be pretty tricky (that's why my coffee ornaments have a delicate font for the bottom lettering, so it can oh-so-carefully be curved around the surface).
The Cricut Mug Press machine uses Cricut's Infusible Ink and special mugs to actually infuse the ink into the surface of the mug, forever. Peel-proof, flake-proof, wash-proof.
Tell Me About Infusible Ink
Infusible Ink comes in vivid, vibrant ink sheets that can be pressed onto base materials and bond with them to create objects that are as light and smooth as professionally-printed products. Base materials sold by Cricut include wine bags, totes, t-shirts, coasters and more – and now… MUGS!
Infusible Ink comes in large, 12×12″ sheets that can be cut down for use with any mat, as well as smaller sheets that are perfectly-sized for Cricut Mug Press!
There are also Infusible Ink pens, which can be inserted into your Cricut cutting machine to create high-end, intricate artwork or can even be used to draw with by hand. Some projects we've created with Infusible Ink include our family vacation shirts, Halloween shirts and grocery tote bags.
How to Operate the Cricut Mug Press
Any time I've looked into custom mugs in the past, it's seemed like QUITE an undertaking. I'd either have to invest in some giant, scary piece of equipment to do it myself, send out for someone else to do it and order in bulk, or pay exorbitant printing fees.
With the Cricut Mug Press, those concerns are all in the past. You can press quickly and safely, in a worry-free machine with total peace of mind. Simply cut your design, affix it to the mug (use heat resistant tape to help seal the edges real tight!), put it in the machine with the handle out and press down on the lever to secure it in the machine next to the patent-pending heat plate with the design fully covered, then wait for the beep. No manual adjustments needed.
Print. Apply. Press.
The Cricut Mug Press machine auto-detects the environment around the room and makes perfect adjustments so that your mug comes out right.
You can see in my photo that the Infusible Ink sheet may appear yellow/burnt after use. That's due to the high heat necessary to transfer the ink onto the mug. There is no risk of fire, it's perfectly safe! As with the Cricut EasyPress, however, this machine does get quite hot so use caution. I let my mug cool in the machine for about 30 seconds before removing it and placing it on a heat-resistant surface (such as the EasyPress mat) to cool all the way, for an additional 15-30 minutes.
If you're using the Infusible Ink sheets you just want to make sure that they're taped in place really well so they don't shift. There are templates in DesignSpace for cutting designs with any of your Cricut machines. I used the Maker for these, but My Explore Air 2 or Cricut Joy would work just as well.
If you're using Infusible Ink Markers, you'll want to draw onto laser printer sheets, use heat resistant tape to secure, and wrap three layers of appropriately-trimmed butcher paper around the design before placing it in the Cricut Mug Press. This ensures that it won't bleed out onto your mug press. The Infusible Ink sheets are designed with a thick liner to prevent this.
Cricut Mug Press even has an auto-off feature for extra peace of mind.
Tips for Cricut Mugs
This is really one of those things where it sounds intimidating, but you completely get the feel of it once you try it a couple times. My main advice is to simply dive in! However, these additional tips will help you perfect your mug creations:
- Remove debris with a lint roller prior to pressing. Lint roll your whole surface and your mug to ensure there is not rogue dust or pet hair to mess up your design.
- Ensure that the design is completely flat against the mug. The edges of the Infusible Ink are cut so that there's a perfect little sticky area to secure it onto the mug, but I like to go the extra mile by really taping mine in place on top and bottom with heat resistant tape.
- Before cutting the Infusible Ink, don't forget to hide the guide layer, attach, and mirror your design as well as using a good, sharp blade.
- Trim the backing of the Infusible Ink as close to your design as possible – especially if you're implementing a positive-space image – so that the sticky stuff doesn't catch any stray dust or ink and inadvertently cause brownish-singing or ghosting on your mug.
Positive vs Negative Images
Just as with any Infusible Ink design (and vinyl) remember that there is a “positive image” and a “negative image.” The positive is the main focus of the design that you lay out in DesignSpace, the area that the blade actually cuts around. The “negative” image is what's left.
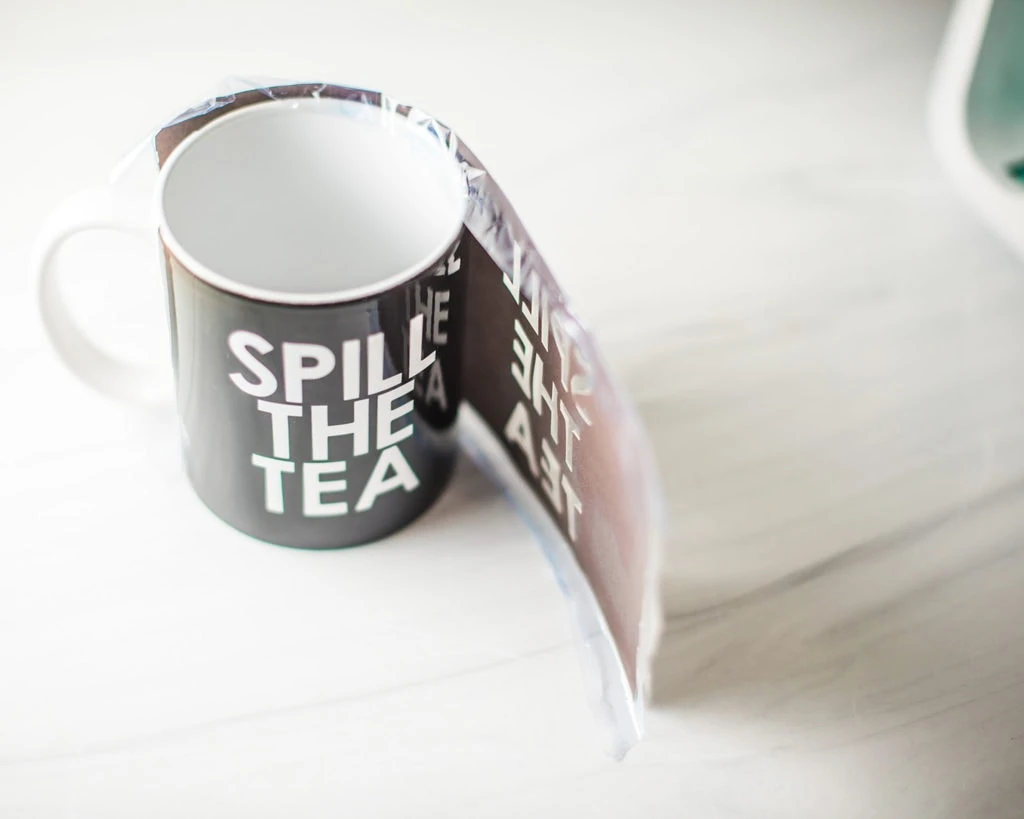
You can either use a “positive” or a “negative” approach, for example cutting a phrase out and putting the letters on directly for color only where the letters are applied, or removing the letters and applying what's left of the Infusible Ink sheet for a solid, large strip of color on your mug that's white where the wording was.
The “positive” application is much easier with large, blocky designs as there's less chance of accidentally tearing or moving a delicate edge on accident.
Consider Placement
The templates in DesignSpace have cute graphics noting roughly where your design will land on your mug. If you want a design to be outward-facing, keep in mind that right-handed people will hold their cup such that a design placed on the left side of the strip in DesignSpace will be perfect for them (due to mirroring). Vice-versa for lefties.
Infusible Ink Sheet Options
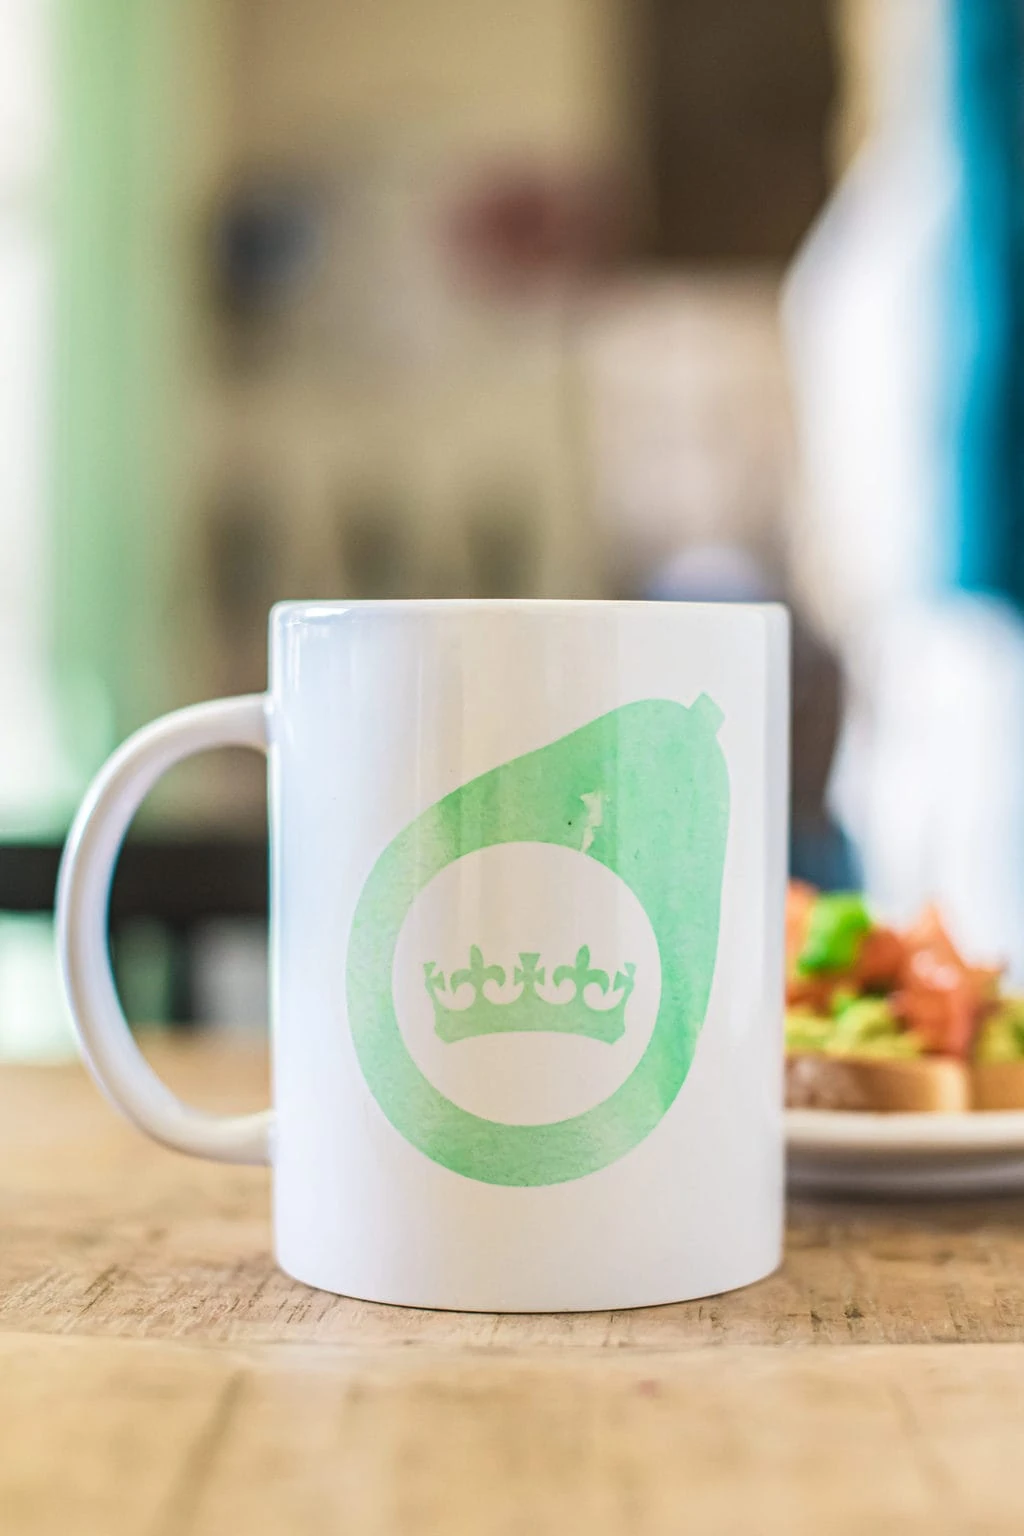
I am a huge, huge fan of the “Watercolor” Infusible Ink sheets because their dappled tone makes them extremely forgiving. If you happen to get any stray dust or bits of hair caught in your sheet during pressing, it really just looks like an intentional part of the funky design. With solid-color designs, things like that are much more noticeable.
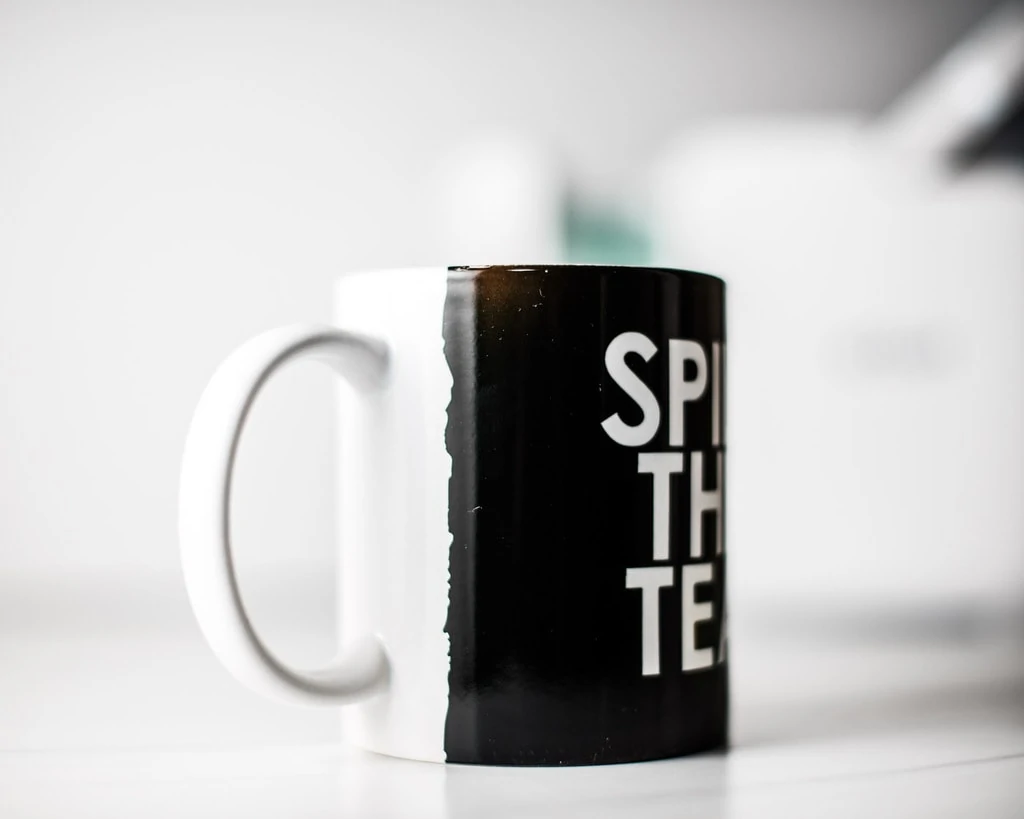
I also like the “ripped edge” option on the negative image Cricut Mug Press designs as shown above, for the same reasons. Any error on your part winds up looking like you meant to do it.
Cricut Mug Sizes and Pricing
Cricut Mugs will be available in 12-ounce and 15-ounce sizes. The maximum dimensions for your design are:
- 12-ounce: 8.75″ x 3.79″ (22.2 cm x 9.6 cm)
- 15-ounce: 8.75″ x 4.25″ (22.2 cm x 10.8 cm)
The Cricut Mug Press itself will retail for $199, including the heat press itself and a USB cord for activation. The perfectly-sized Infusible Ink sheets are $6.99 for a 2-pack. The mugs come in a 12-ounce 2-pack for $6.99, a 12-ounce 6-pack for $19.99, a 15-ounce 1-pack for $5.99, a 15-ounce 2-pack for $8.99, or a 15-ounce 6-pack for $24.99. Totally reasonable for mugs, let alone custom ones!
In case you’re wondering, the pre-sized Infusible Ink sheets can be used for either size mug. The templates in Cricut DesignSpace will simply prompt the machine to trim a little extra to fit properly around the smaller mugs.
As usual, there will be some incredibly-priced bundles available at launch.
Gifting Custom Mugs
The gifting possibilities are endless, with the ability to customize mugs with pals' zodiac signs, nicknames, their pets' name, a favorite place, his-and-hers mugs. They make perfect gifts for team celebrations, birthdays, weddings, or even for selling on Etsy is you want to create your own Cricut business. The sky's the limit!
I also love that the mugs come in two sizes, so you can pick and choose which is the best for your giftee. For my 6'4″ coffee-guzzling husband, I'd definitely go for the larger one. For dainty little me (hah!) I like the smaller version.
Hop on Craft Trends
I promised all you Insta-fans that this would be a way to get epic Insta shots. How? You can quickly create the most epic statement mugs out of whatever phrase or concept is currently trending.
So when the kids inform you that “Lit” is last year but Yeet's where it's at, the Rona's totally Sus and Poggers is the game of the day, you can keep up. Kind of. Maybe.
To get your Cricut Mug Press machine, hop on over to the Cricut website!
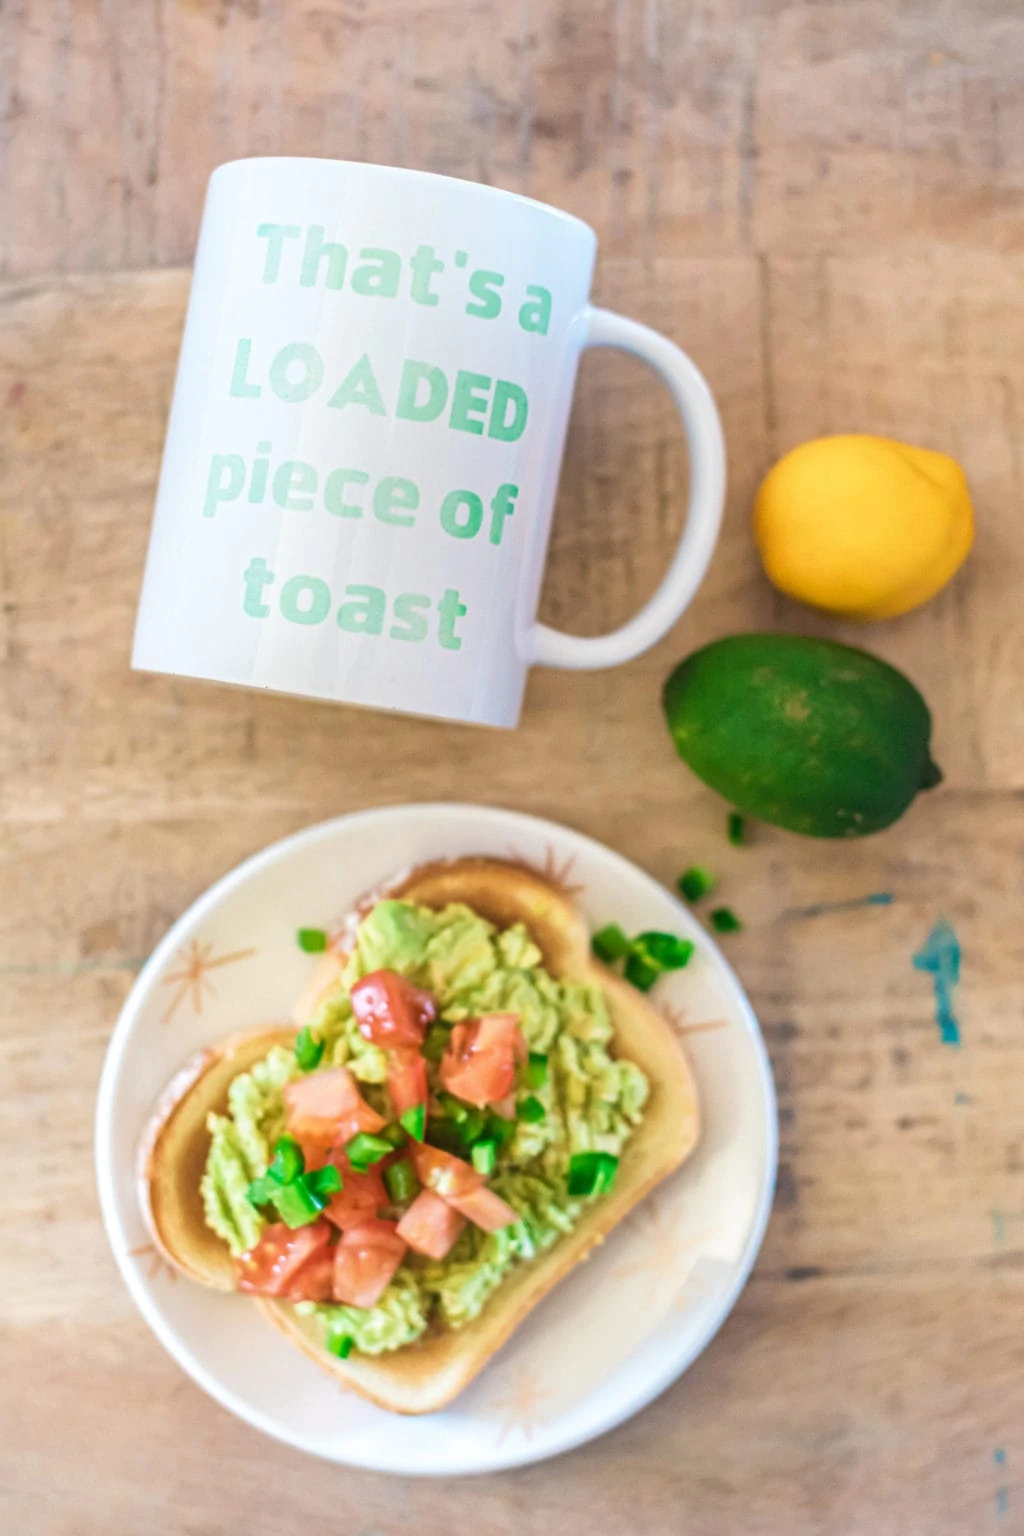
The first mug I created on my own was my simple Spill The Tea wrap with Cricut's own simple mug template. After watching royal Megan's epic Oprah interview, I was clearly in the mood to continue my British theme, so I made my own more complex template for the Loaded Piece of Toast mug. I've been drinking my coffee out of it with my avocado toast for several days and chuckling loudly to myself every time.
What will you make first with your Cricut Mug Press machine?