Looking for a fun backyard idea? This DIY ring toss comes together quickly and easily, using just ply wood, some plastic rings and some lollipops!
With old-fashioned carnival activities off the table nowadays, I wanted my children to have the traditional experience that I loved when I was a kid.
How to make a DIY Ring Toss
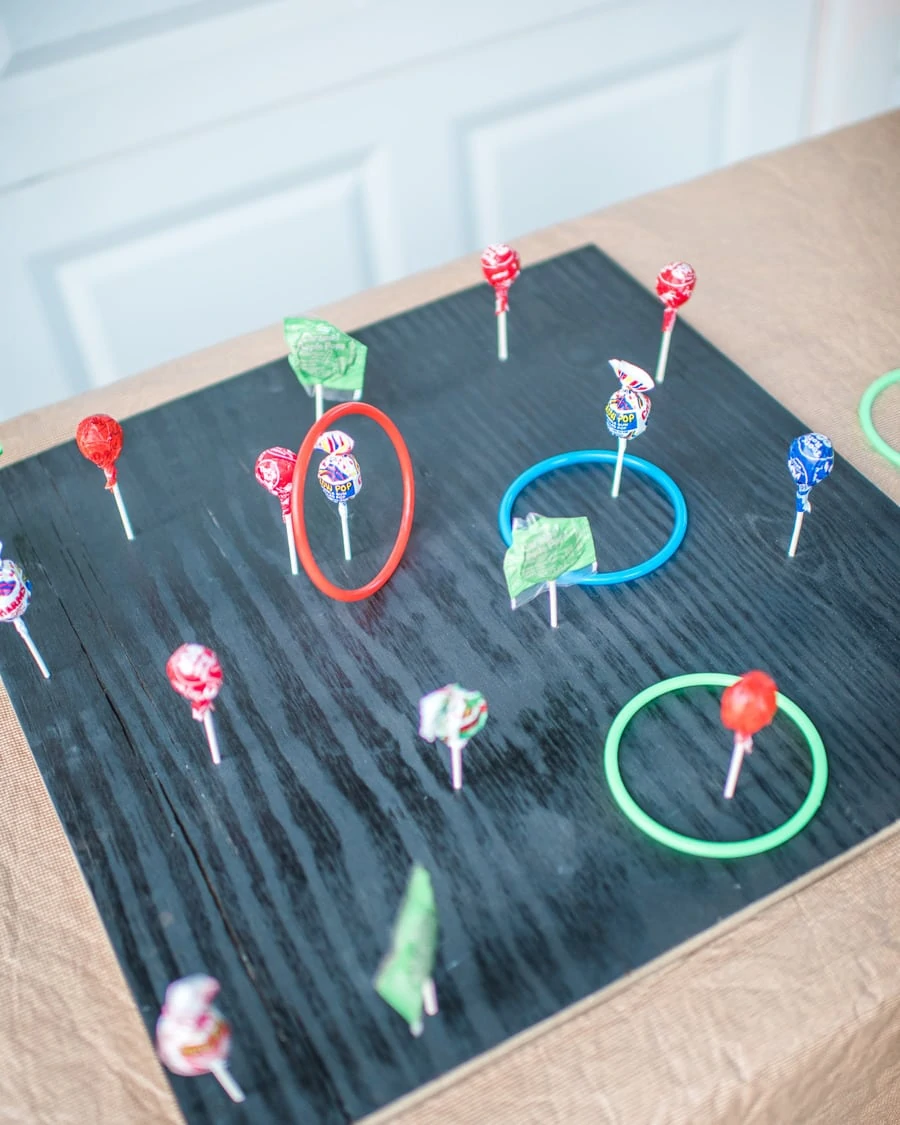
Nate simply held drill bits up to our lollipop sticks to see which one was the best size. I think he landed somewhere around 1/8″. Then, I used a little spray paint to give it a polished look. Easy peasy! My favorite part about this DIY Ring Toss is that it's totally portable! Just pack up enough lollipops and the plastic ring toss, and stash your DIY ring toss game in the trunk! It's totally ready to go for fall festivities.
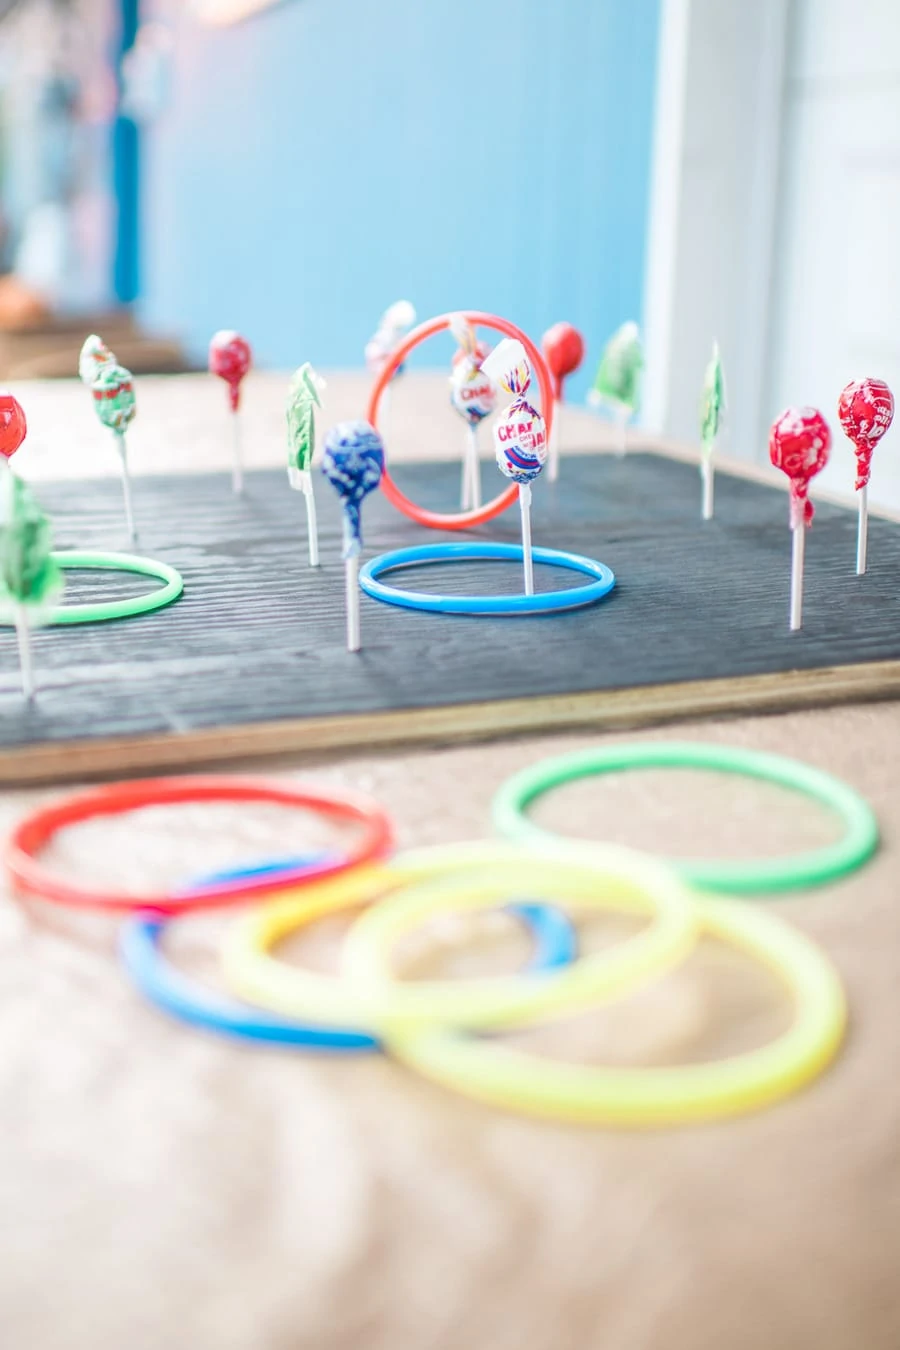
This is going on a Halloween activity table that we're putting our for the holiday in our front yard, in lieu of trick-or-treating. We'll be keeping an eye on our Halloween bats and restocking them as needed, as well as playing tons of games! If you were feeling super-creative, I bet you could hang this on a wall and let the lollipops serve as hooks to catch the rings being tossed.
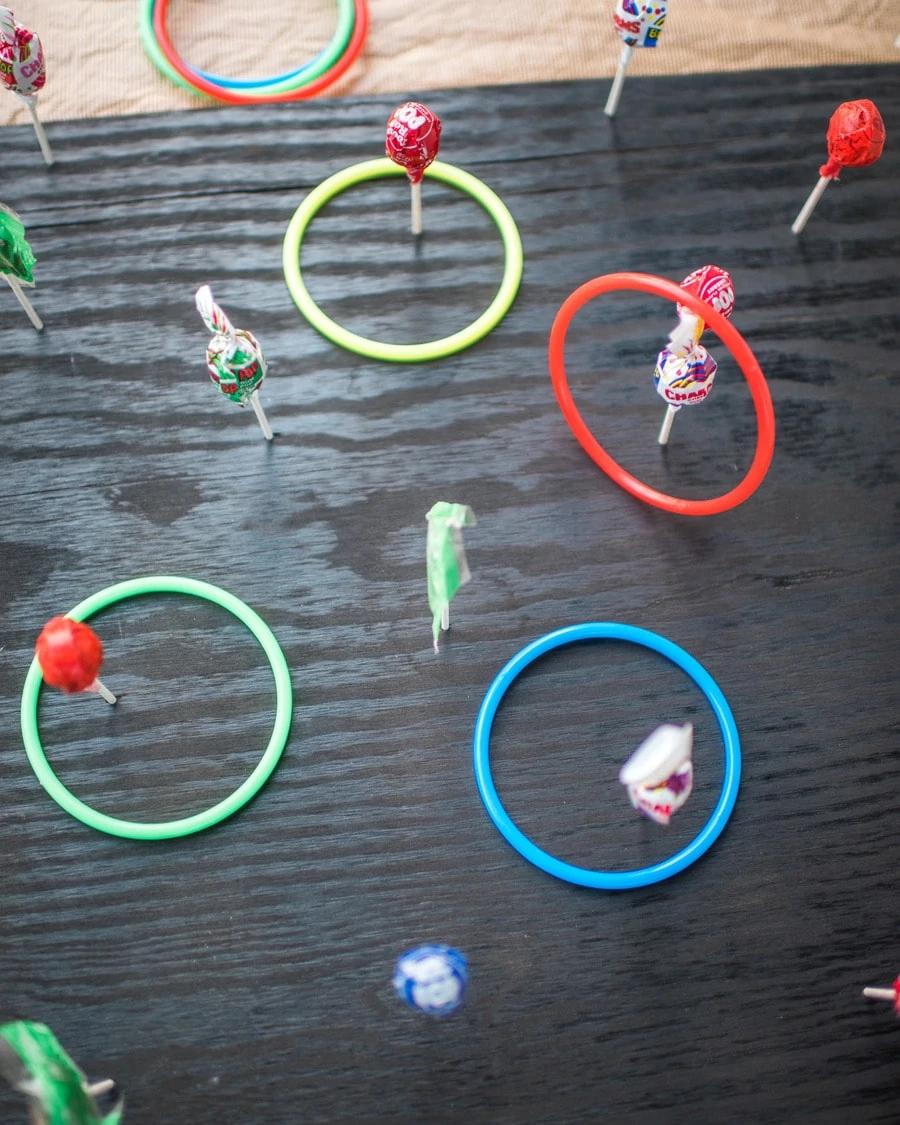
I have a feeling that our DIY ring toss will be the star of the show. We do have lots of Halloween games up our sleeves, but the kids took to this one quite quickly during our practice round! They also ate a kajillion lollipops, but that is neither here nor there. I may or may not have had a few myself.
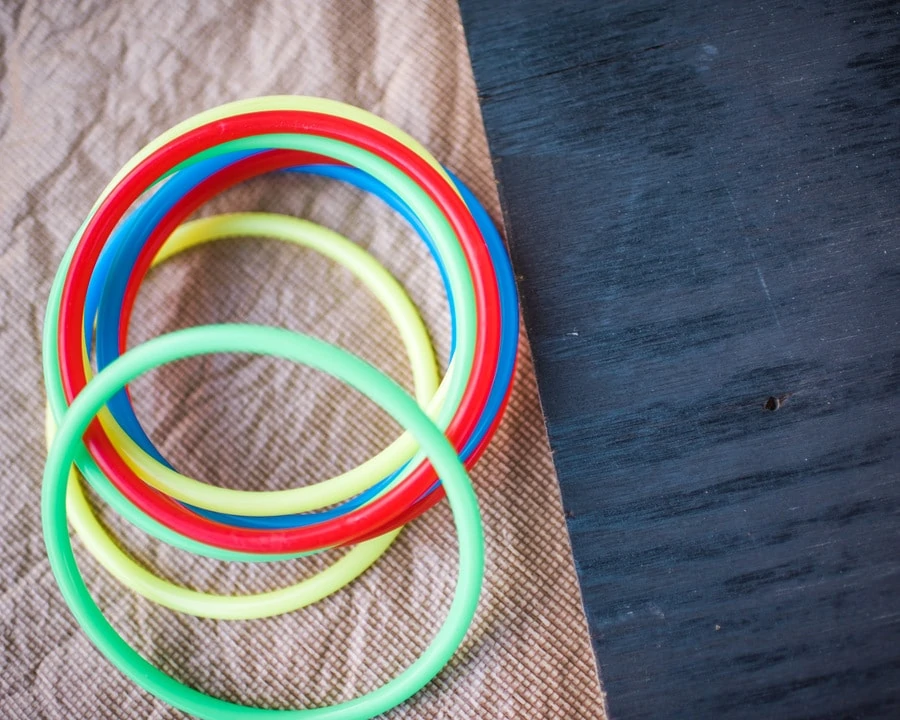
The package of plastic rings I bought for our DIY ring toss came with bean bags for our bean bag toss, too! I love how they coordinate, with bright rainbow colors that contrast crisply against the black backdrop. Nate suggested I go with a festive color, but I like black because it won't show dirt as it gets played with, and it will go with any season down the line. It's also totally chic. If I wanted to upcycle this game for a fancy-pants baby shower, I might do custom cake pops for the popsicles and spray paint the plastic rings gold. Or pink or blue! Or heck, purple. Whatever floats your boat.

Our measurements for the holes that were drilled were fairly imprecise. Honestly, though, it was SUCH a simple project that there's not a ton to elaborate on here. If you're using those crazy big popsicle sticks that will require larger holes (like jawbreakers) then you may want to drill smaller pilot holes before sizing up to your final hole size. That's a trick I learned ages ago when first hanging frames on the walls in one of our renovations. If you use a large drill bit abruptly, straight on wood or on drywall, it'll crack. Best to ease that hole in there slowly.
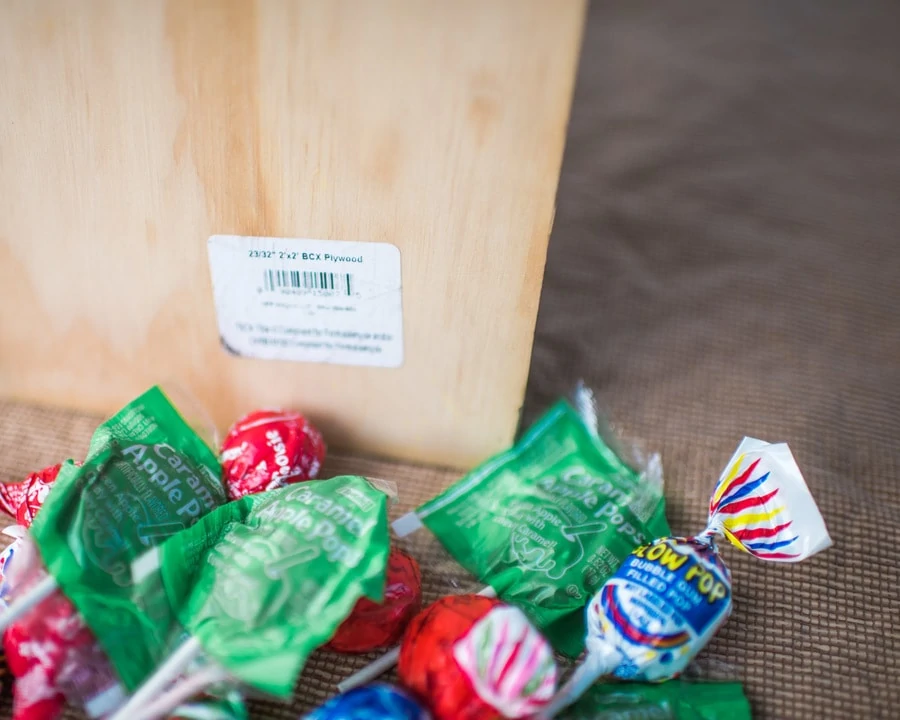
Here's a pic of the back of our plywood board, for reference. It's two feet wide by two feet long, and about an inch deep. As for the popsicles, we picked a whole random assortment from the grocery store. Caramel Apple Pops, Blow Pops and the traditional Tootsie Roll choice. They all had the same size sticks and fit perfectly into our DIY Ring Toss setup.
DIY Ring Toss
Materials
- Plastic Rings
- Plywood
- Assorted lollipops
Tools
- Drill
Instructions
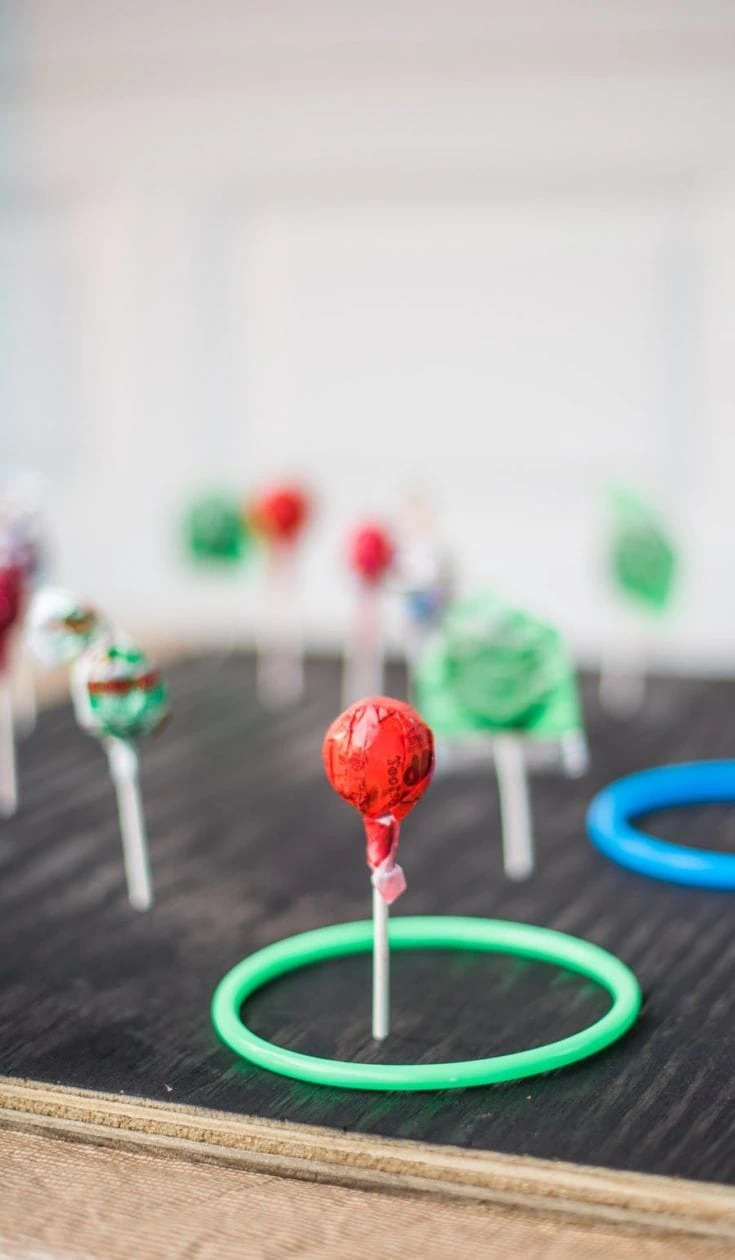
- Drill holes slightly larger than lollipop sticks partway into plywood, spacing roughly 4" apart.
- Place lollipops into holes.
- Toss rings!
Honestly, I think our game of ring toss is way better than any store bought game I've seen! If you're looking for more party ideas, don't miss our best kids birthday party ever, trampoline birthday party, and Cricut hat. Our DIY Party Hat for New Year's Eve is also super fun!
If you had a DIY ring toss game, where would you play it?